How To Make a DIY Flower Press
Step by step instructions to easily make this DIY Flower Press.
G’day guys, welcome to the first DIY Project of our Christmas Gift Guide Series.
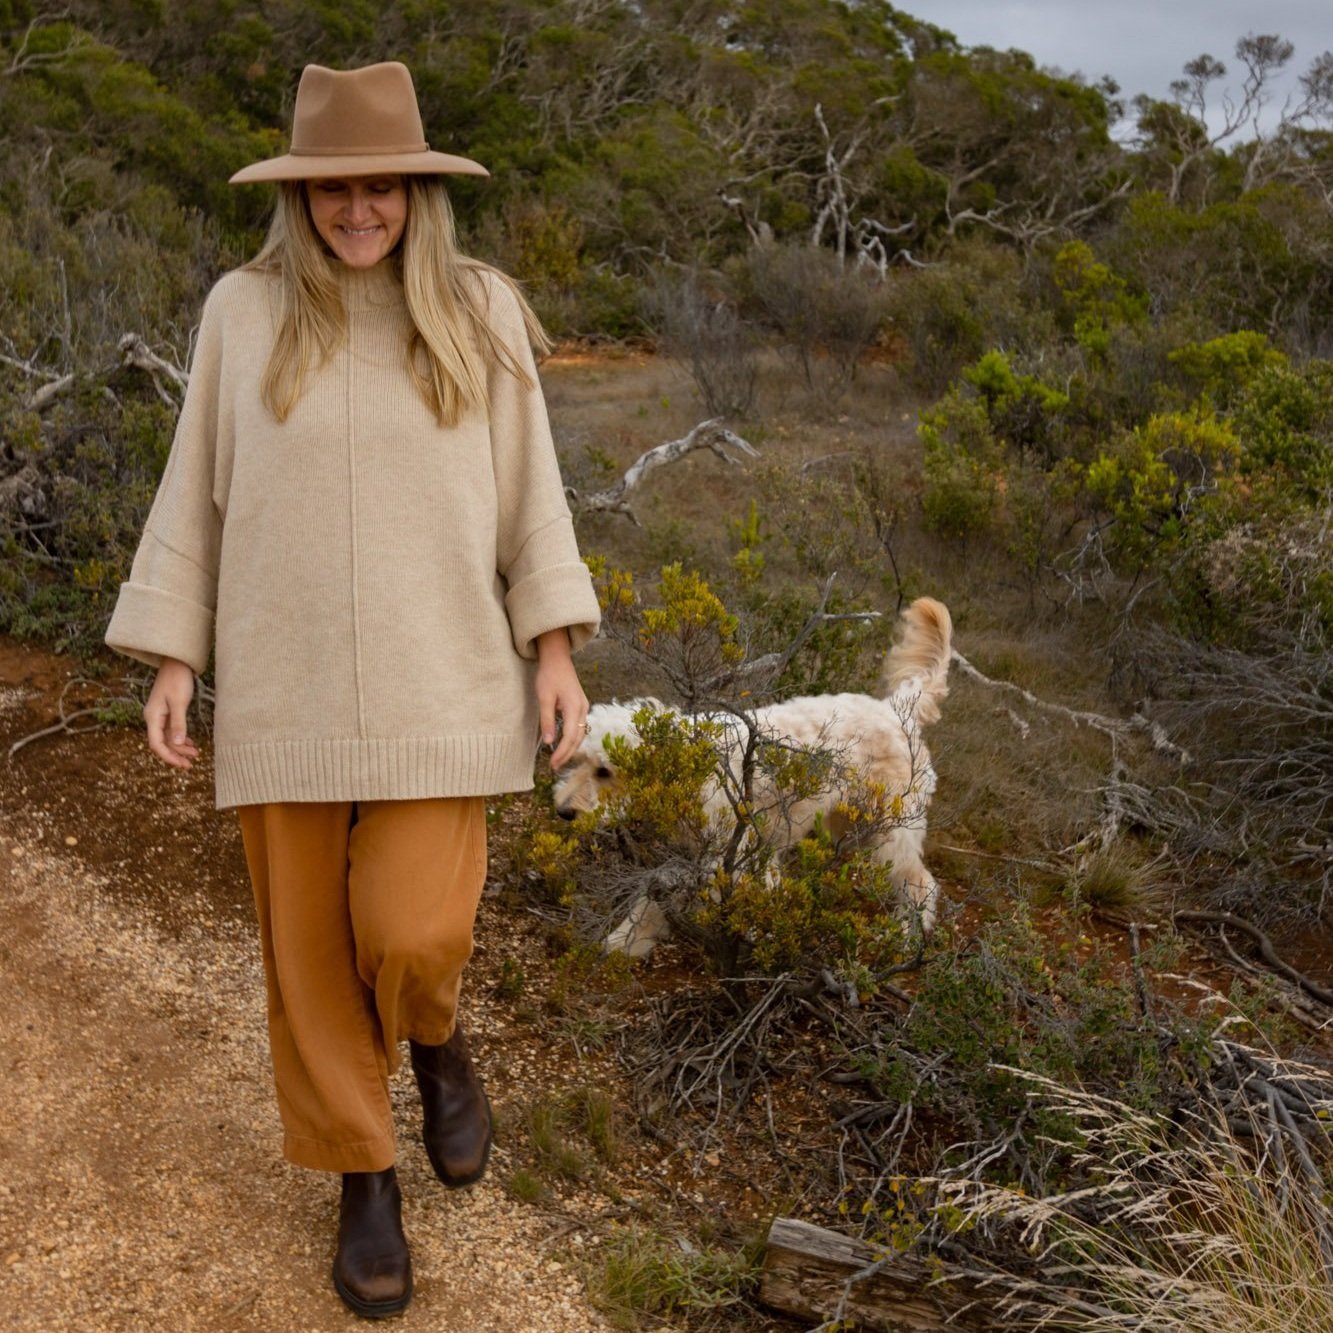
Our neighbour Steph has been working on the most incredible garden next door to us and I wanted to capture some of the beauty before Spring is over.
This is such a simple project and great gift idea that encourages outside play in both adults and children!
If you decided to make this for yourself like I have done now is a great time to pick some fresh flowers and press them before the end of Spring! And in 2 weeks on my next DIY Friday I’m going to show you how to make a timber frame to create artworks with your pressed flowers so make sure to tune in then!
Don’t forget to hit subscribe on YouTube or sign up to our mail list to receive these projects straight to your inbox and if you make this project please share your pictures with us, we’d love to see them!
See you next Friday for another Christmas Gift DIY Project!
AL + IMO


“This is such a simple project and great gift idea that encourages outside play in both adults and children!”
TOOLS
TAPE MEASURE
PENCIL
SQUARE
TABLE SAW OR CIRCULAR SAW
DRILL
7.5mm DRILL BIT
SANDER OR SANDPAPER
PROTECTIVE GEAR
SAFETY GLASSES
EAR PROTECTION
TIMBER
2 x 315mm x 230mm PLY
MATERIALS
4 X 1/4” x 50mm MUSHROOM HEAD BOLTS
4 X 1/4” WING NUTS
5 X PIECES OF A4 CARDBOARD
10 X SHEETS A4 BAKING PAPER

step 1.
The first thing I did was measure my ply, marking a straight line my my square, I then cut along the line on my drop saw, you could also use a tale saw or circular saw.
step 2.
I then sanded my ply nice and smooth making sure to round off the edges - this is really important if you’re gifting this to kids to make sure there are no rough edges where they could get splinters.
Step 3.
I lined my 2 pieces of ply up and clamped them to my workbench. I marked 15mm in from each corner and using my drill slowly drilled holes in each 4 corners using a 7 and half mm drill bit. I’m not great on the drill so I put the settings to slow which meant I had more control over the drill and it ensured I didn’t blow out the bottom piece of ply. I then sanded the holes smooth.
Step 4.
The next thing I did was cut the corners off my cardboard and baking paper to make sure they wouldn’t get in the way of the bolts.
Step 5.
And that’s it guys!
All you need to do is layer 2 sheets of baking paper in between each piece of cardboard so your flowers don’t stick! I left the front free as I thought it could be really lovely for the receiver of the gift to customise it themselves as another activity...
Leave your flowers in the press for at least 2 weeks before removing.
More Home Styling Tips


Hey!
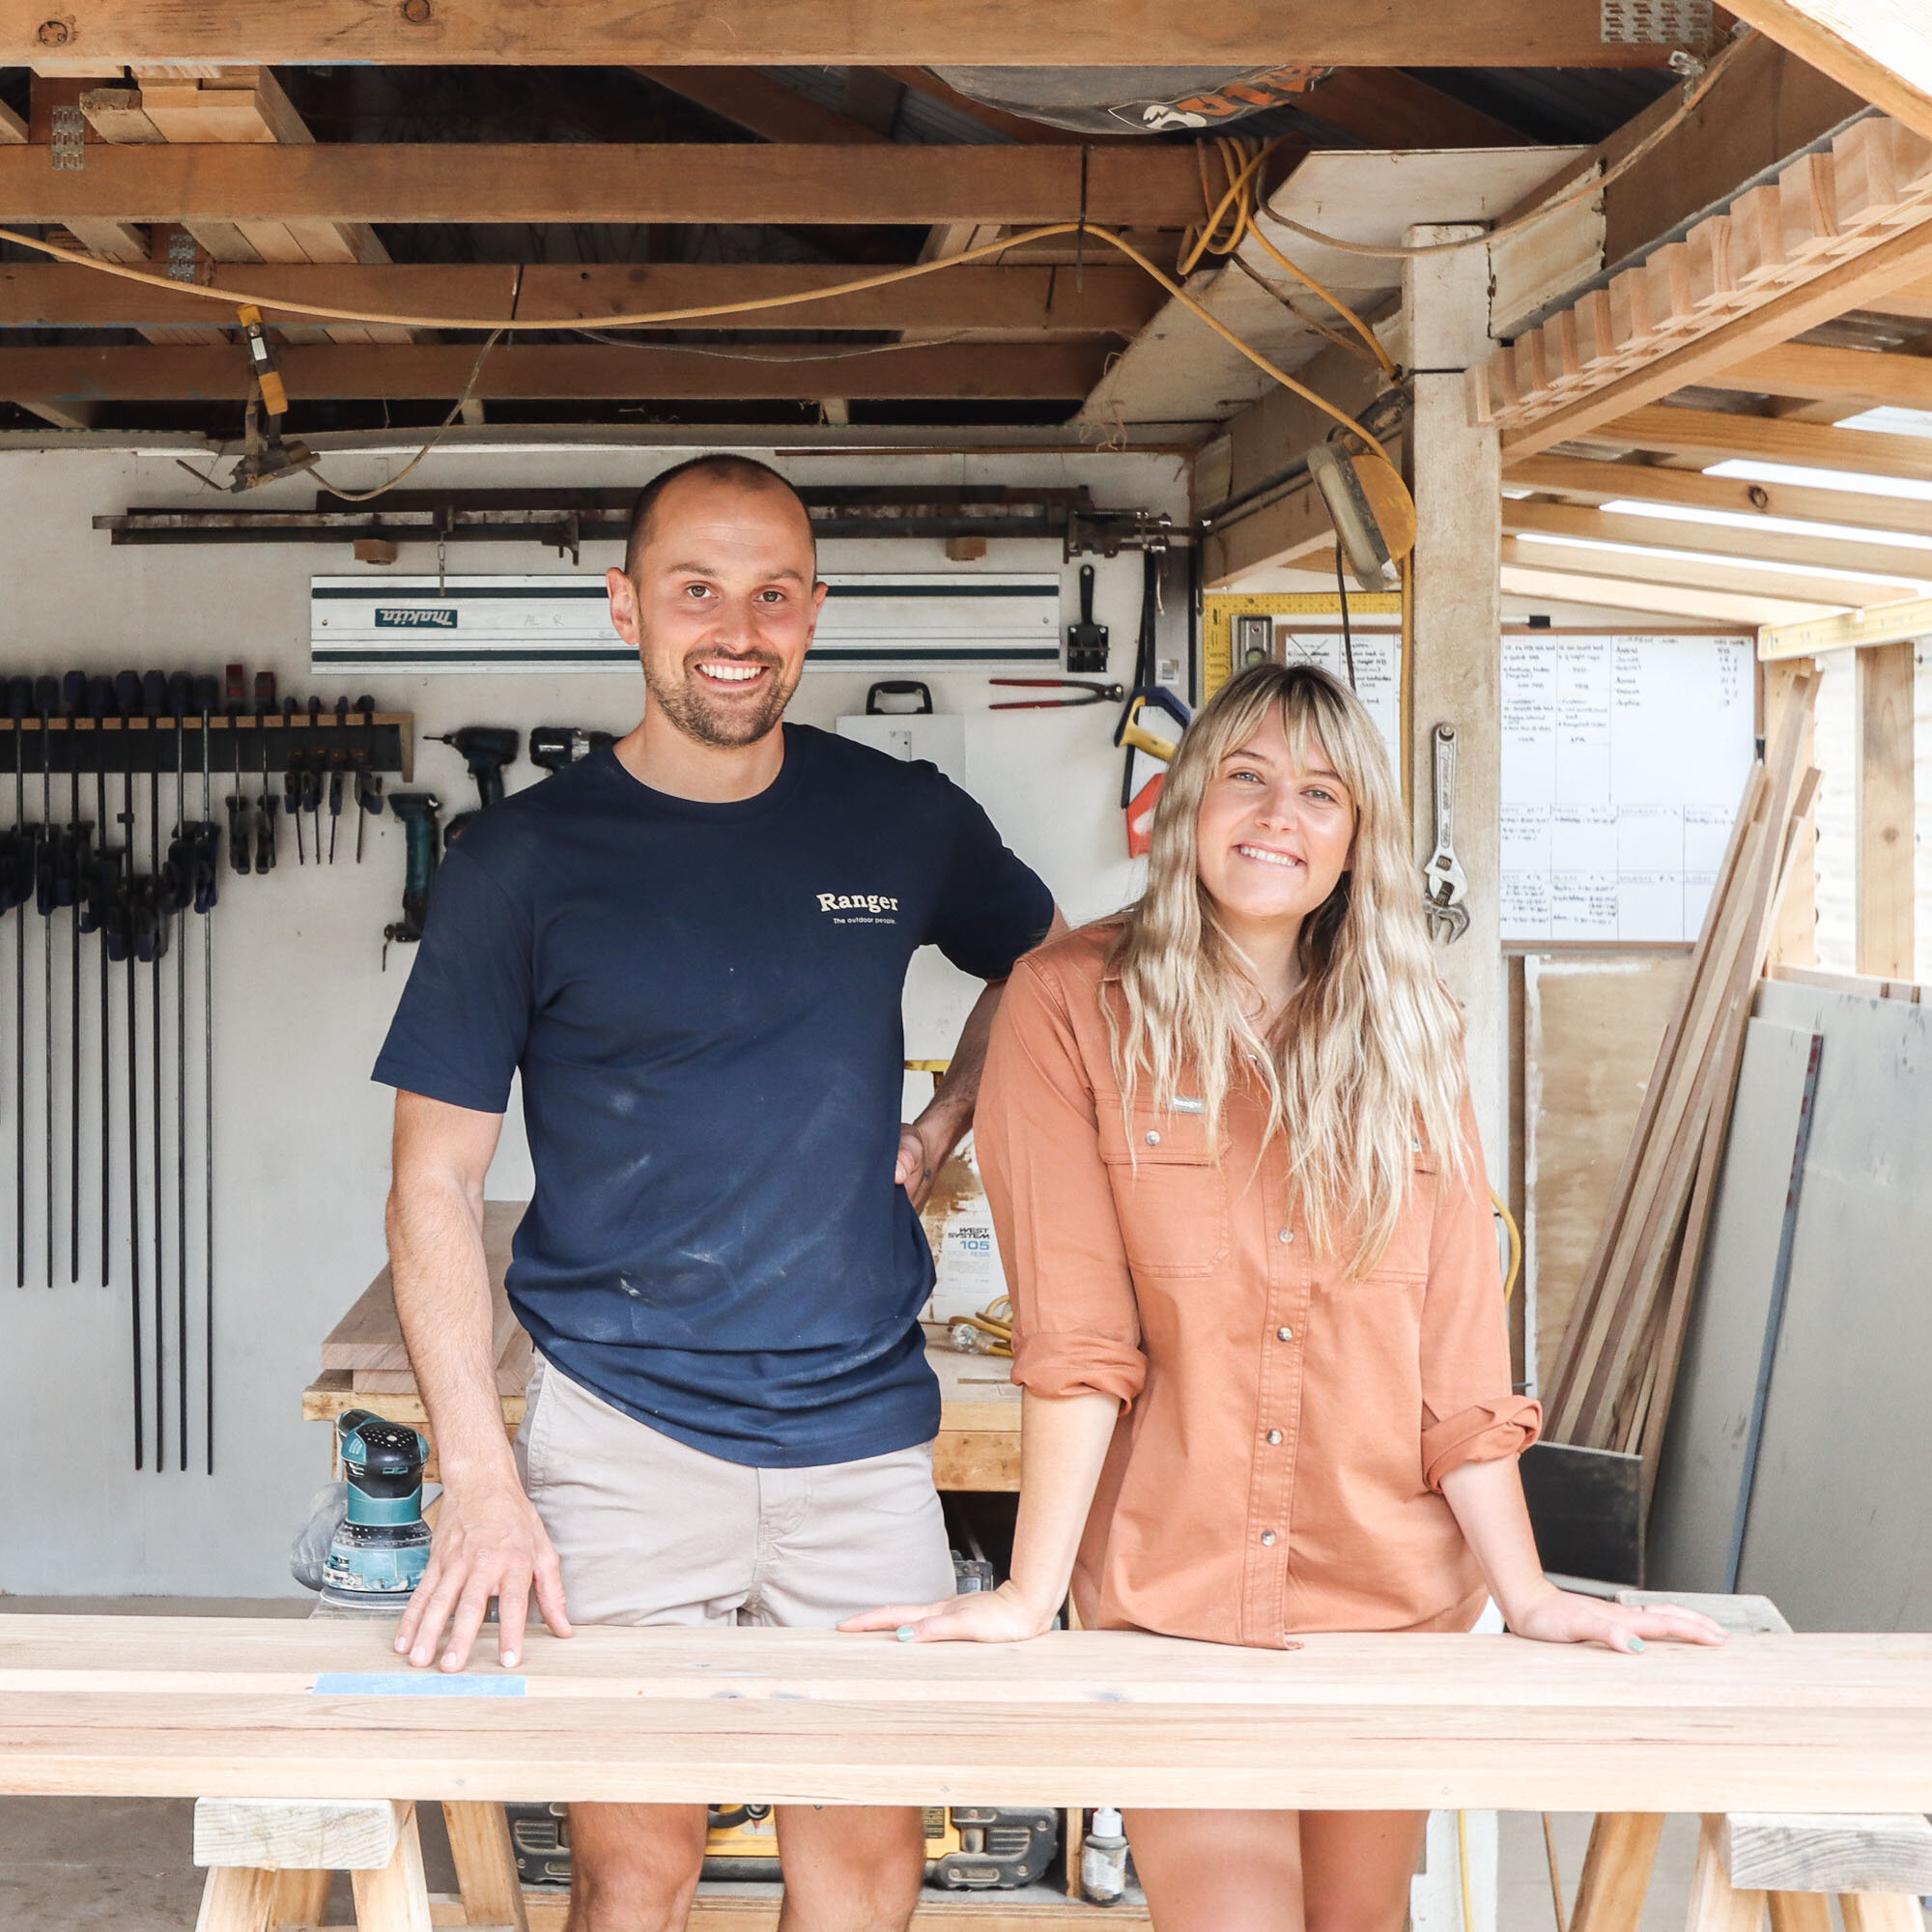
We’re Al + Imo
We’re a husband and wife duo, building our dream life one DIY project at a time. We are proudly self-taught, furniture-makers, business owners, designers and stylists.
DIY RUNS IN OUR DNA
We firmly believe what you learn should be shared which is why we created our Journal. A place where you can learn new skills and be inspired by other creatives.
Top Categories


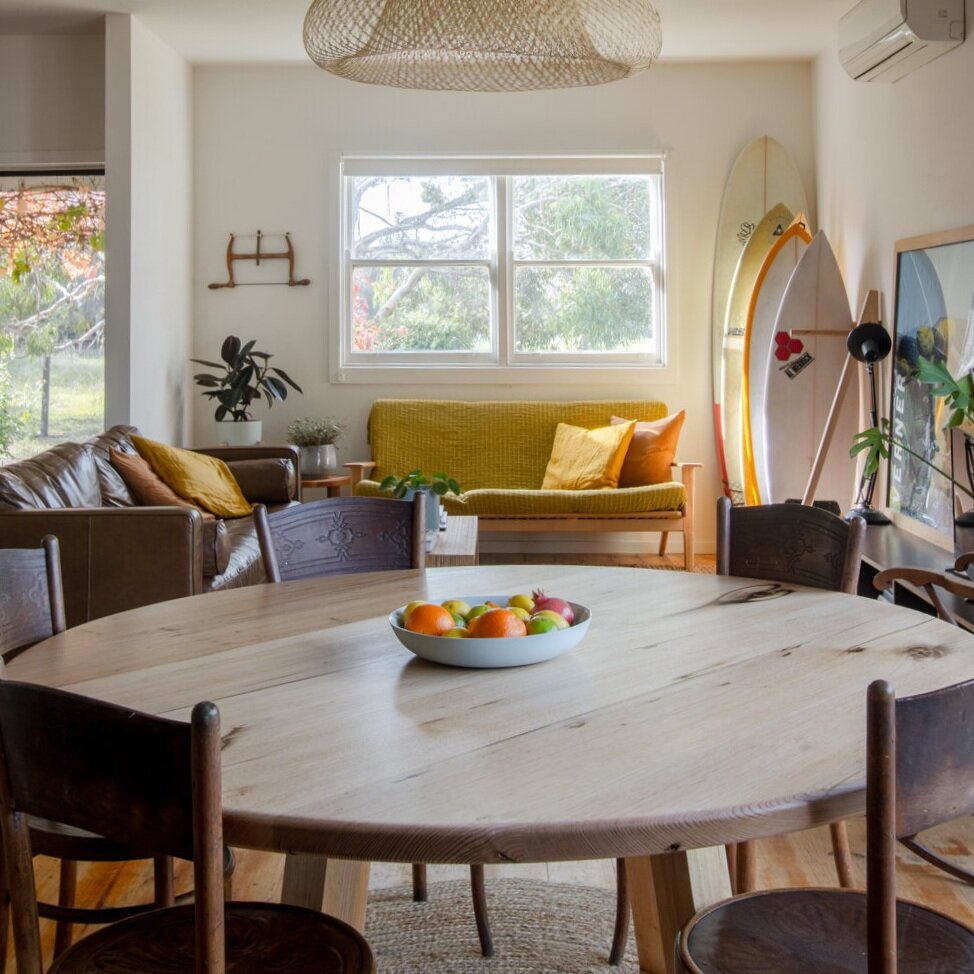


On The Journal.

For our family bathroom we wanted to create a functional, practical and beautiful space that felt like a dayspa. Click through to read how we created this space from start to finish.

Discover why we chose Champion Blinds for our new home in Torquay. From their local showroom to personalised service, learn how they transformed our space with high-quality blinds and curtains, offering convenience and expertise every step of the way.

The inspiration for our master bedroom and ensuite came from chasing the feeling we get when we stay in really beautiful places. Whenever we’re planning a trip I love to research and find unique accommodation, places that inspire creativity and ignites ideas between myself and Al. So when it came to designing our own master bedroom and ensuite that’s where we pulled inspiration from.

Step into Daisy's sweet nursery, where every piece of furniture tells a story, weaving a legacy of love from Goldie's past to Daisy's present. Join us as we pass our heirloom nursery furniture down from one sister to the next, crafted lovingly by mum and dad. A playful and peaceful room perfect for our Daisy girl.
Elevate your bedroom with our passion for design, sustainability, and the beauty of custom creations. Dive into the world of AL + IMO and transform your sleeping space into a sanctuary of style and craftsmanship.

Discover the fun journey of Goldie transitioning from her cot to a custom big girl bed in our latest blog post. Dive into a world of colour, DIY, and personalised touches as we share our creative process in designing and styling Goldie's playful toddler bedroom – where good design meets the sweetest moments of growing up.

Welcome to the Pandaemonium Paper. A humble newspaper bringing you the stories, experiences and insights of the innovators, creatives and business builders living outside the traditional metropolitan mould. Subscribe to have each issue delivered to your door every quarter.

In this post, we share some tips for when it comes to making design selections for your new home or renovation.

In this post we share how to install TouchWood timber panelling and some tips that Al has picked up along the way. They come in sheets 1200w and in lengths up to 3.6m which means you can cover a larger surface area quicker and more sustainably than using solid hardwood.

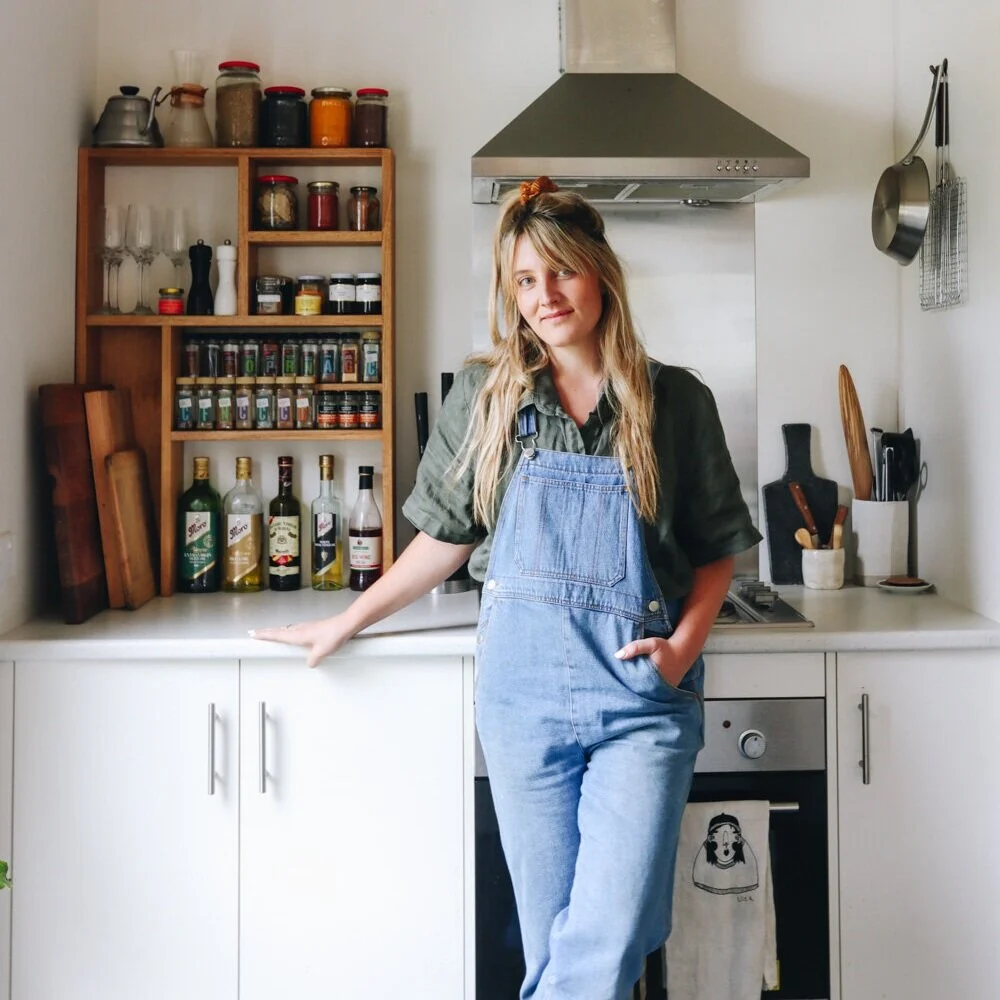
I (Imo) absolutely love dishes that are packed full of flavour and this does not disappoint. This meal freezes well too so it’s a great recipe for meal-prep.