DIY Personalised Christmas Gift Sacks
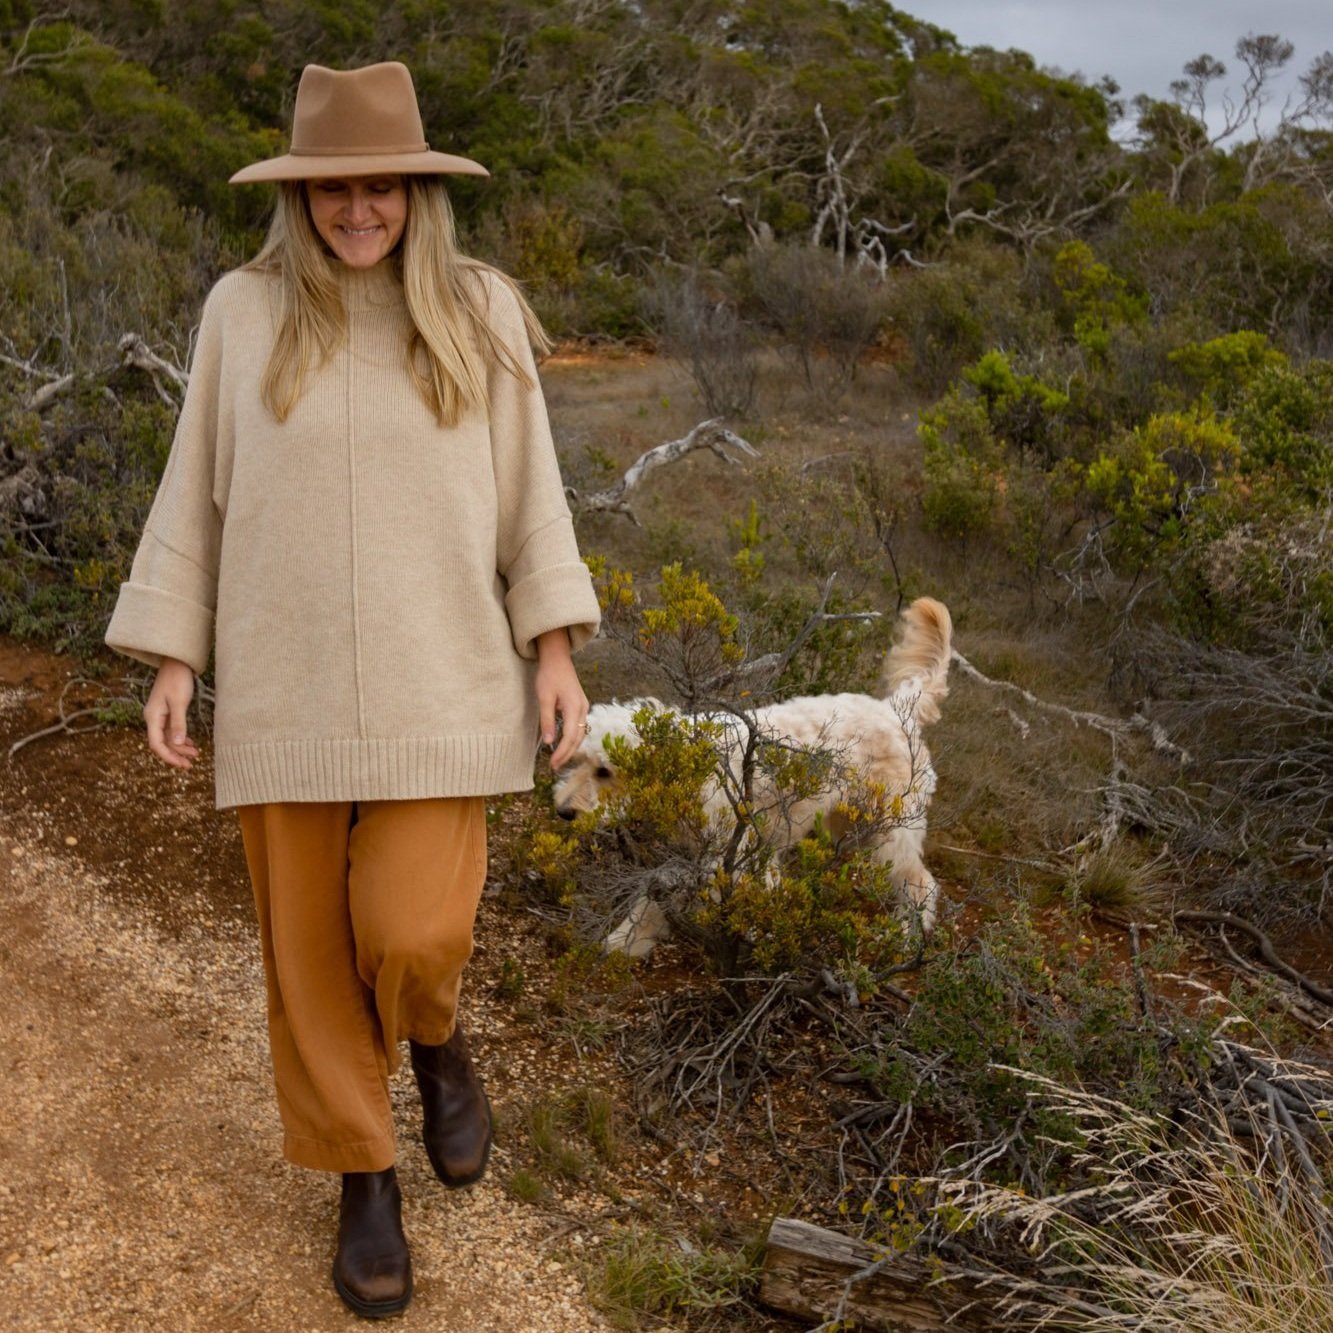
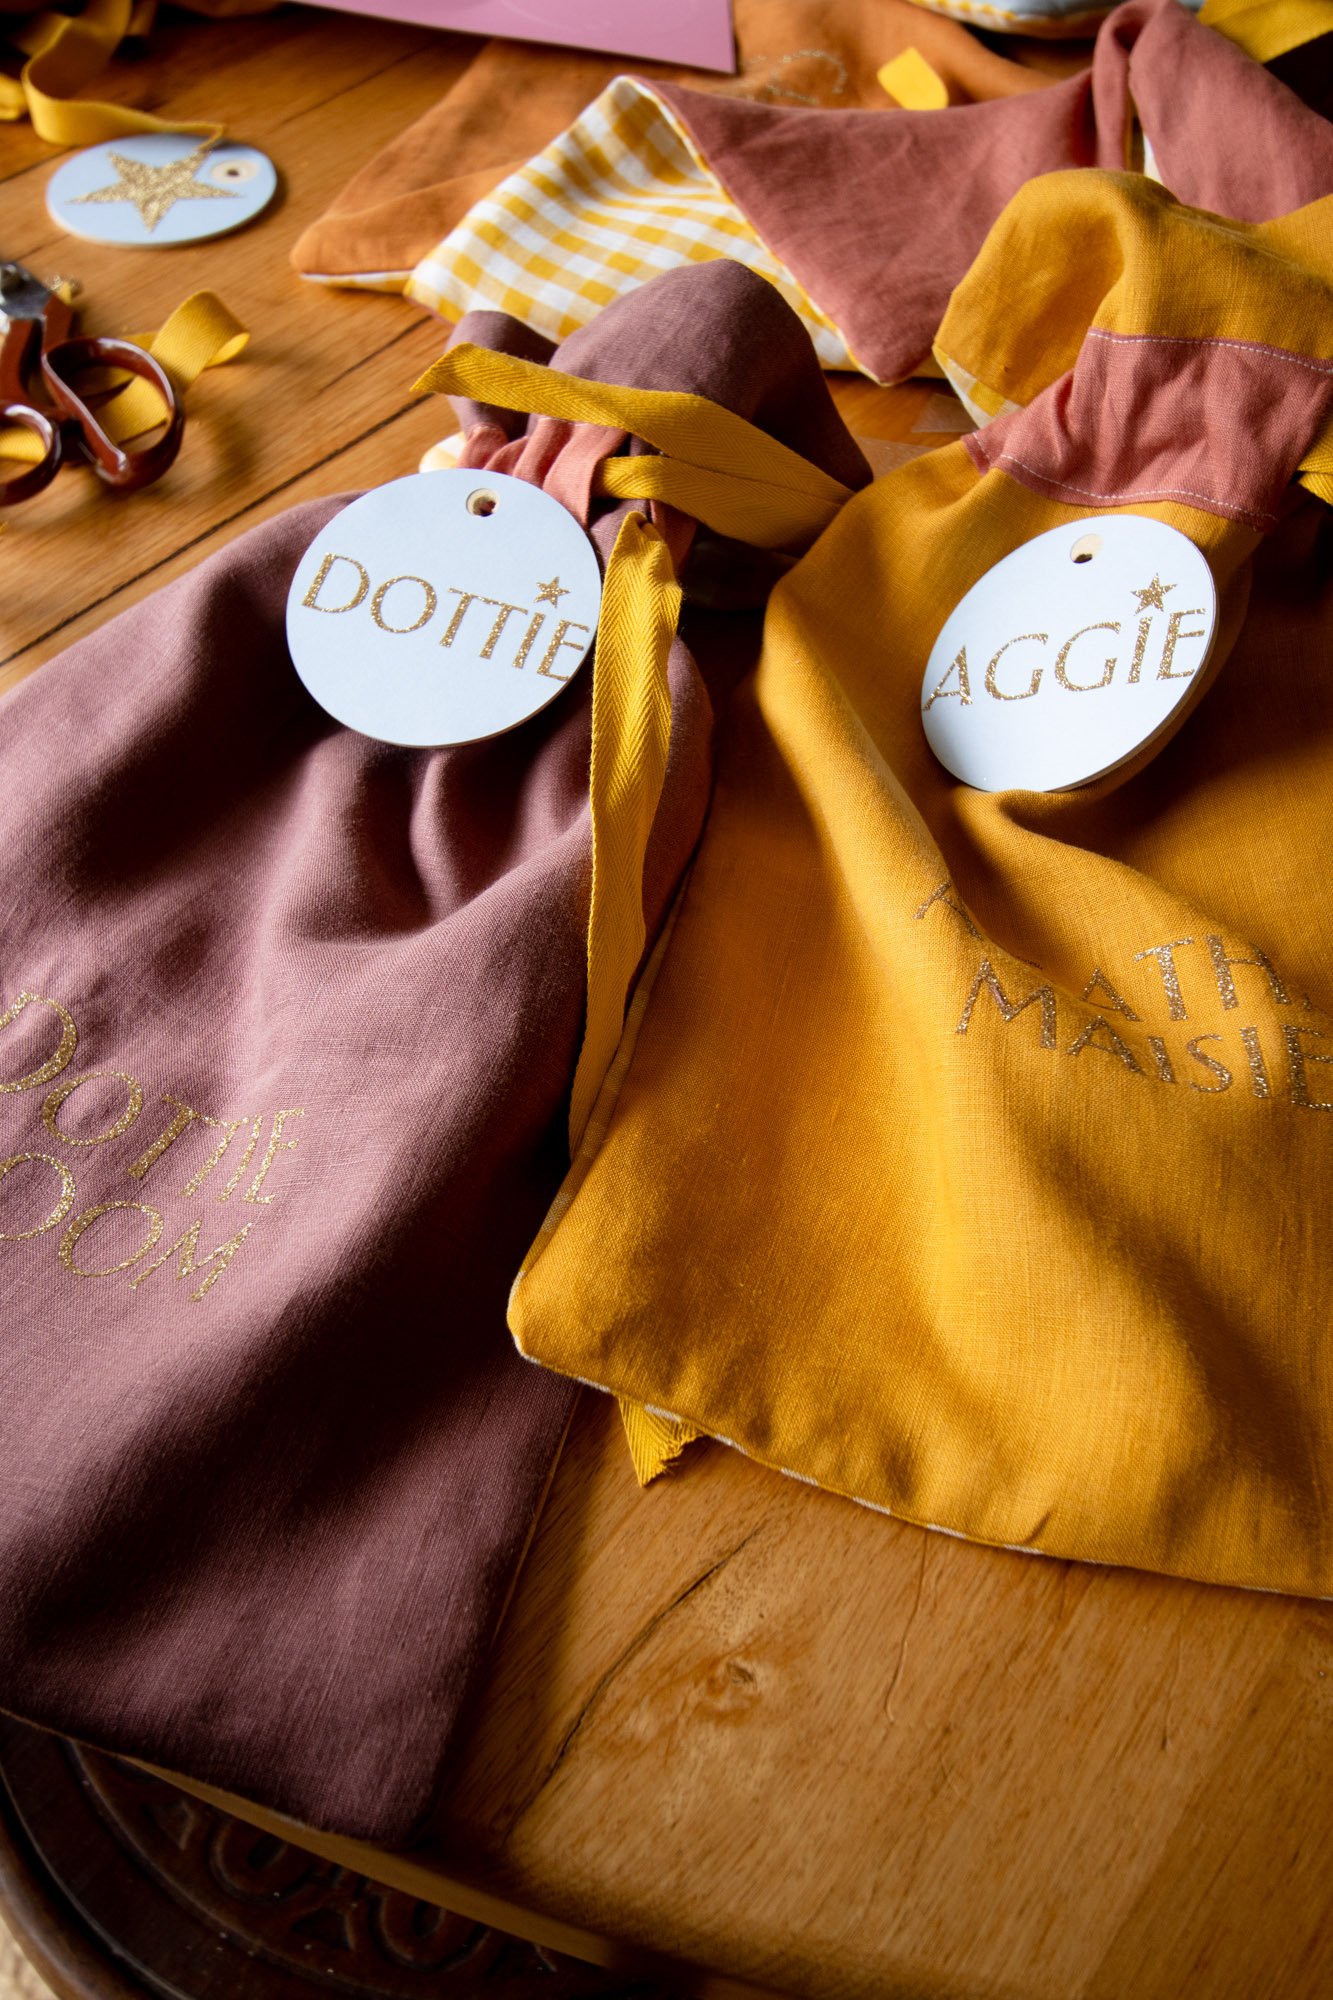
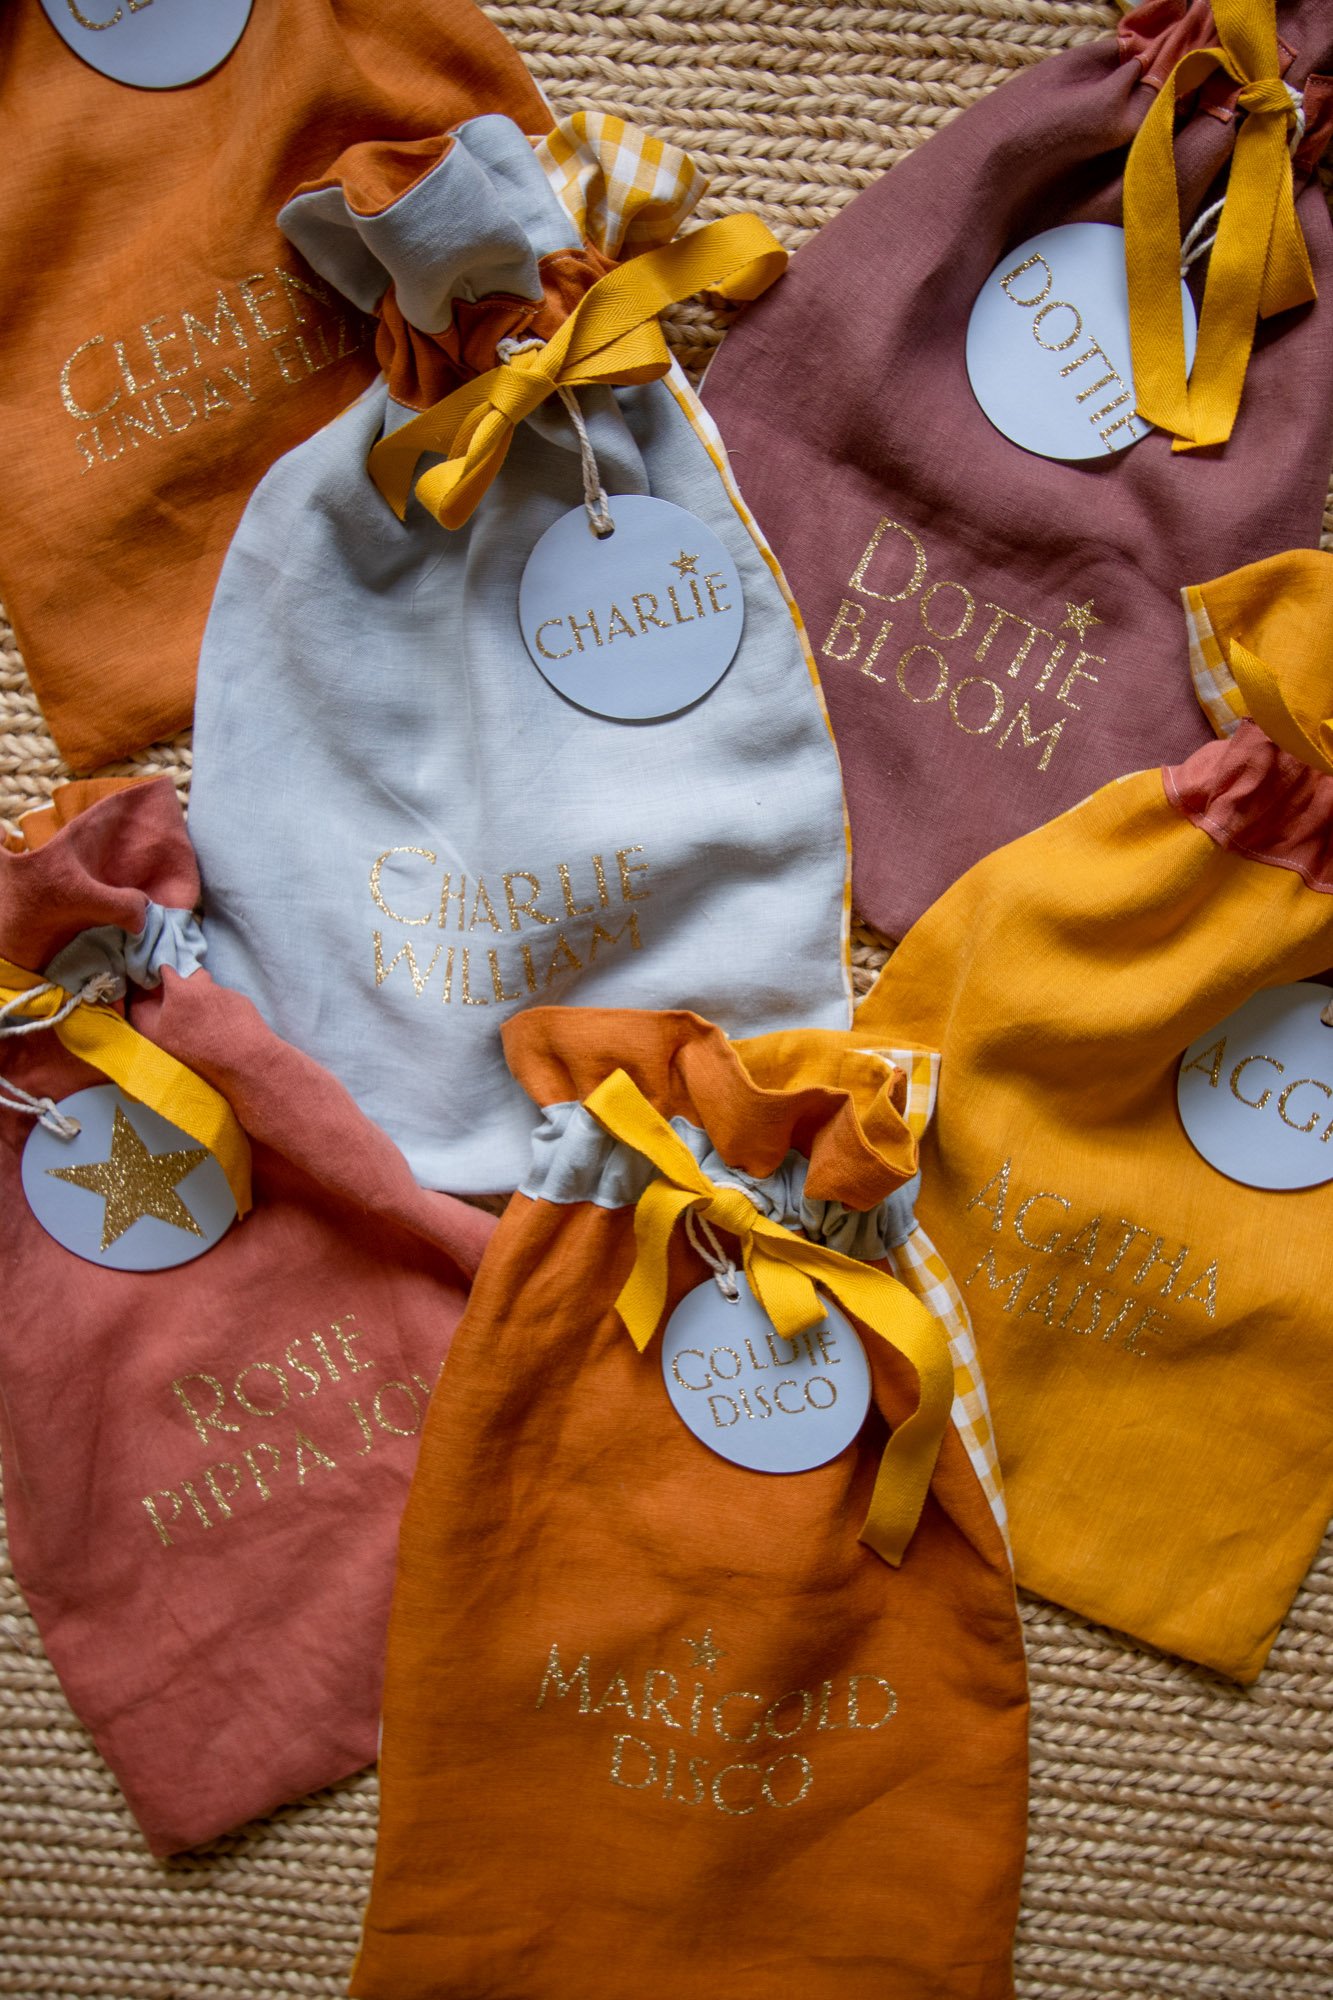
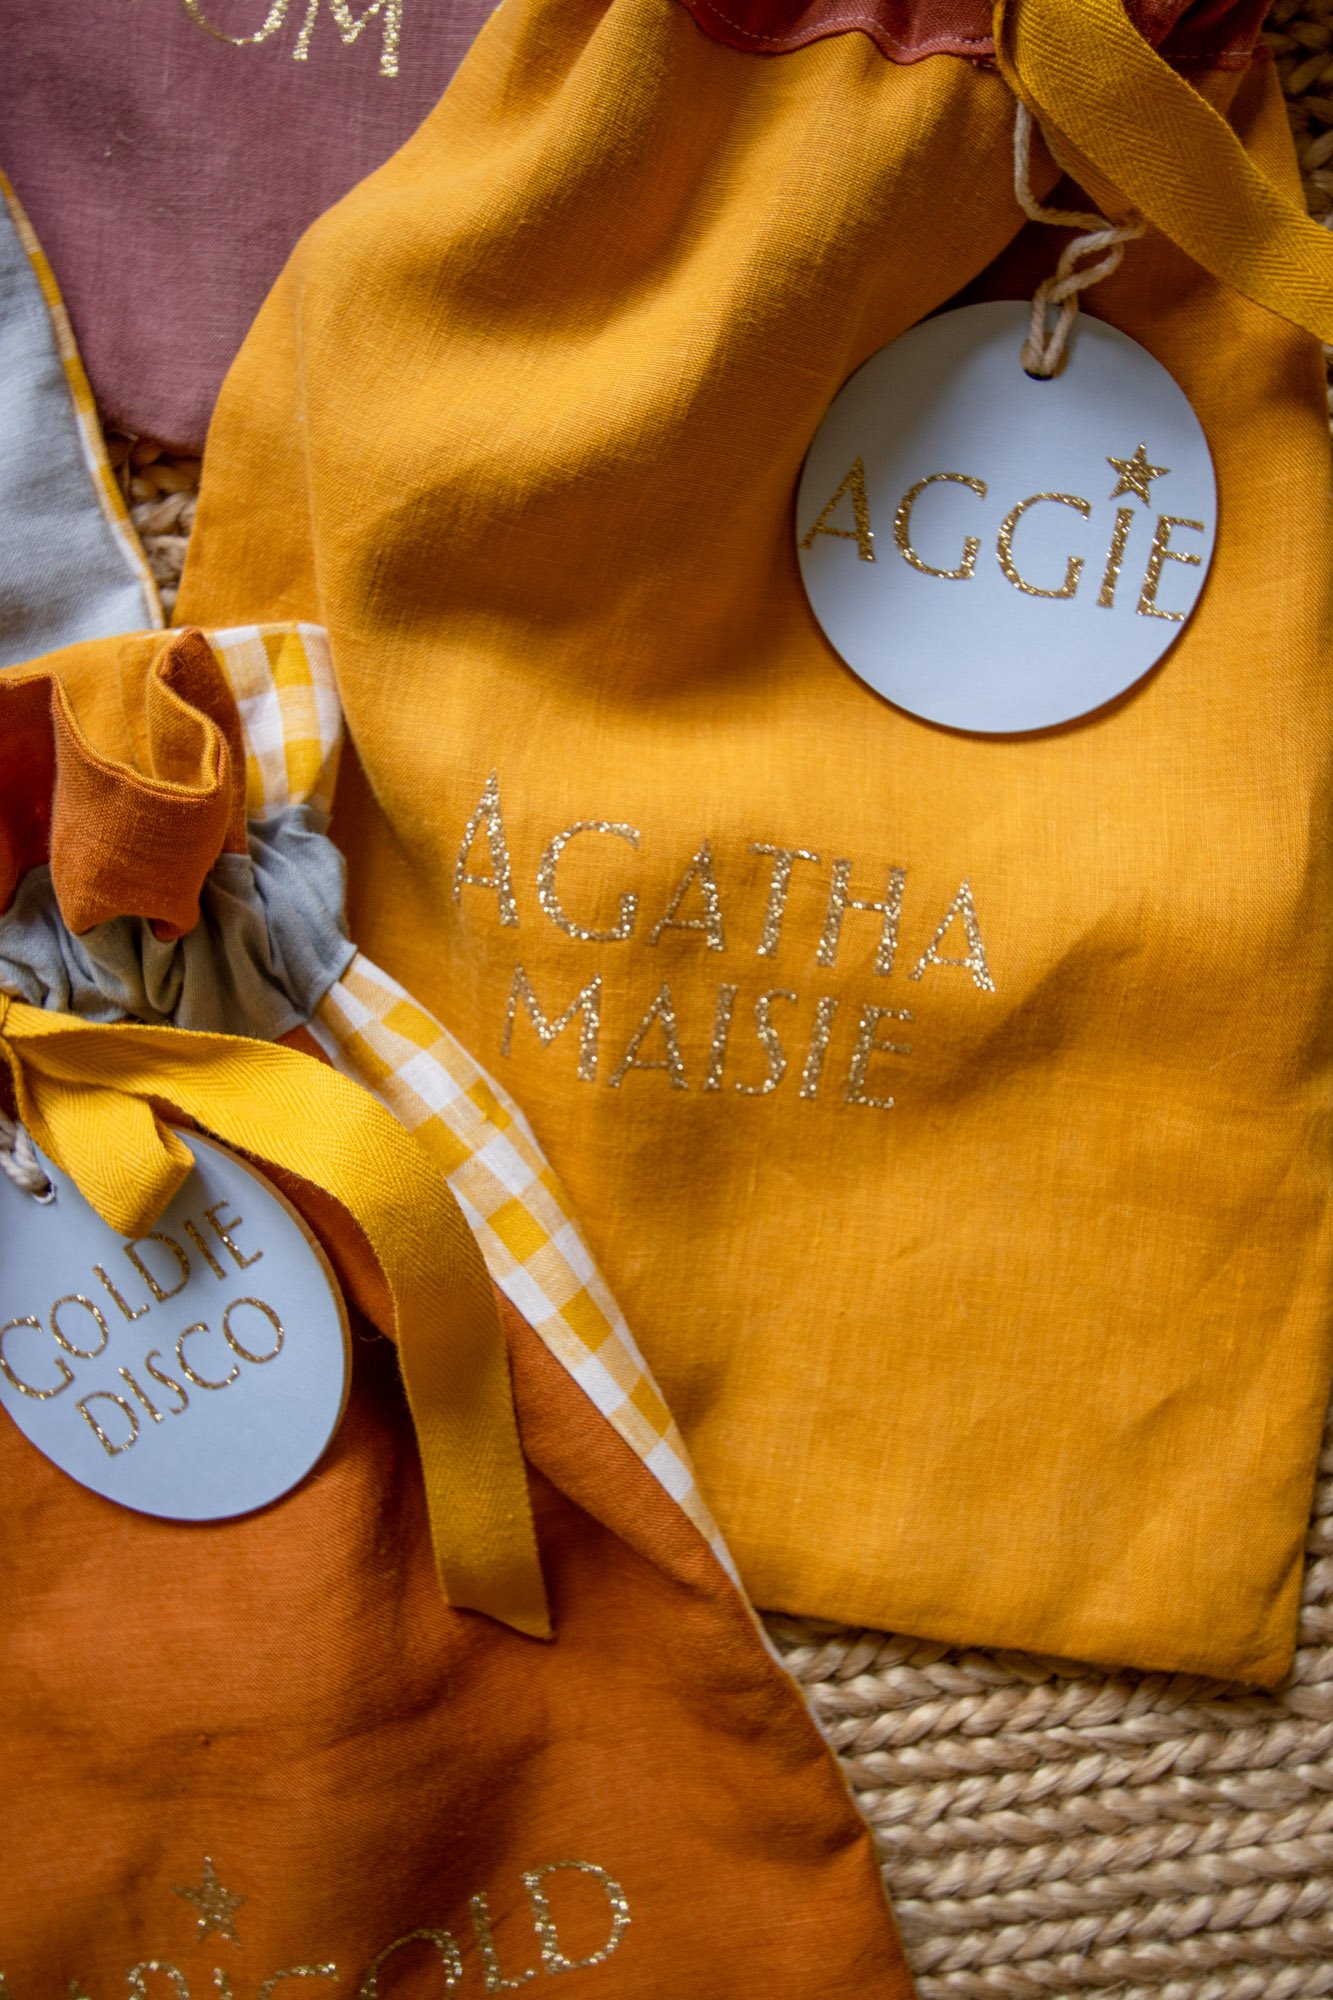
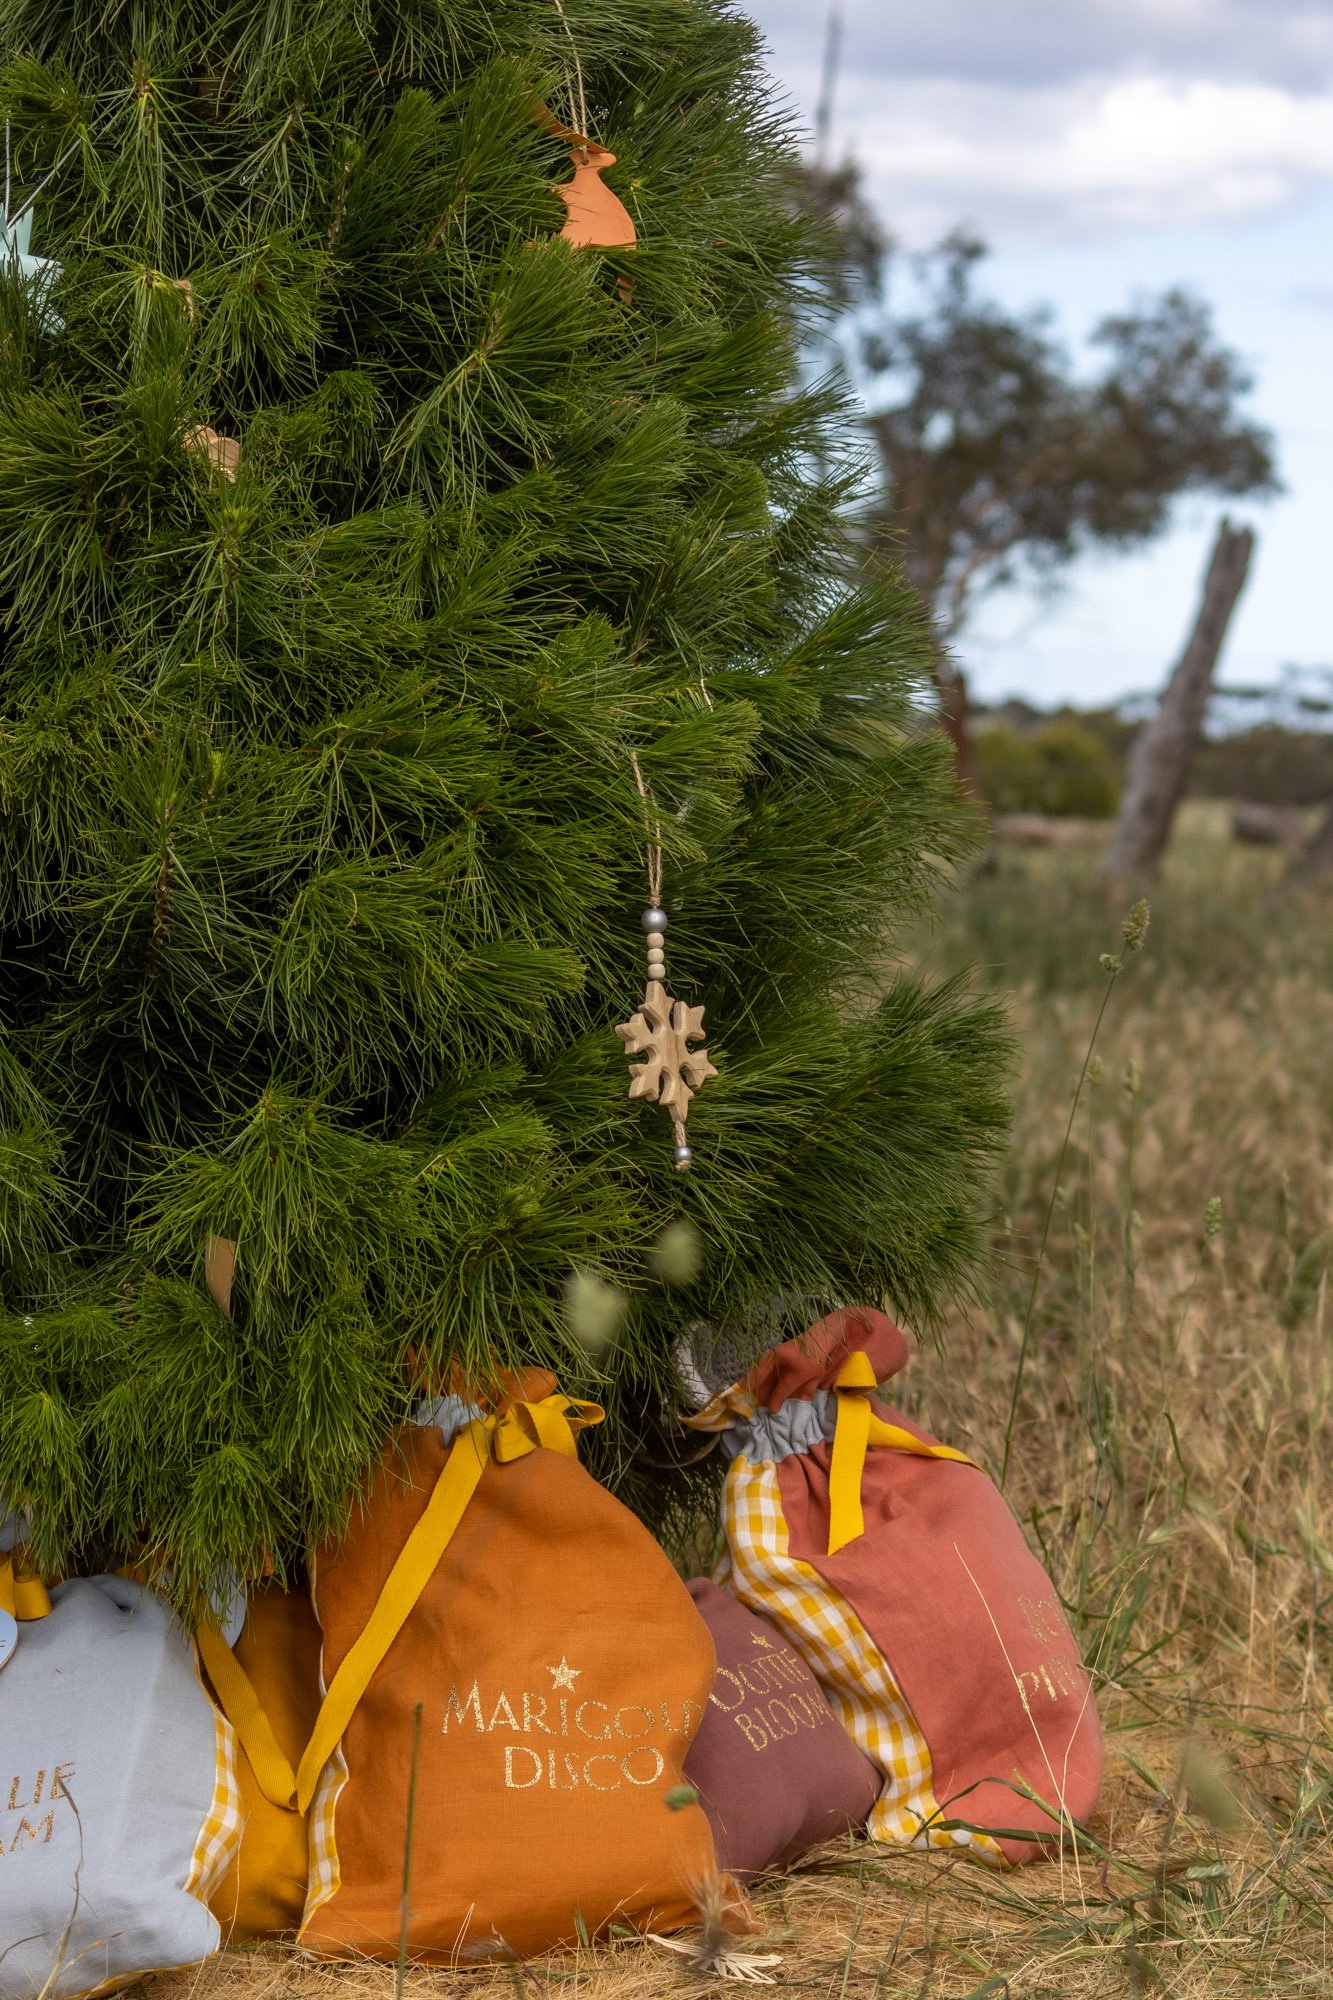
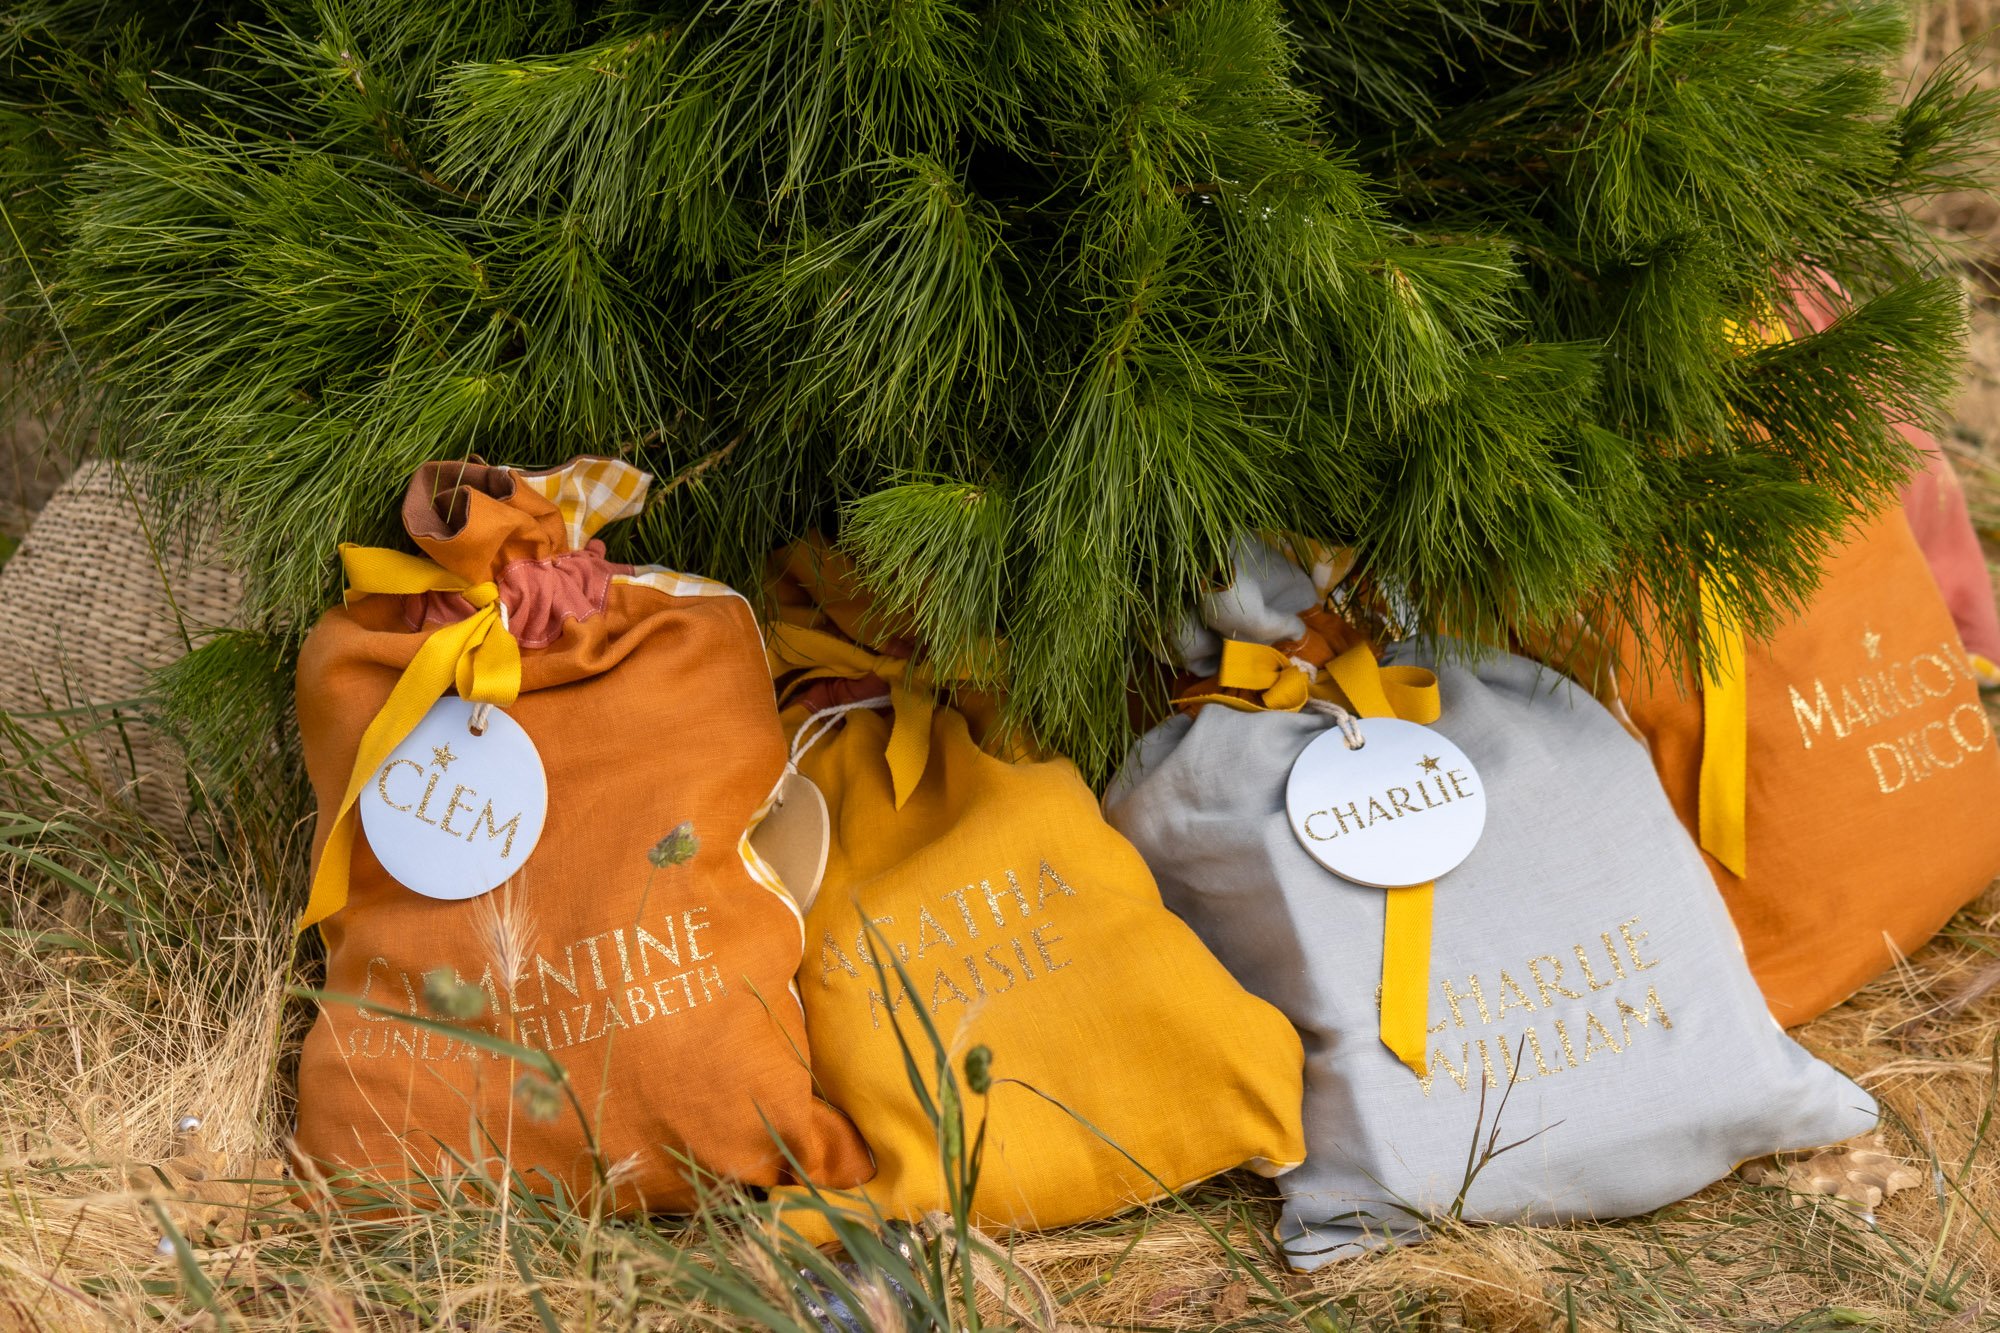
G’day guys, this holiday season I’ve teamed up with Cricut to create DIY personalised Christmas gift sacks for Goldie and all of her little friends. This is a really fun project and I know the kids will enjoy them for many years to come. I hope this inspires you to get crafty this holiday season and from my family to yours Merry Christmas!


Step 1.
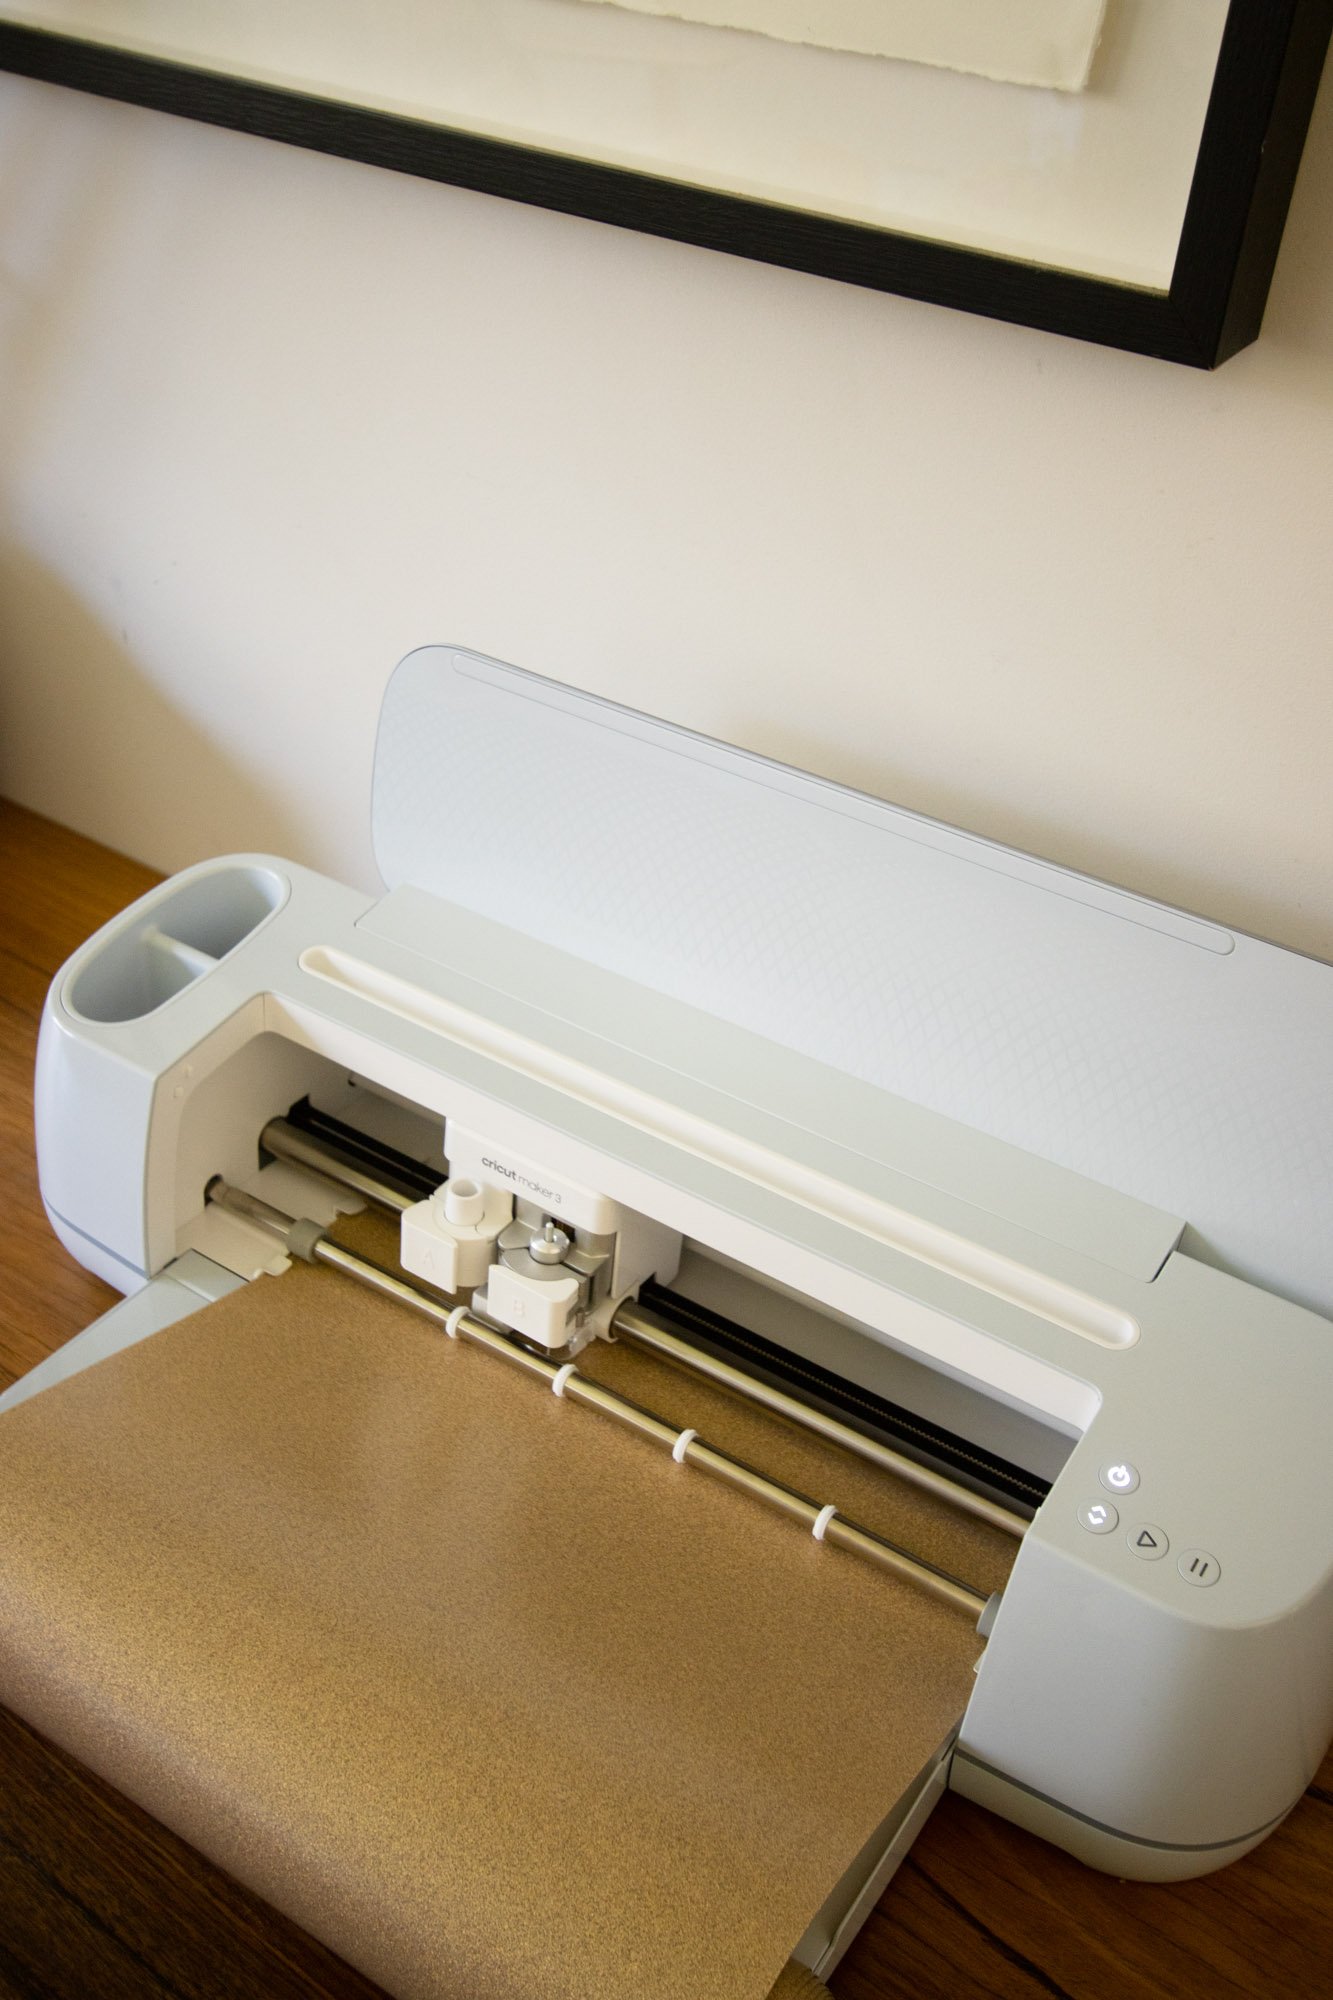
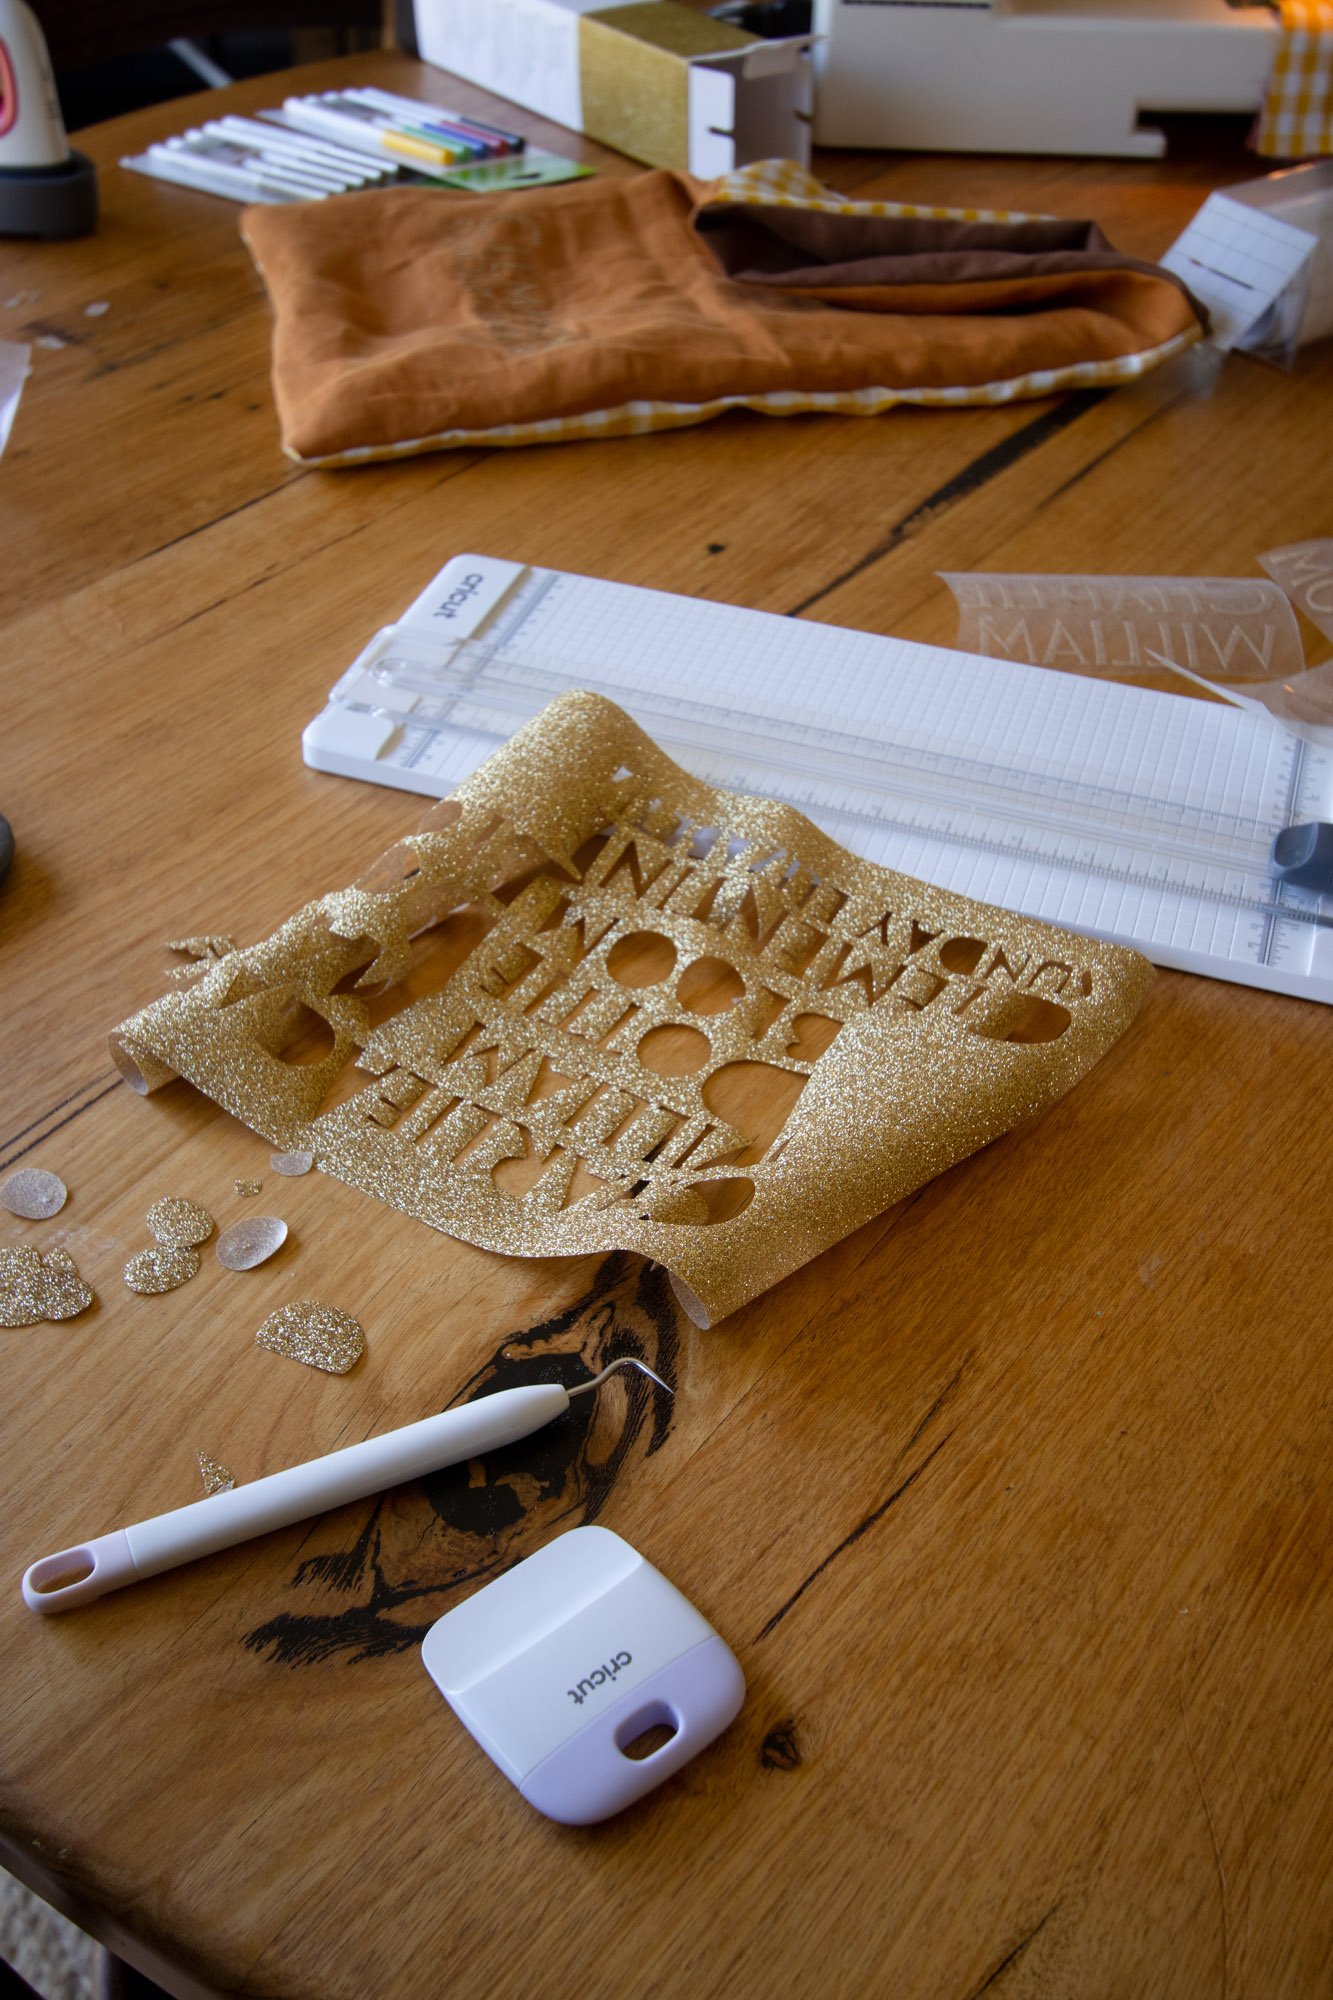
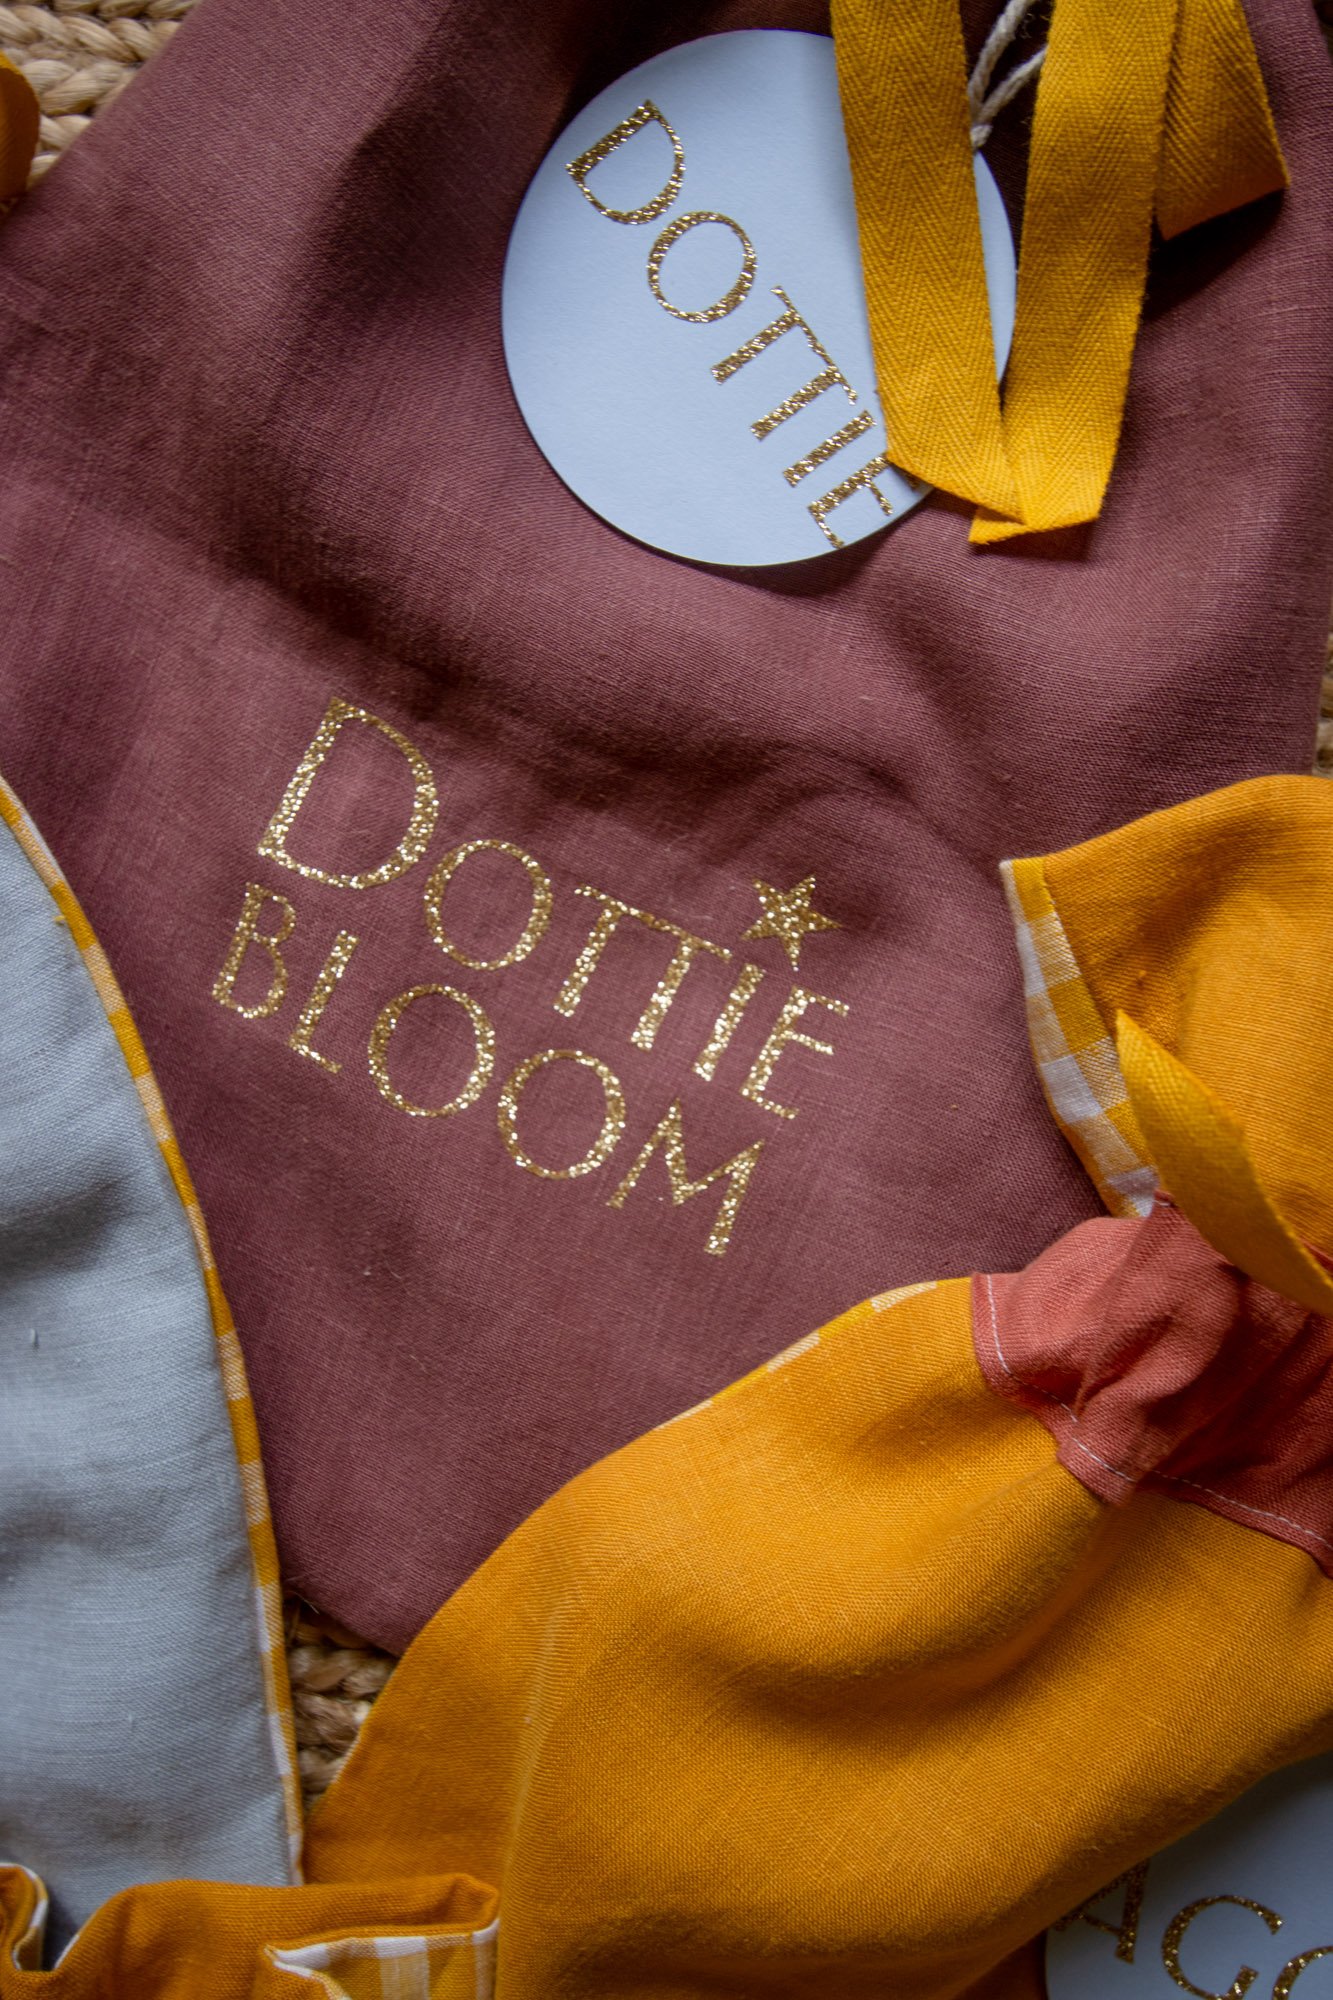
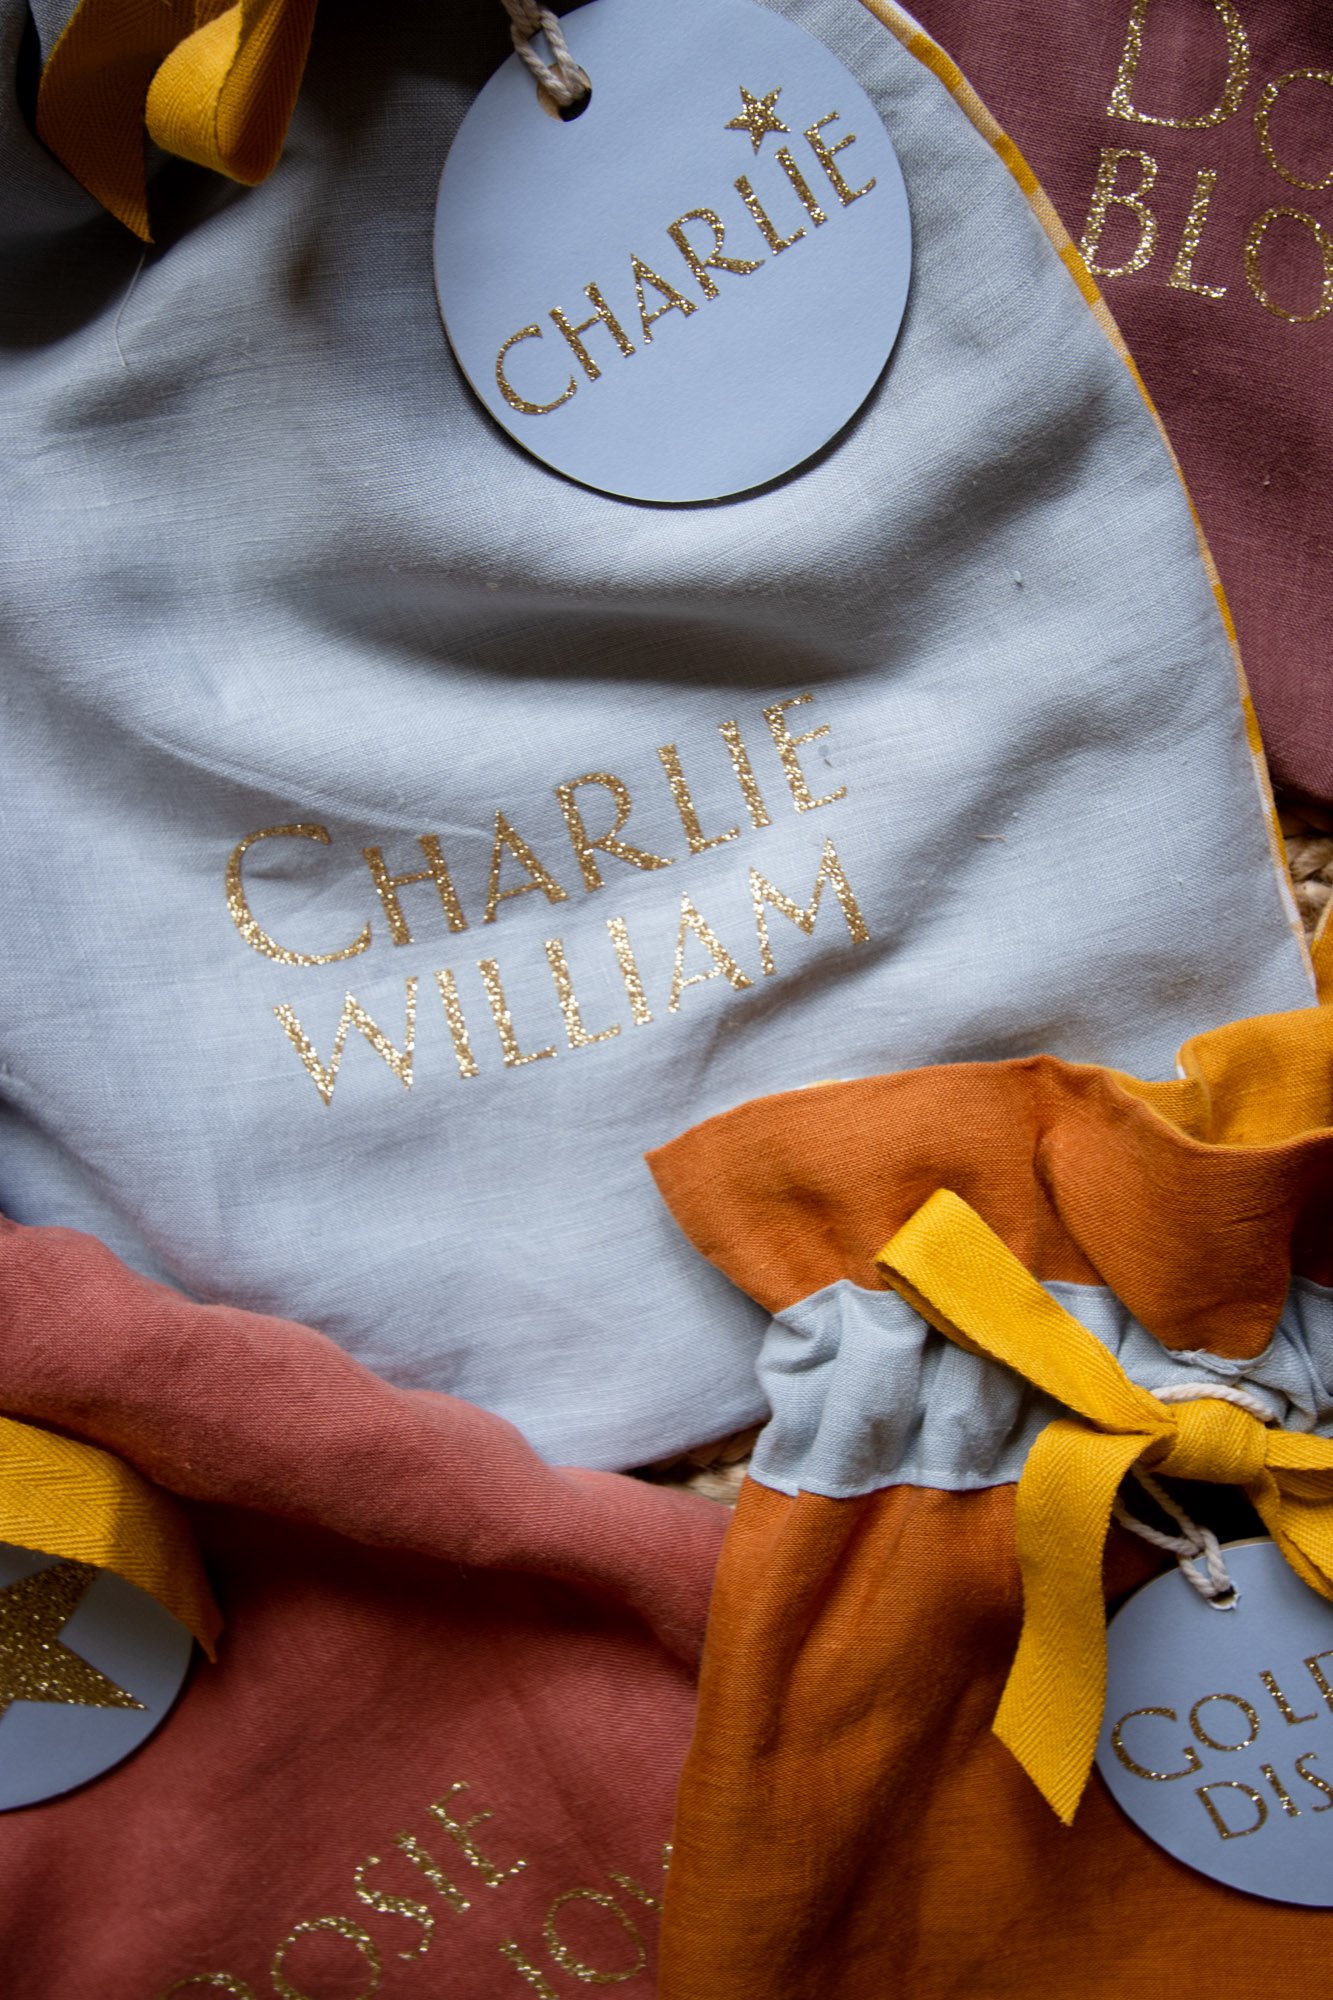
The first thing I did was create the design in Cricut Design Space, I decided to use glitter iron on vinyl to add a touch of Christmas magic. I mirrored my designs and sent them to the Cricut 3 machine which cut them out quickly and precisely. I then used the weeder tool to remove the excess iron-on, leaving my designs on the liner.

Step 2.
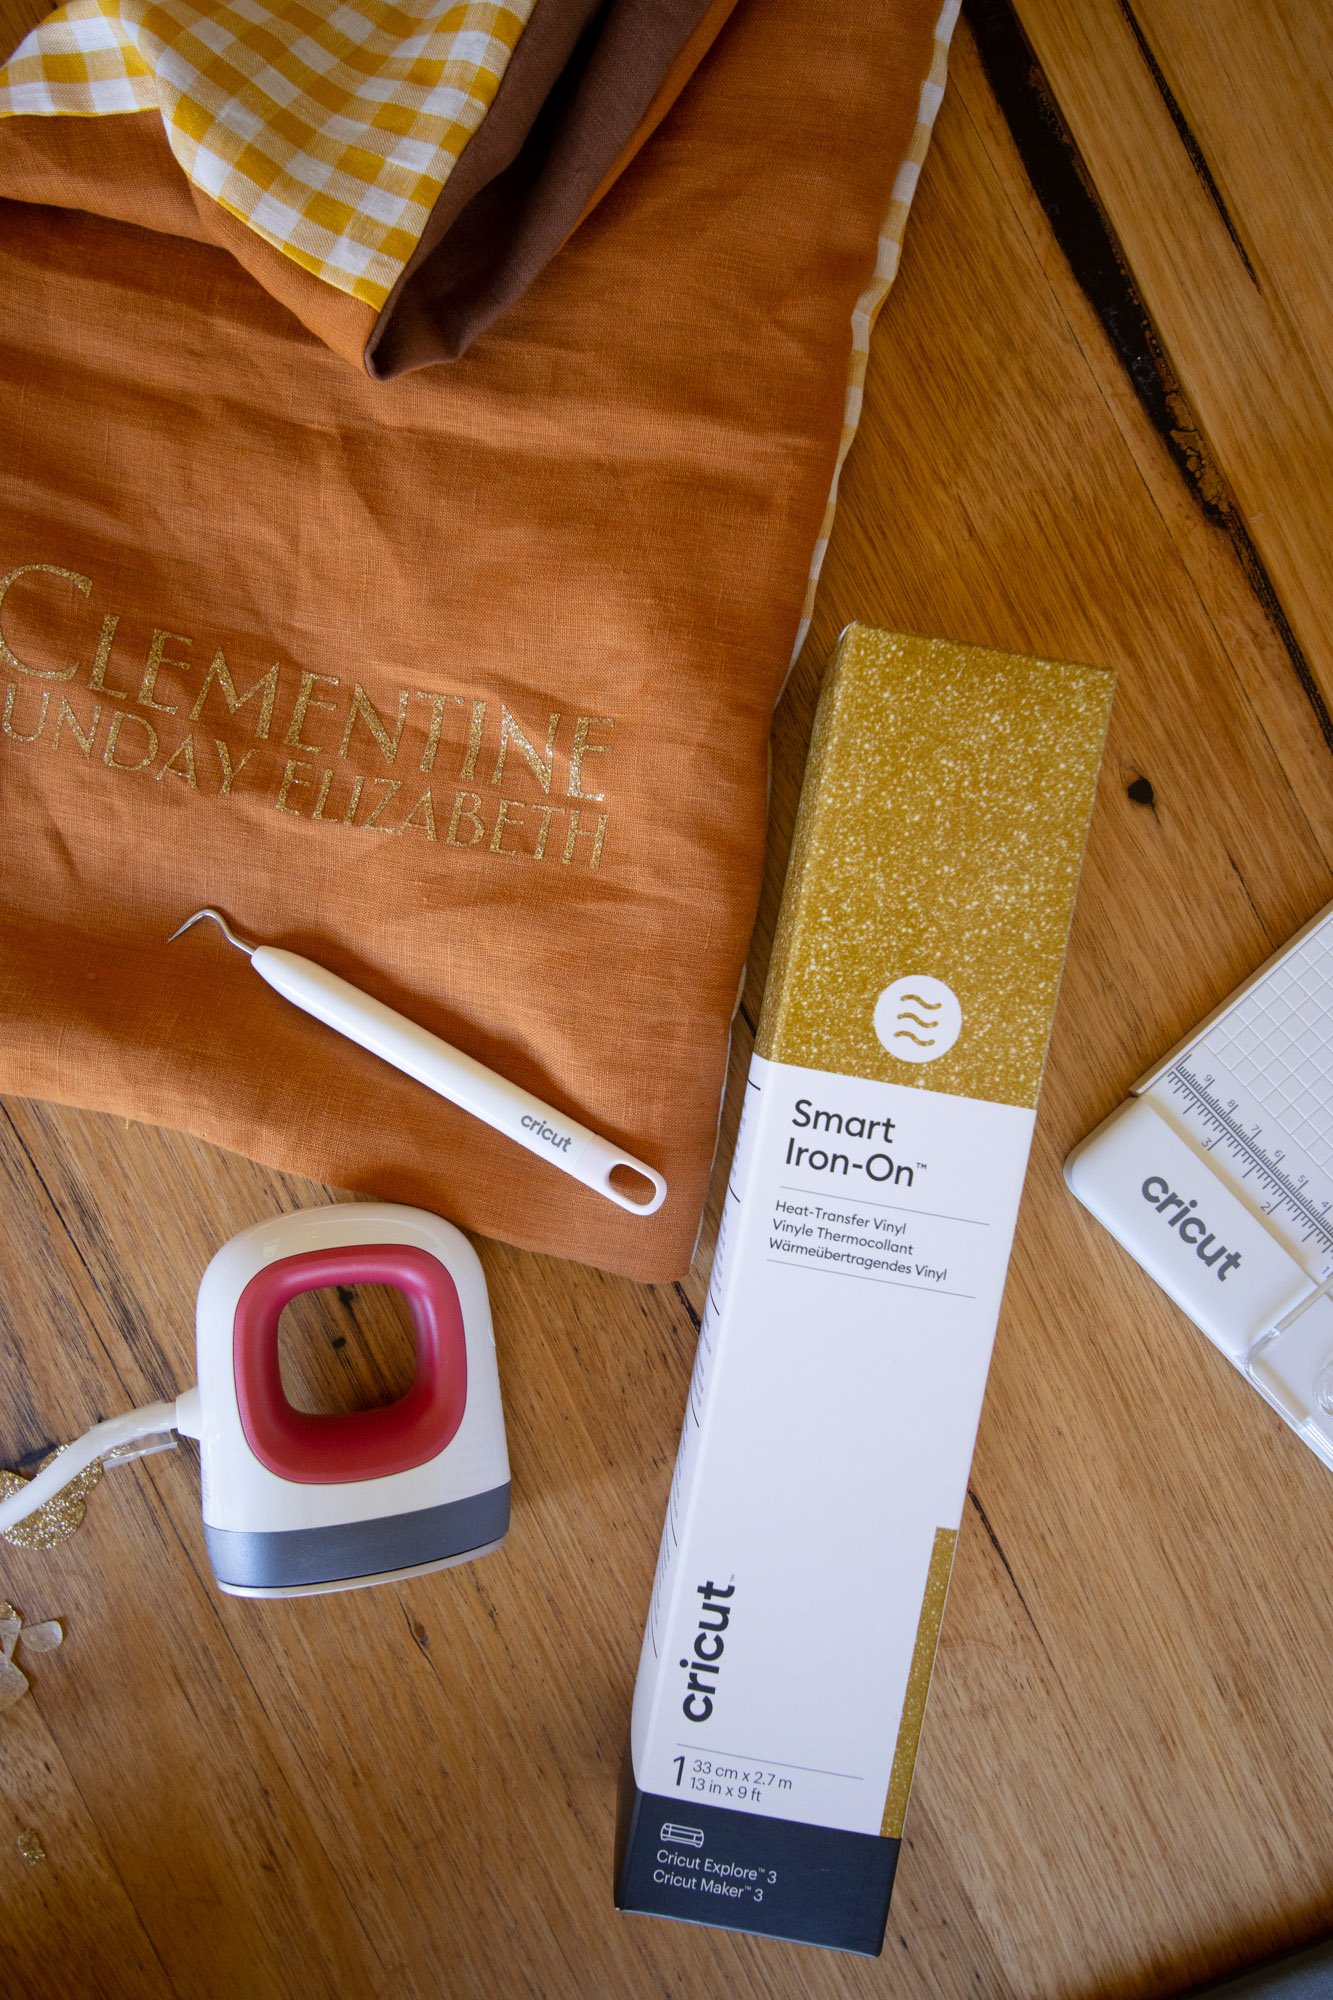
I used the Cricut Easy Press Mini and pad to transfer my designs onto the fabric. I pressed the front, then flipped the fabric over, pressed from the back and just like that the liner came off.
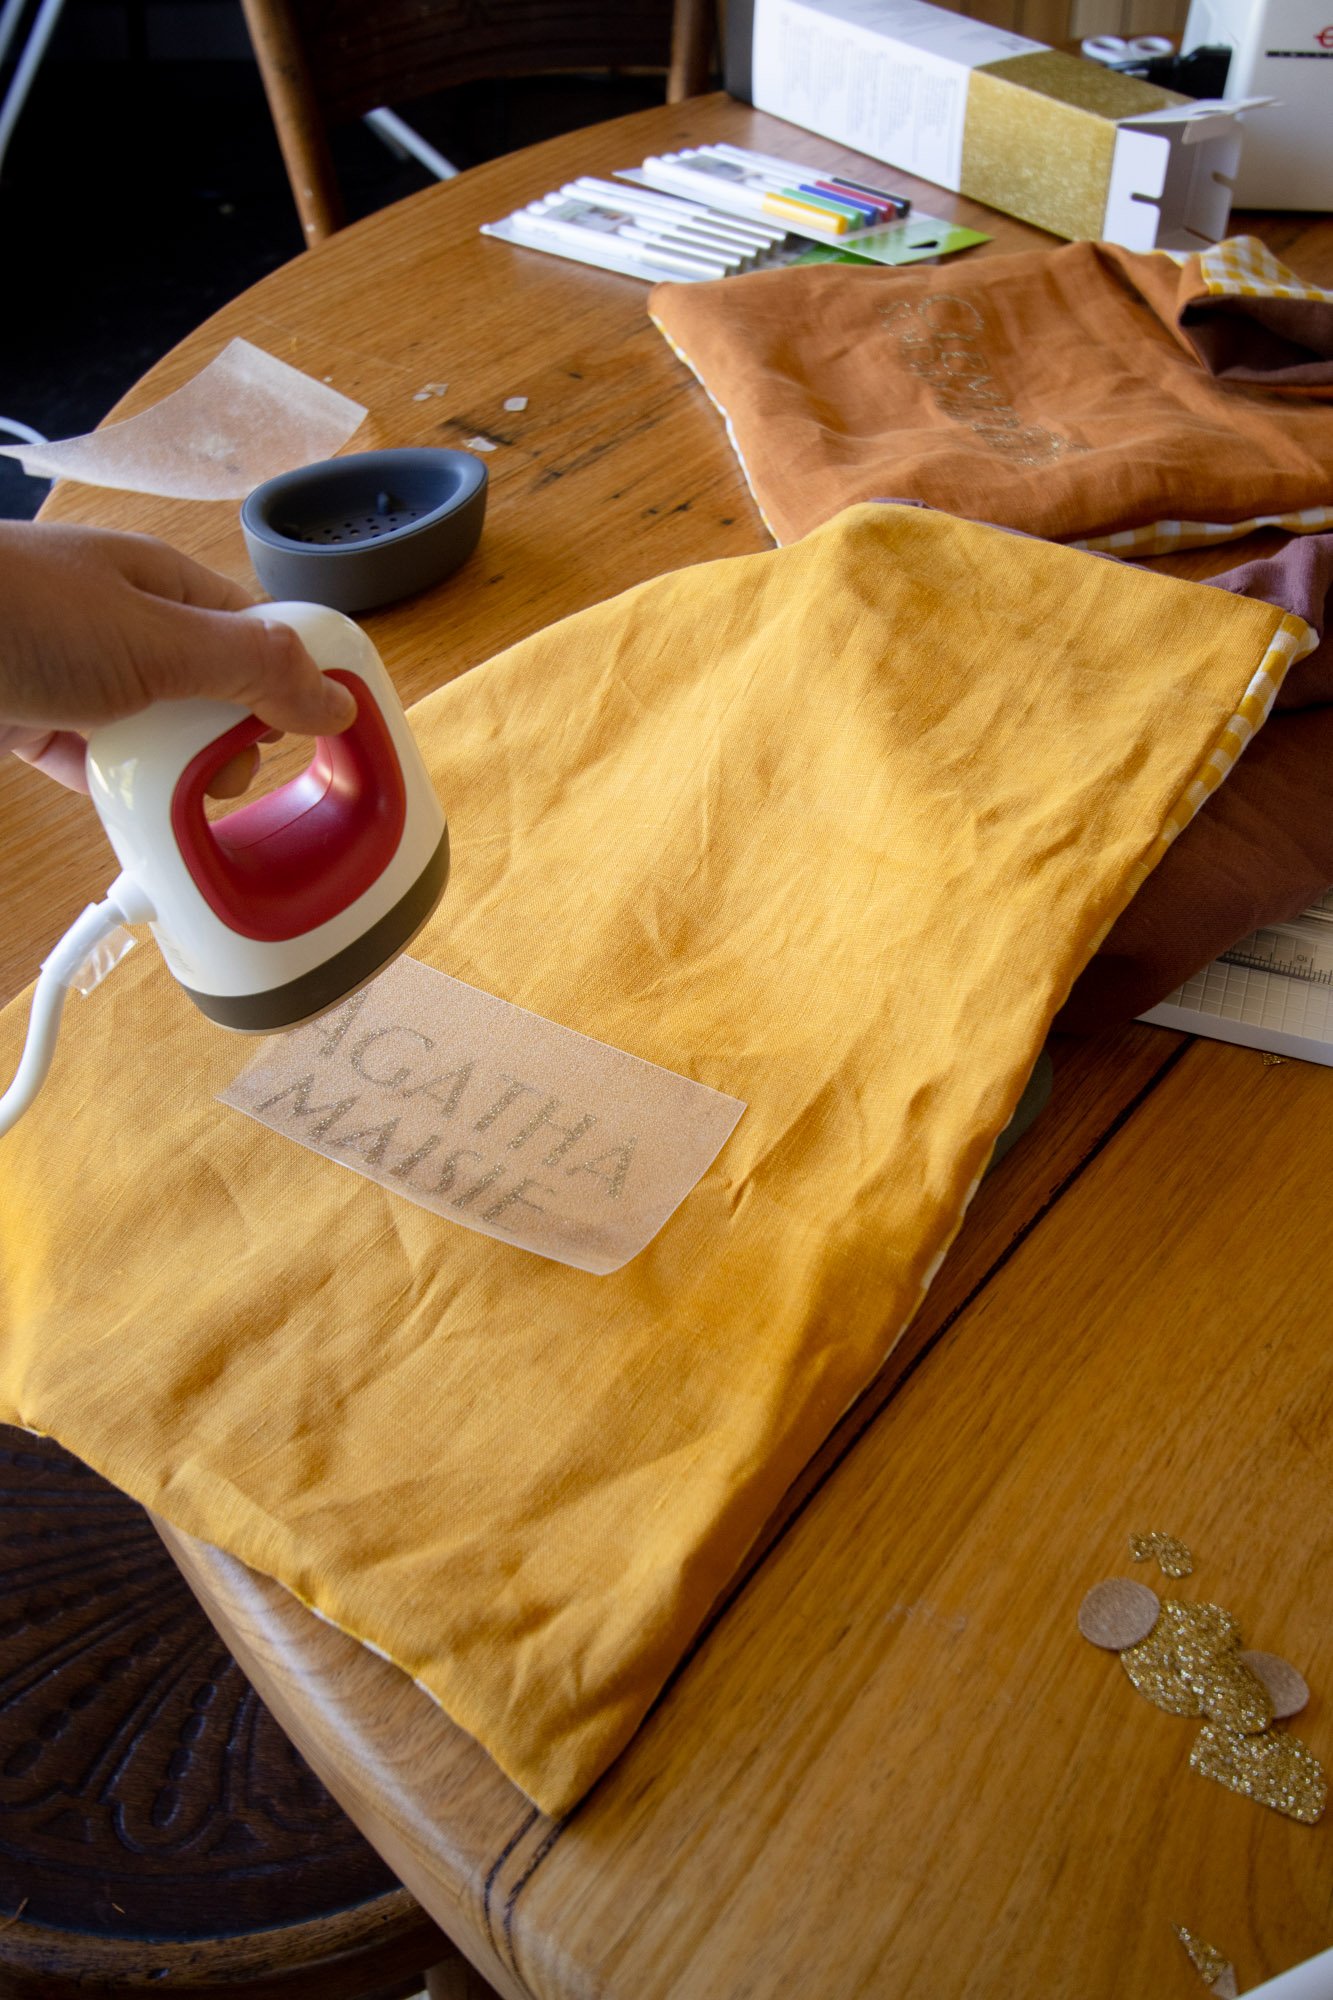
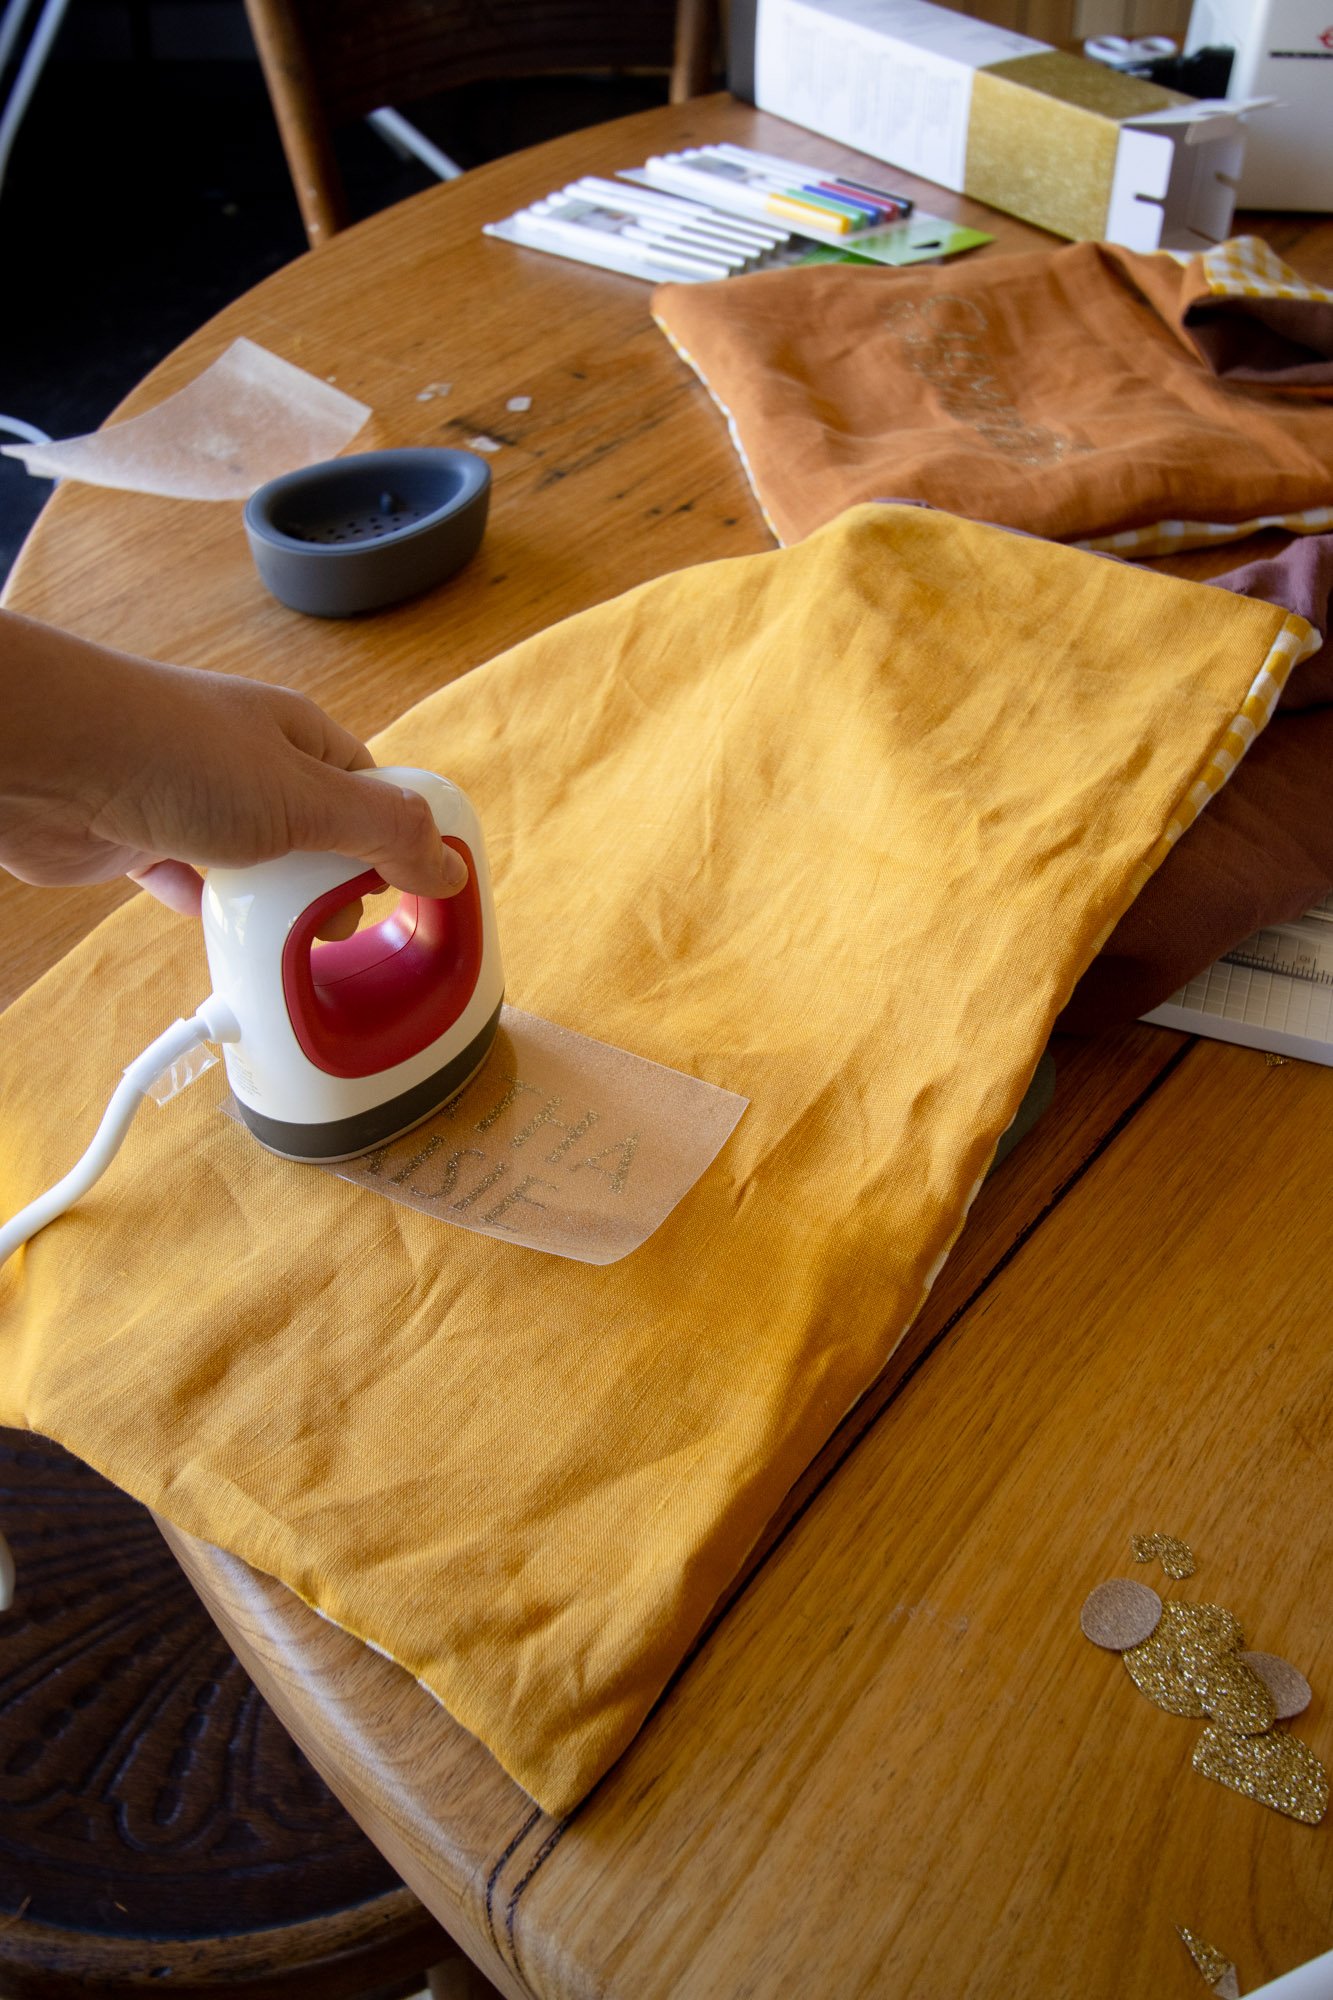
Step 3.
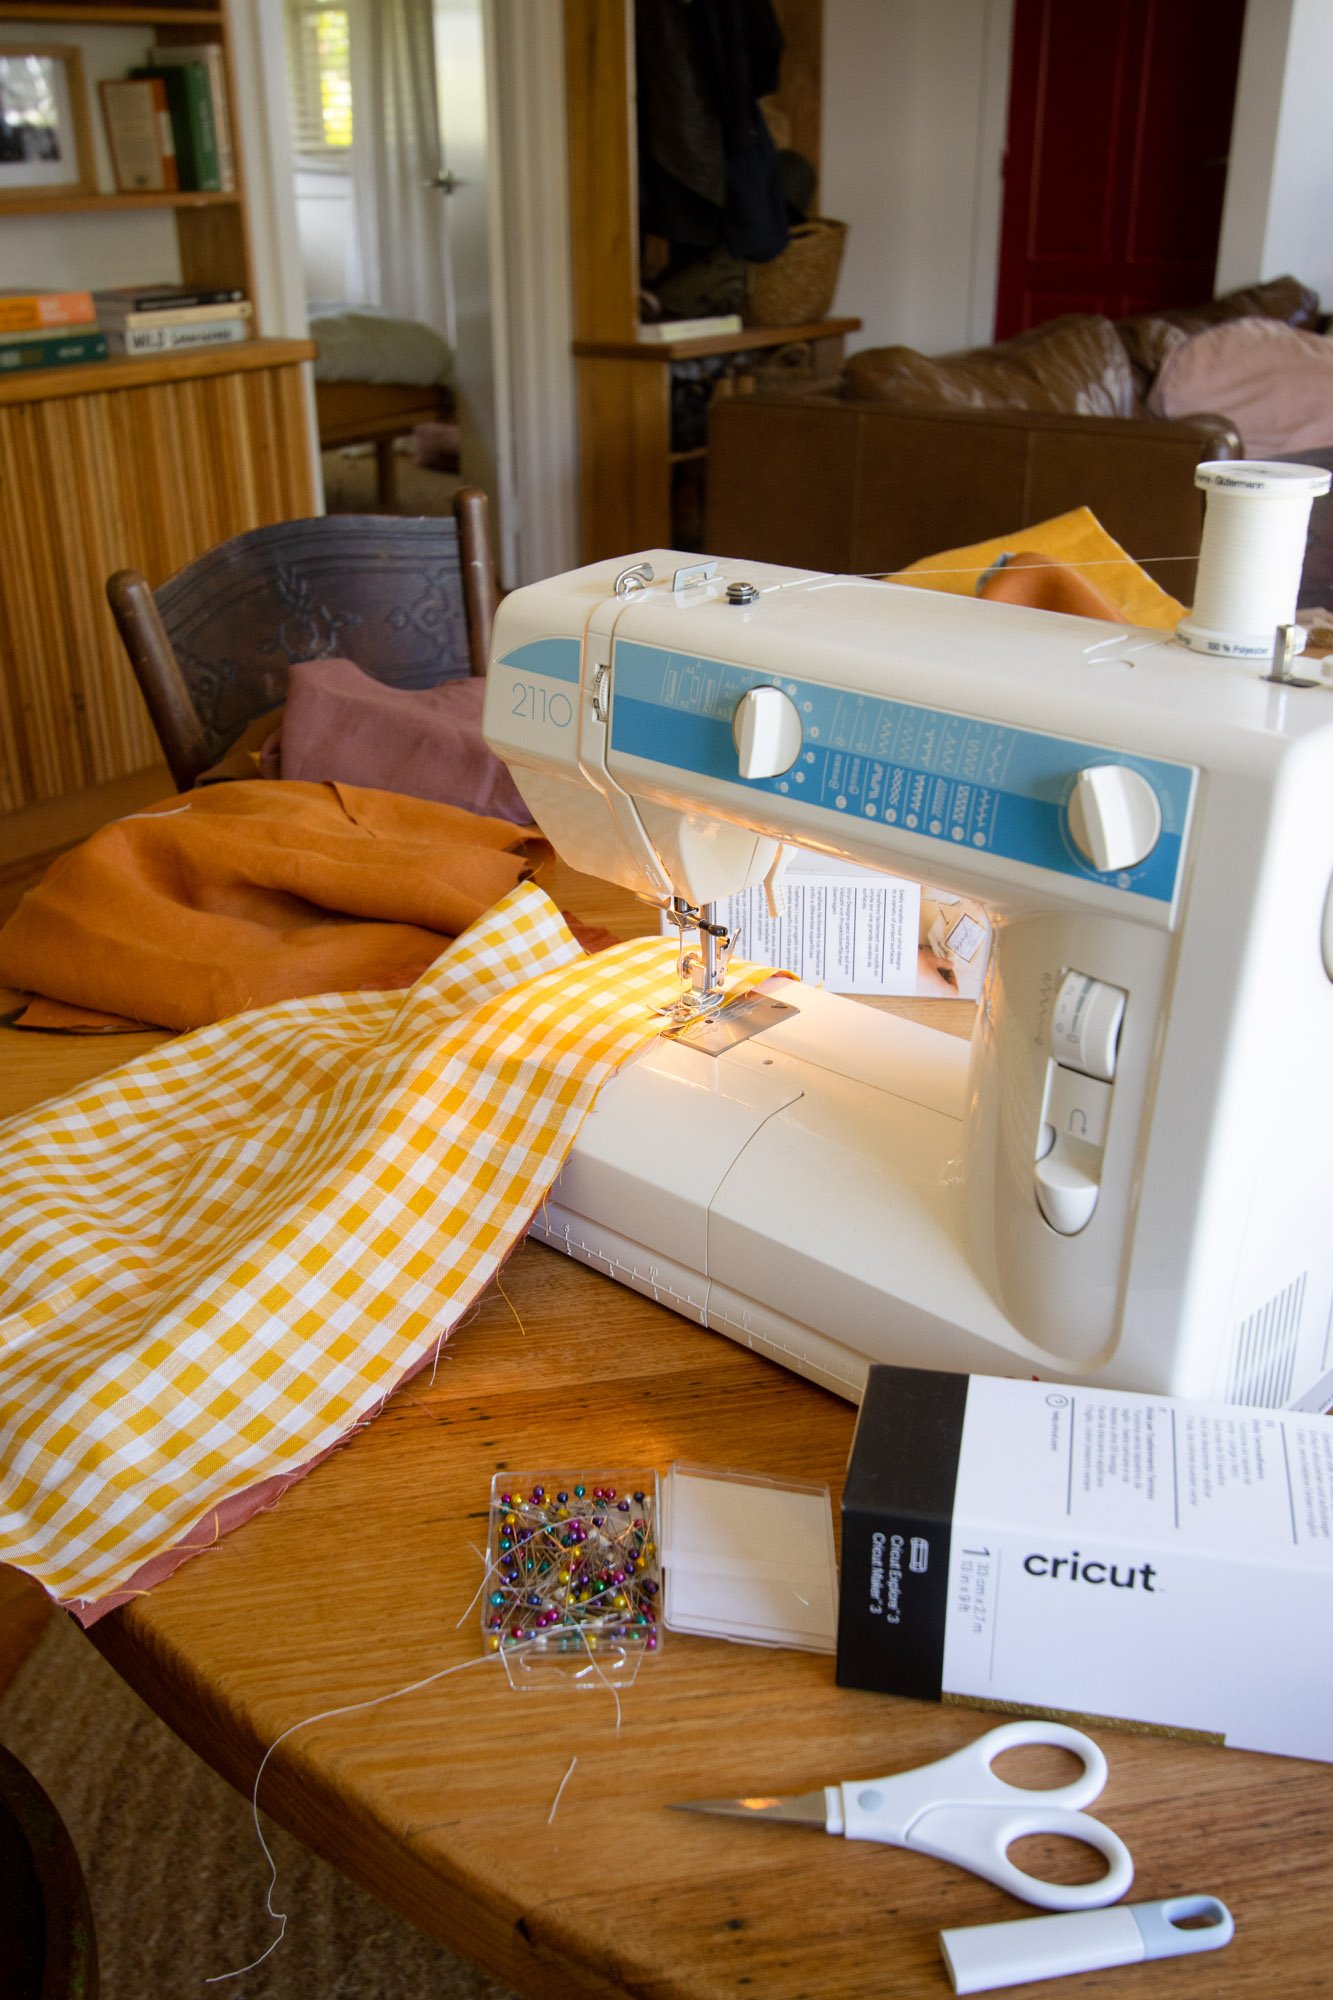
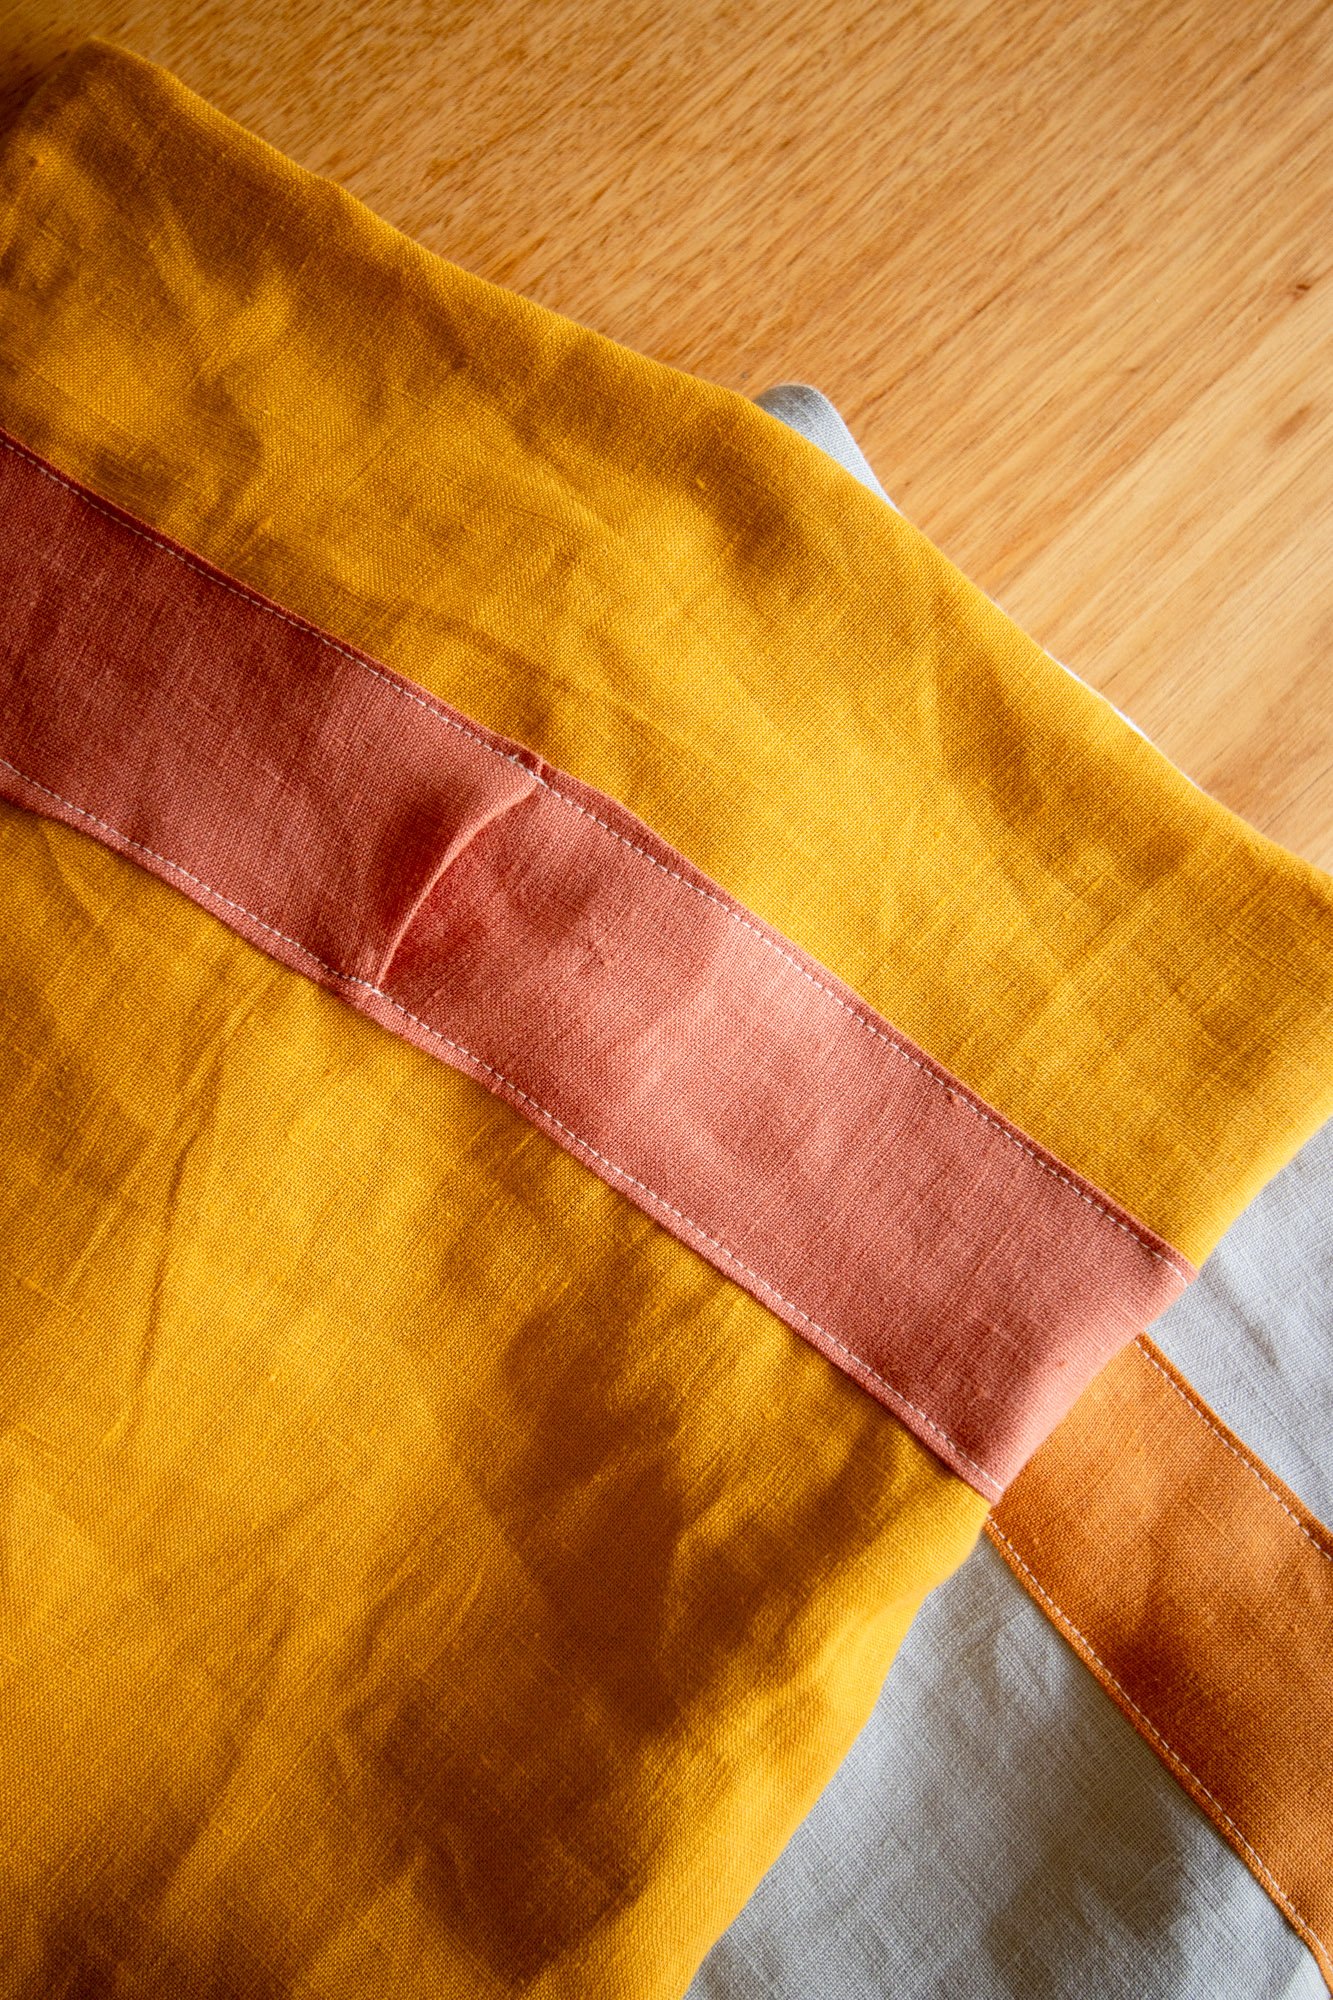
I sewed the front and back fabric, repeated for the internal lining then sewed them together so that all of my seams were hidden. I added a casing to the outside of the bags and threaded through cotton ribbon. I used clear nail varnish to ensure the ends didn’t fray. For a finishing touch I added personalised Christmas decorations.



Around the Home


Hey!
We’re Al + Imo
We’re a husband and wife duo, building our dream life one DIY project at a time. We are proudly self-taught, furniture-makers, business owners, designers and stylists.
DIY RUNS IN OUR DNA
We firmly believe what you learn should be shared which is why we created our Journal. A place where you can learn new skills and be inspired by other creatives.
Top Categories
ON THE JOURNAL
For our family bathroom we wanted to create a functional, practical and beautiful space that felt like a dayspa. Click through to read how we created this space from start to finish.
Discover why we chose Champion Blinds for our new home in Torquay. From their local showroom to personalised service, learn how they transformed our space with high-quality blinds and curtains, offering convenience and expertise every step of the way.
The inspiration for our master bedroom and ensuite came from chasing the feeling we get when we stay in really beautiful places. Whenever we’re planning a trip I love to research and find unique accommodation, places that inspire creativity and ignites ideas between myself and Al. So when it came to designing our own master bedroom and ensuite that’s where we pulled inspiration from.
Step into Daisy's sweet nursery, where every piece of furniture tells a story, weaving a legacy of love from Goldie's past to Daisy's present. Join us as we pass our heirloom nursery furniture down from one sister to the next, crafted lovingly by mum and dad. A playful and peaceful room perfect for our Daisy girl.
Elevate your bedroom with our passion for design, sustainability, and the beauty of custom creations. Dive into the world of AL + IMO and transform your sleeping space into a sanctuary of style and craftsmanship.
Discover the fun journey of Goldie transitioning from her cot to a custom big girl bed in our latest blog post. Dive into a world of colour, DIY, and personalised touches as we share our creative process in designing and styling Goldie's playful toddler bedroom – where good design meets the sweetest moments of growing up.
Welcome to the Pandaemonium Paper. A humble newspaper bringing you the stories, experiences and insights of the innovators, creatives and business builders living outside the traditional metropolitan mould. Subscribe to have each issue delivered to your door every quarter.
In this post, we share some tips for when it comes to making design selections for your new home or renovation.
In this post we share how to install TouchWood timber panelling and some tips that Al has picked up along the way. They come in sheets 1200w and in lengths up to 3.6m which means you can cover a larger surface area quicker and more sustainably than using solid hardwood.
I (Imo) absolutely love dishes that are packed full of flavour and this does not disappoint. This meal freezes well too so it’s a great recipe for meal-prep.


