Restoring Timber Furniture DIY
ReLove Project
Al and I acquired this side table from a share-house we used to live in... you know the kind with a revolving door of housemates? So if you asked me who this originally belonged to, I absolutely could not tell you.
It lived in the bathroom and used to hold stacks of toilet paper so you can only imagine the life it’s lived! When we moved out in 2016 no-one claimed it so we took it with us with the intention of refurbishing it.
Fast-forward 5 years and we still hadn’t touched it...
So when Feast Watson contacted me to be a part of their #FeastWatsonReLove campaign I knew that this was the perfect opportunity to FINALLY give this beautiful side table the TLC it deserves!
** ex-housemate if you’re seeing this and it belong to you, I’m sorry but finders keepers.
I’m so excited to share this project with you and hope it inspires you to re-love something of your own. Re-love your own project using any product by Feast Watson and go into the chance to win one of 3 x AMAZING price packs -
$500 worth of Feast Watson product
$500 @bunnings voucher
30 minute online style consultation with me!
Upload your own before and after photos using the #feastwatsonrelove hashtag and tag @feast_watson - I’ll be keeping an eye on all of your projects! T&C’s here.


You never know what you’re going to get when upcycling furniture so I've decided to tackle my project with a couple of options. My ideal outcome is that I sand back the side table to a nice light colour and use the Feast Watson Scandinavian Oil to match the rest of the furniture in our home. However I’m a little nervous about how badly it’s stained so if that doesn’t work my backup option is to use the Black Japan instead. I also want to add some timber feature panelling to the doors using some off- cuts from the workshop to tie in with the bookshelf we have in our house. I've picked up my seal options from Bunnings and done some test pieces, which do you prefer - light or dark?

Black Japan v’s Scandinavian Oil
Which do you prefer?


You can add a new words to the R’s - reduce, reuse, recycle, refuse, respect, replenish AND ReLove.
You probably know by now our motto is ‘Good Design for Good People’ and we love creating furniture that are made to last a lifetime. We hope that in the future when our pieces are aged and tired that someone will take the time to bring them back to life which is why I am stoked to be partnering with Feast Watson for their #FeastWatsonReLove campaign. Upcycling is super fun, it’s satisfying and it’s sustainable!

My first step is to remove all of the existing hardware and I used some lubricant spray for those super rusty screws that wouldn’t budge! I cleaned the hinges and popped them in a safe place and decided that the screws were not worth saving - I'll replace these with some new ones at the end. Now it’s onto sanding, fingers crossed I can get it back to a nice light colour.
I'll be honest, I tackled this project one tiny step at a time while Goldie was sleeping, so it took a while!
When sanding, start with rough grit sandpaper, then move toward finer grit. The larger the number is, the finer the grit paper. I started with 80 grit then moved to 120. Because this is a relatively small project I chose to use an orbital sander, however if it were a larger piece I would have used a belt sander. I tilted my sander on its edge and worked out the stains on the top that were penetrated deep into the timber. I then used a detail sander which is another power tool that allowed me access to the corners that the orbital sander couldn't. It has a pointed end and the sanding pad goes past the body of the sander in order to get into the corners. To get around the handle I used hand sandpaper (making sure to always sand the same direction of the grain).
You can watch the full step-by-step DIY at the top of this page!


My project is all sanded and it’s come up with a beautiful light colour which I absolutely love! The next thing I want to do to bring it up to date and match the furniture in our home is to cover the front doors with timber panelling. I’m going to use some scraps we have lying around the workshop. I’m going to cut them down to size and attach them to the doors, but before I do that I need to plane down my door fronts to accommodate the timber rips.
I’m using a thicknessing machine because I want to recycle as much of this project as possible but I know most people wouldn’t have one of these lying around so I suggest replacing your doors with a thinner hardwood, ply or MDF. I’ll plane my door fronts down by 6mm to allow for the timber paneling and then cut my rips to length, give them a good sand and attach them to my door fronts.
I’m becoming so much more confident in the workshop and learning so many little tricks - one of my favourites is marking the drop saw when doing multiple cuts of the same length! For more detailed instructions on how to create the timber rips watch the full length video above.
* TIP You can find super cheap timber on the bargain walls at your local timber yards!


I’ve got to admit, getting out into the workshop to do a DIY project is a lot more challenging with a baby. What used to take me an afternoon is now looking more like a week. However I am absolutely LOVING being back out in the workshop using my hands and getting creative. Thank you to Feast Watson for getting me on board for your #FeastWatsonReLove campaign and a shoutout to Al for Goldie-sitting!

Guys! We’re up to my FAVOURITE part of every project which is the end when you get to seal it and really get to make that timber *pop and shine* I’ve decided that I am going to go ahead with the Scandinavian Oil by Feast Watson which is going to bring out the natural colour of the timber because I really love that really beautiful soft Vic Ash look.
The great thing about Feast Watson is that they really do have every colour for any project that you could want ... from a really dark Black Japan all the way through to a gorgeous light White Wash and every colour in between. So no matter what your project is you’ll definitely find a colour within the Feast Watson range and you can find it exclusively at Bunnings.

Step 1 - Wipe down your surfaces to make sure you've removed all of the dust Step 2 - Shake your tin
Step 3 - Apply your oil to a rag and rub it evenly into the timber
Step 4 - Wipe off any excess oil
Step 5 - Let it dry (and try not to watch the clock)


Ok, so I have finished my seal and I am going to let it dry, but I couldn’t help myself and check what it’s going to look like with the panelled doors on the front - so excited! So once it’s dry I am going to add the hinges back on and then I can take it inside to style it up. Now to decide what room to put it in?

Guys, are you still with me???
We made it! It may have taken some time but we got there in the end and I couldn't be happier with the result... the colour is perfection! I probably could have spent a little more time on the sanding the inside shelf but figured it's so low to the ground and won't been seen too much .... plus I preferred to spend the extra time it would have taken to sand with Goldie!
I really hope this has inspired you to get out there and do your own #FeastWatsonReLove


Before & after
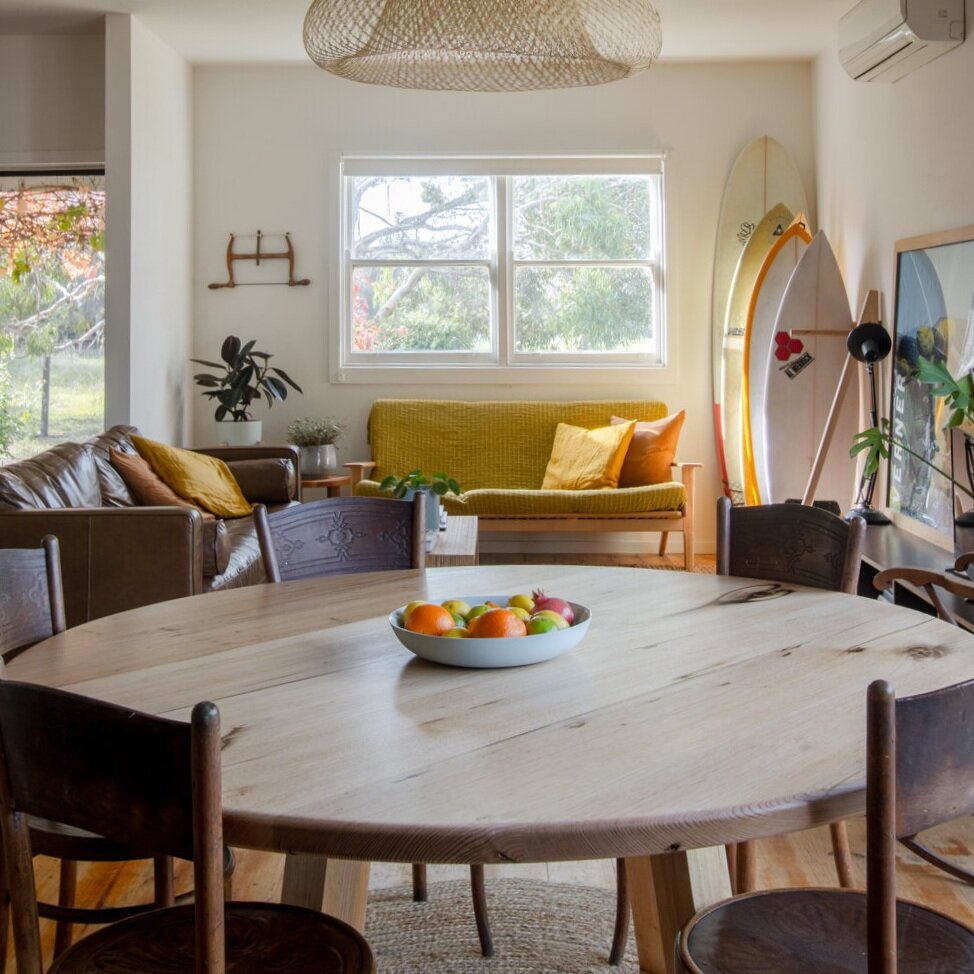
A quick reminder to you all how far we have come! Soooo happy with how my little side table has turned out - it matches perfectly with the bookcase Al and I designed and built last year!
This side table that came from my old share-house bathroom and was covered in deep oil stains and mould, with a little TLC i've brought it back to life and now will VERY happily display it in our home. Thank you Feast Watson for giving me the PERFECT opportunity to re-love this piece of furniture that I knew had so much potential.... (so much that I have been holding onto it for the past 5 years). Watch the full DIY video of this project above.


Styled 2 ways
I can't decide where I want to use this in our house, so I'm playing around with a few different ways of styling to see what I like best... which do you prefer, our room or Goldie's?


If you haven't already caught on, one of the prizes is a 30 minute online Style Consult with me... that's right we can have a little chat and you can ask me for any advice with DIY and styling. Simply complete your own #FeastWatsonReLove project and go into the chance to win a chat with me PLUS $500 worth of Feast Watson product AND a $500 Bunnings voucher... think of all of the exciting projects you could do with that haul!
Around the Home


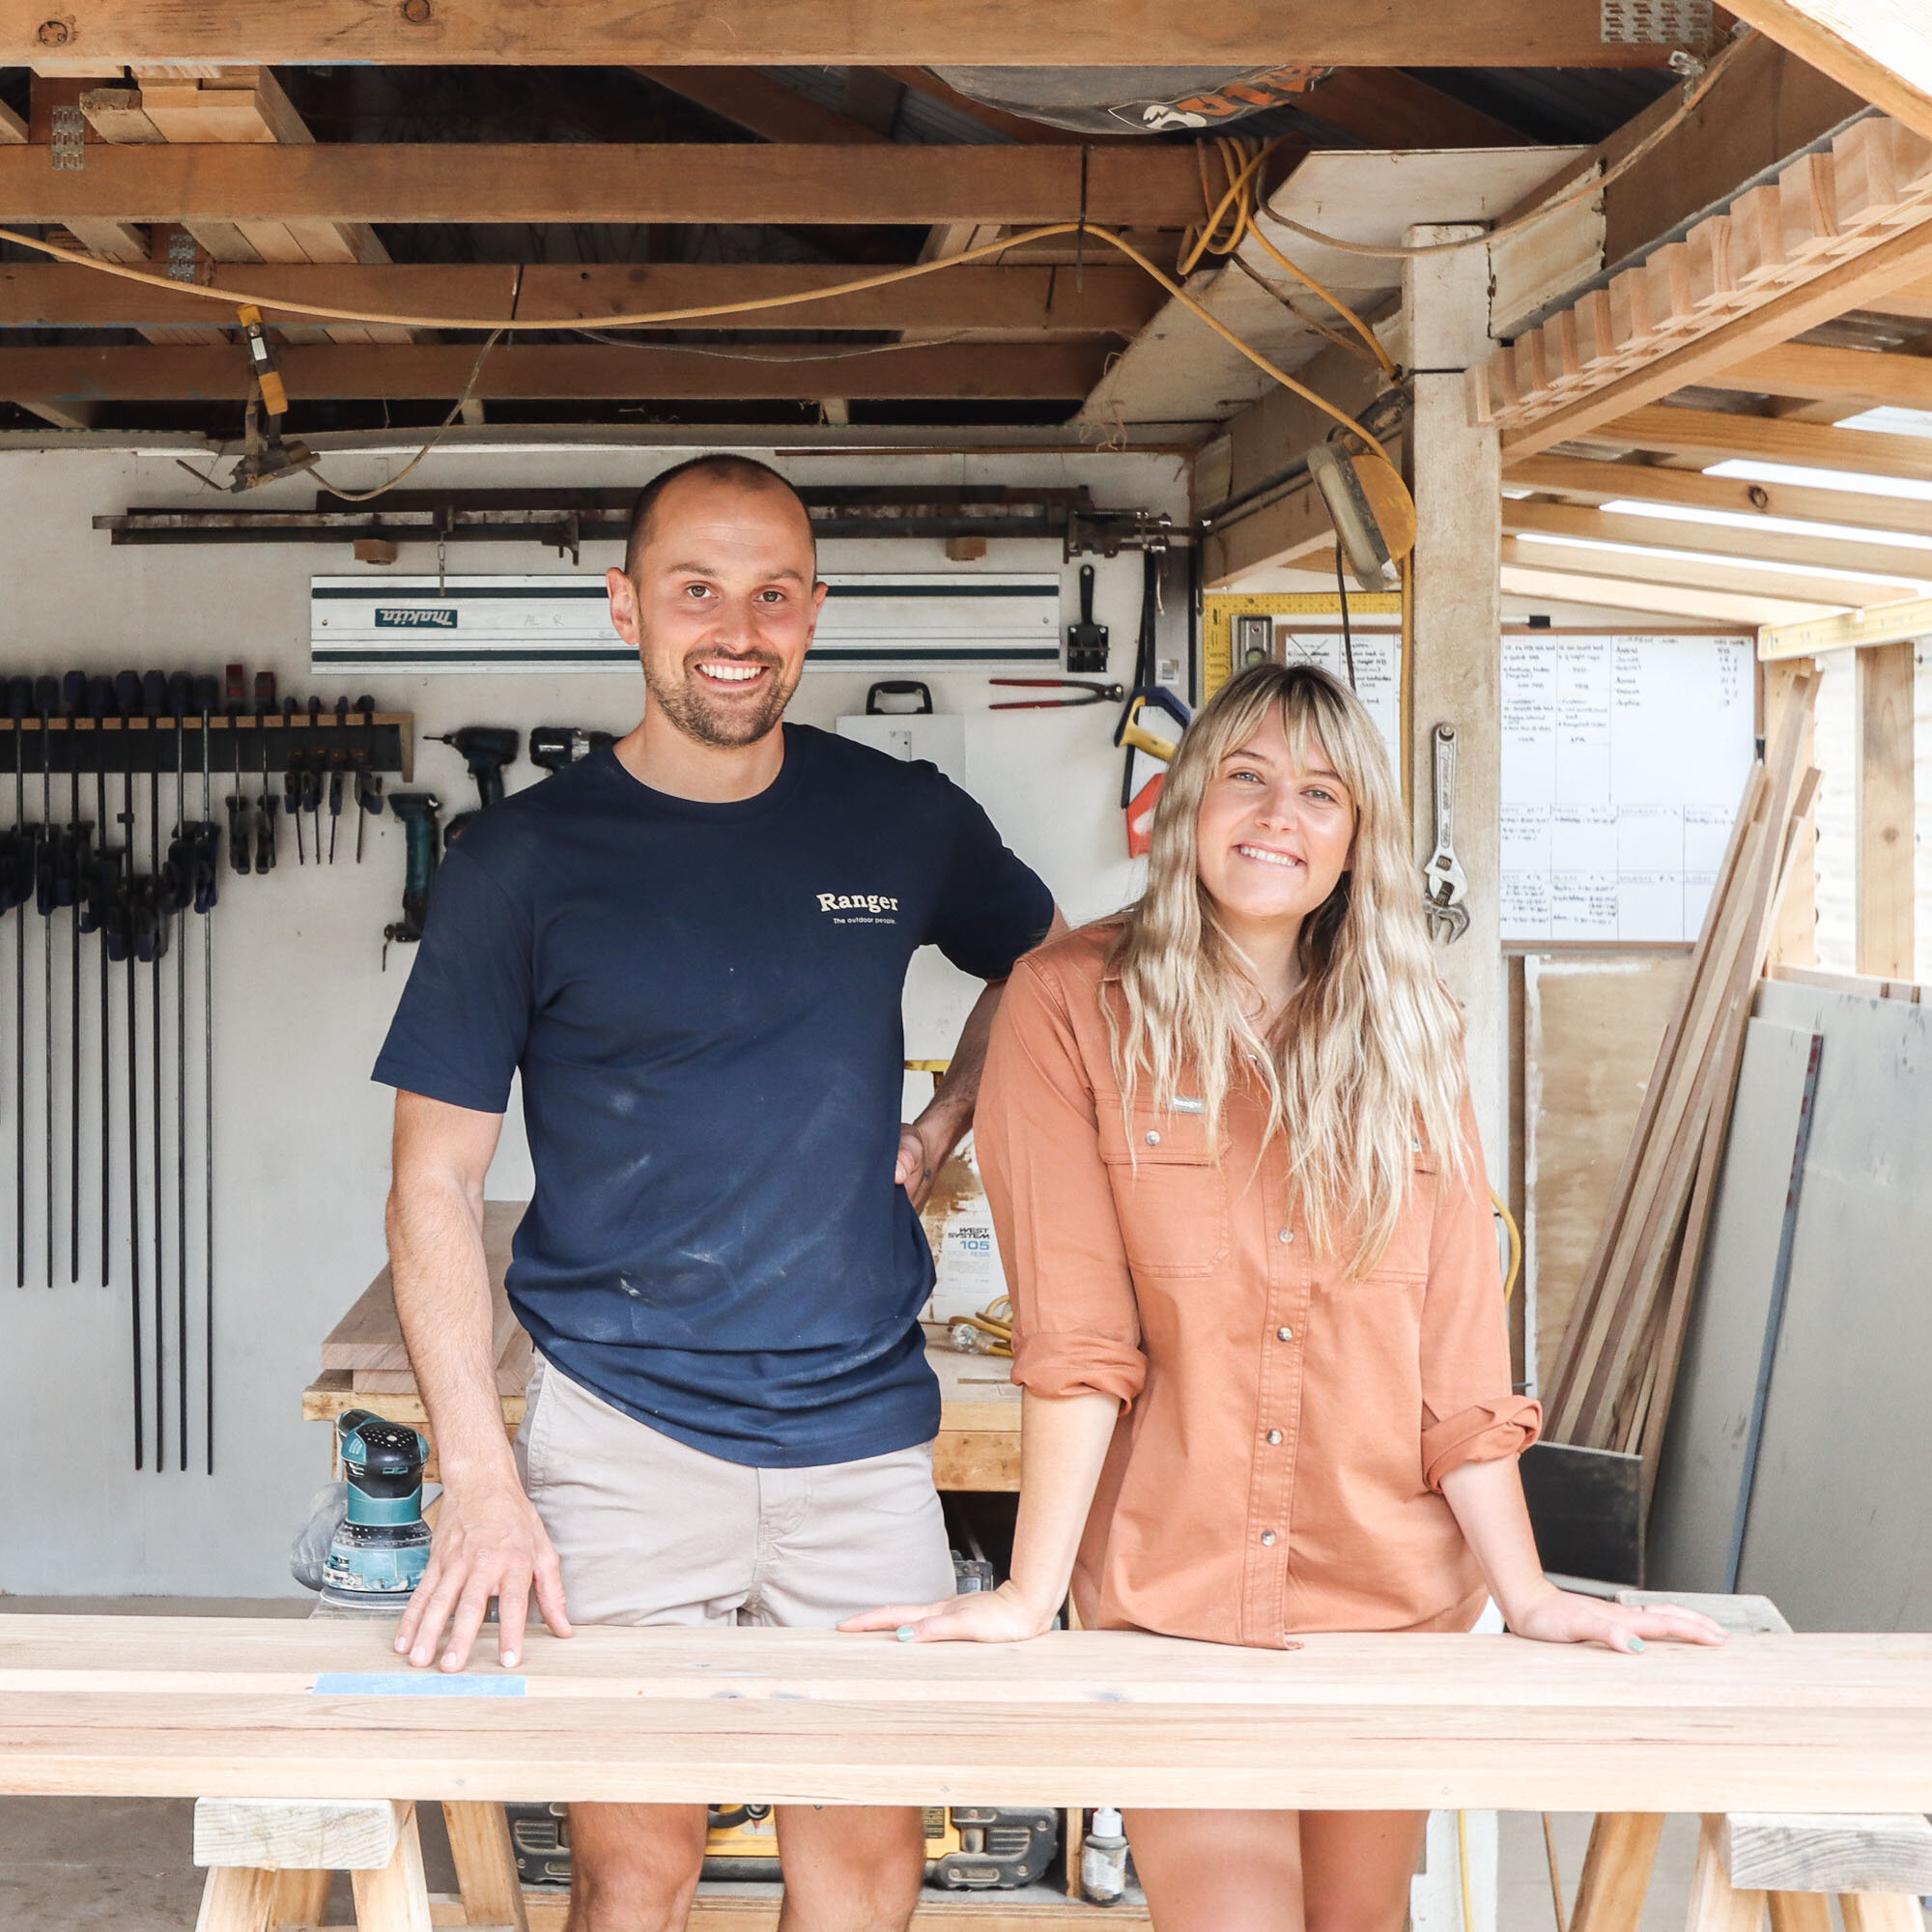
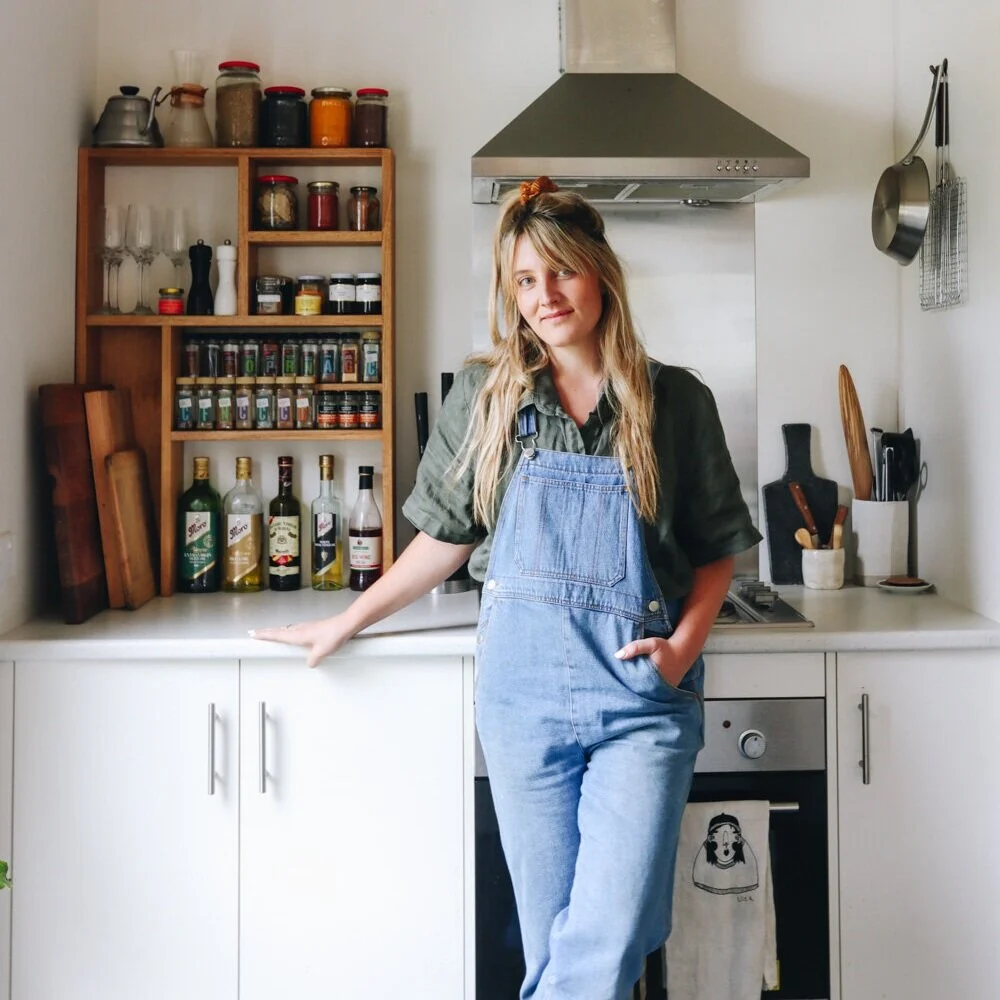
HEY! WE’RE AL + IMO
We’re a husband and wife duo, building our dream life one DIY project at a time. We are proudly self-taught, furniture-makers, business owners, designers and stylists.
DIY RUNS IN OUR DNA
We firmly believe what you learn should be shared which is why we created our Journal. A place where you can learn new skills and be inspired by other creatives.
Top Categories


ON THE JOURNAL


