How To DIY Install TouchWood Tasmanian Oak Timber Veneer Panelling
There’s no denying that we love timber - our business and life are built around it. So when it came to designing our first family home we knew from the beginning that it would feature a lot of timber. We love the warmth and character that it provides. Al being a furniture maker and carpenter, knows how to build with and maintain it.
In this post, we share how to install TouchWood timber panelling and some tips that Al has picked up along the way.
Early on in our build, we were introduced to a product called TouchWood by Britton Timbers. These are 9mm moisture-resistant MDF tongue and groove panels with a timber veneer face that gives the illusion of solid timber lining boards. They are available in a variety of different colourways and for our house we chose the Tasmanian Oak on Natural.
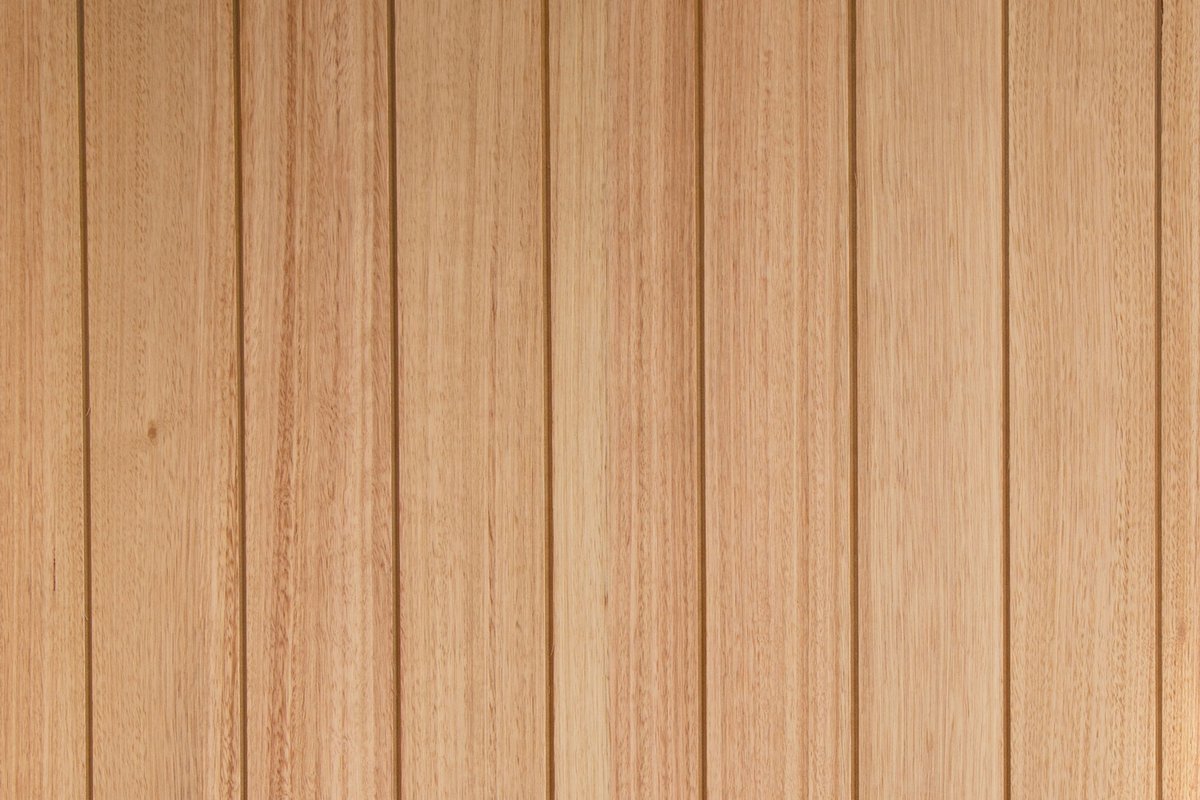
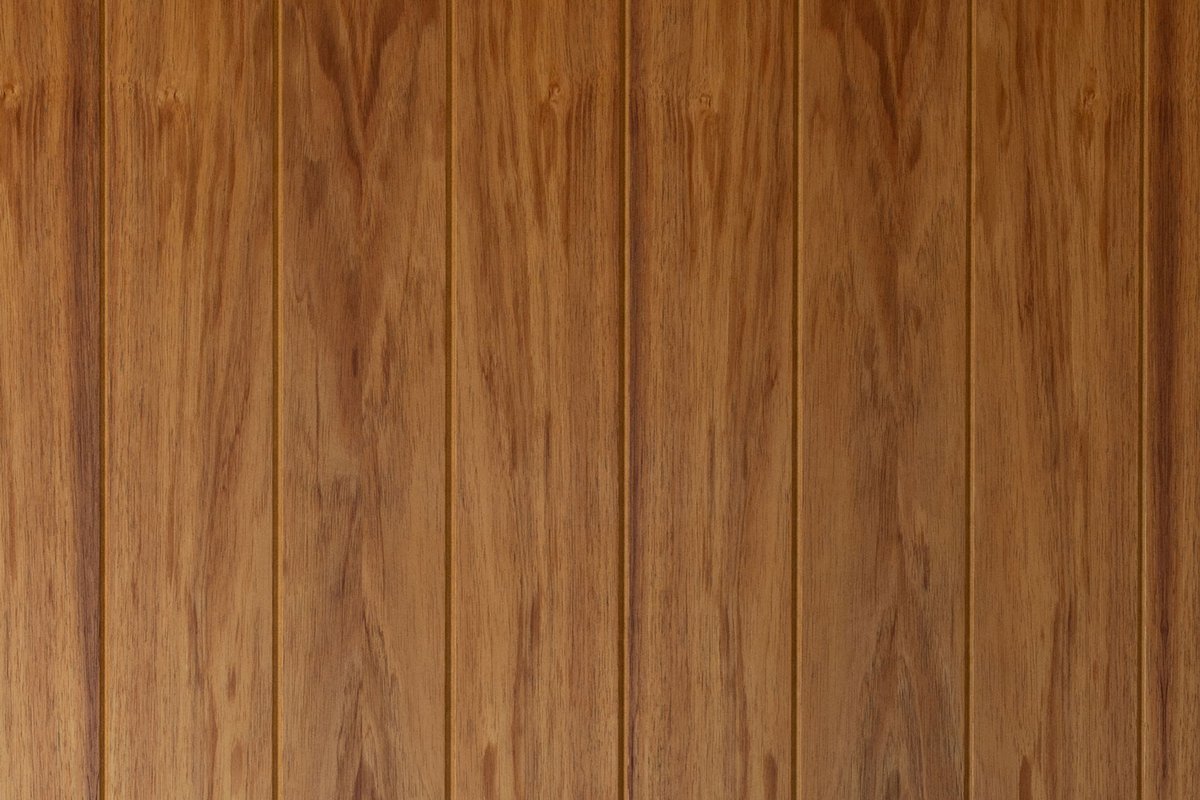
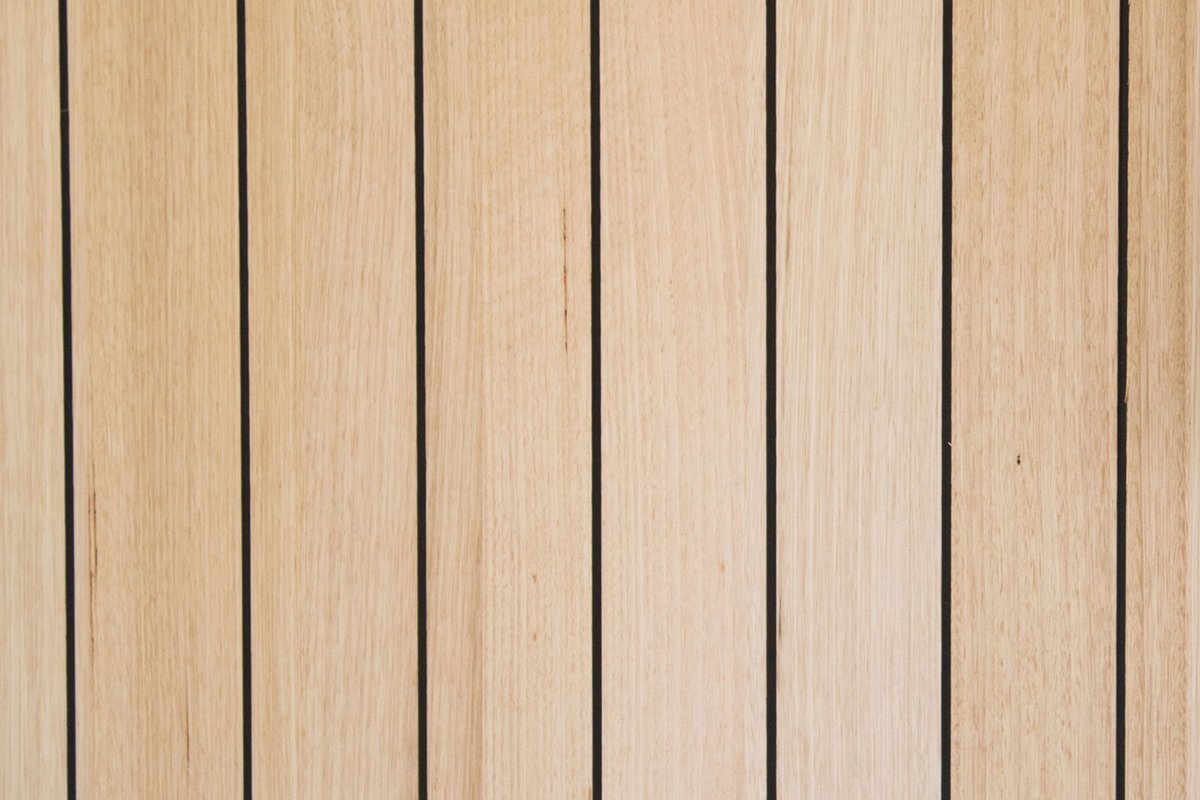
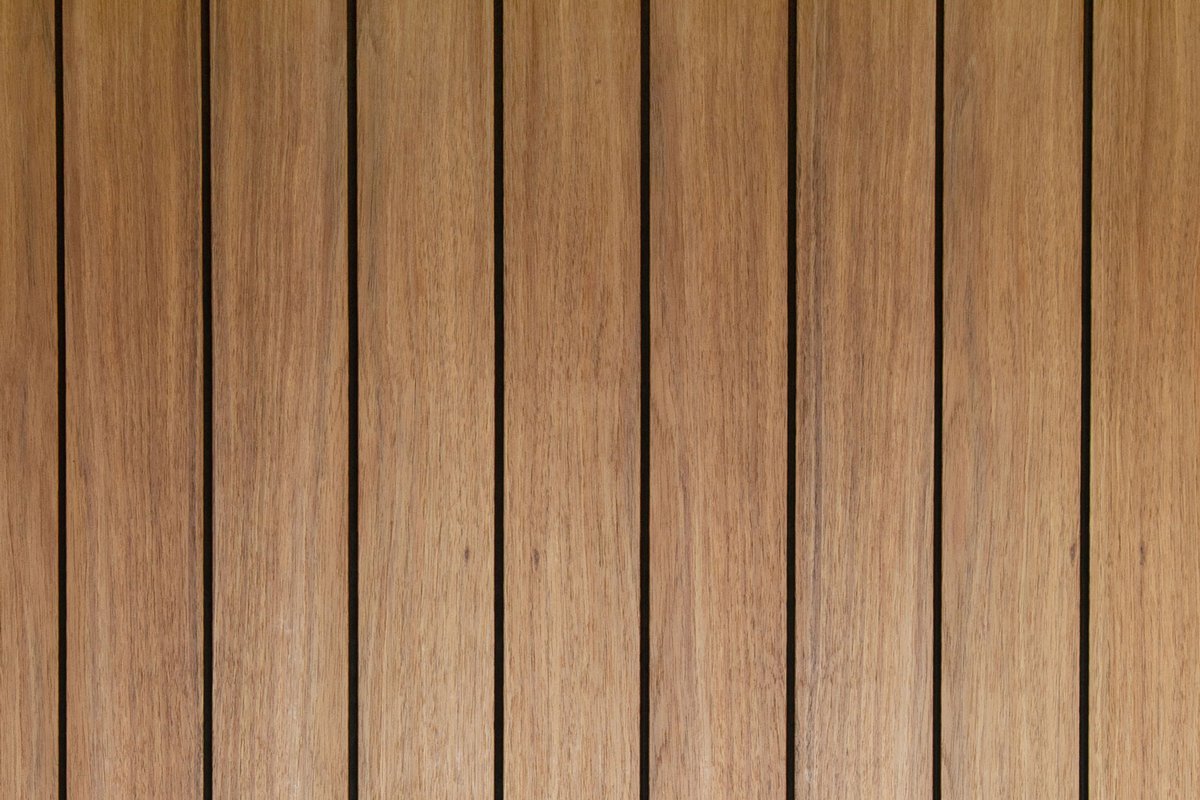
The beauty of these panels is that they come in sheets 1200w and in lengths up to 3.6m which means you can cover a larger surface area quicker and more sustainably than using solid hardwood. Britton Timbers sources all of its Tasmanian timber from the sustainably managed and PEFC-certified temperate forests of the northwest region of the state.
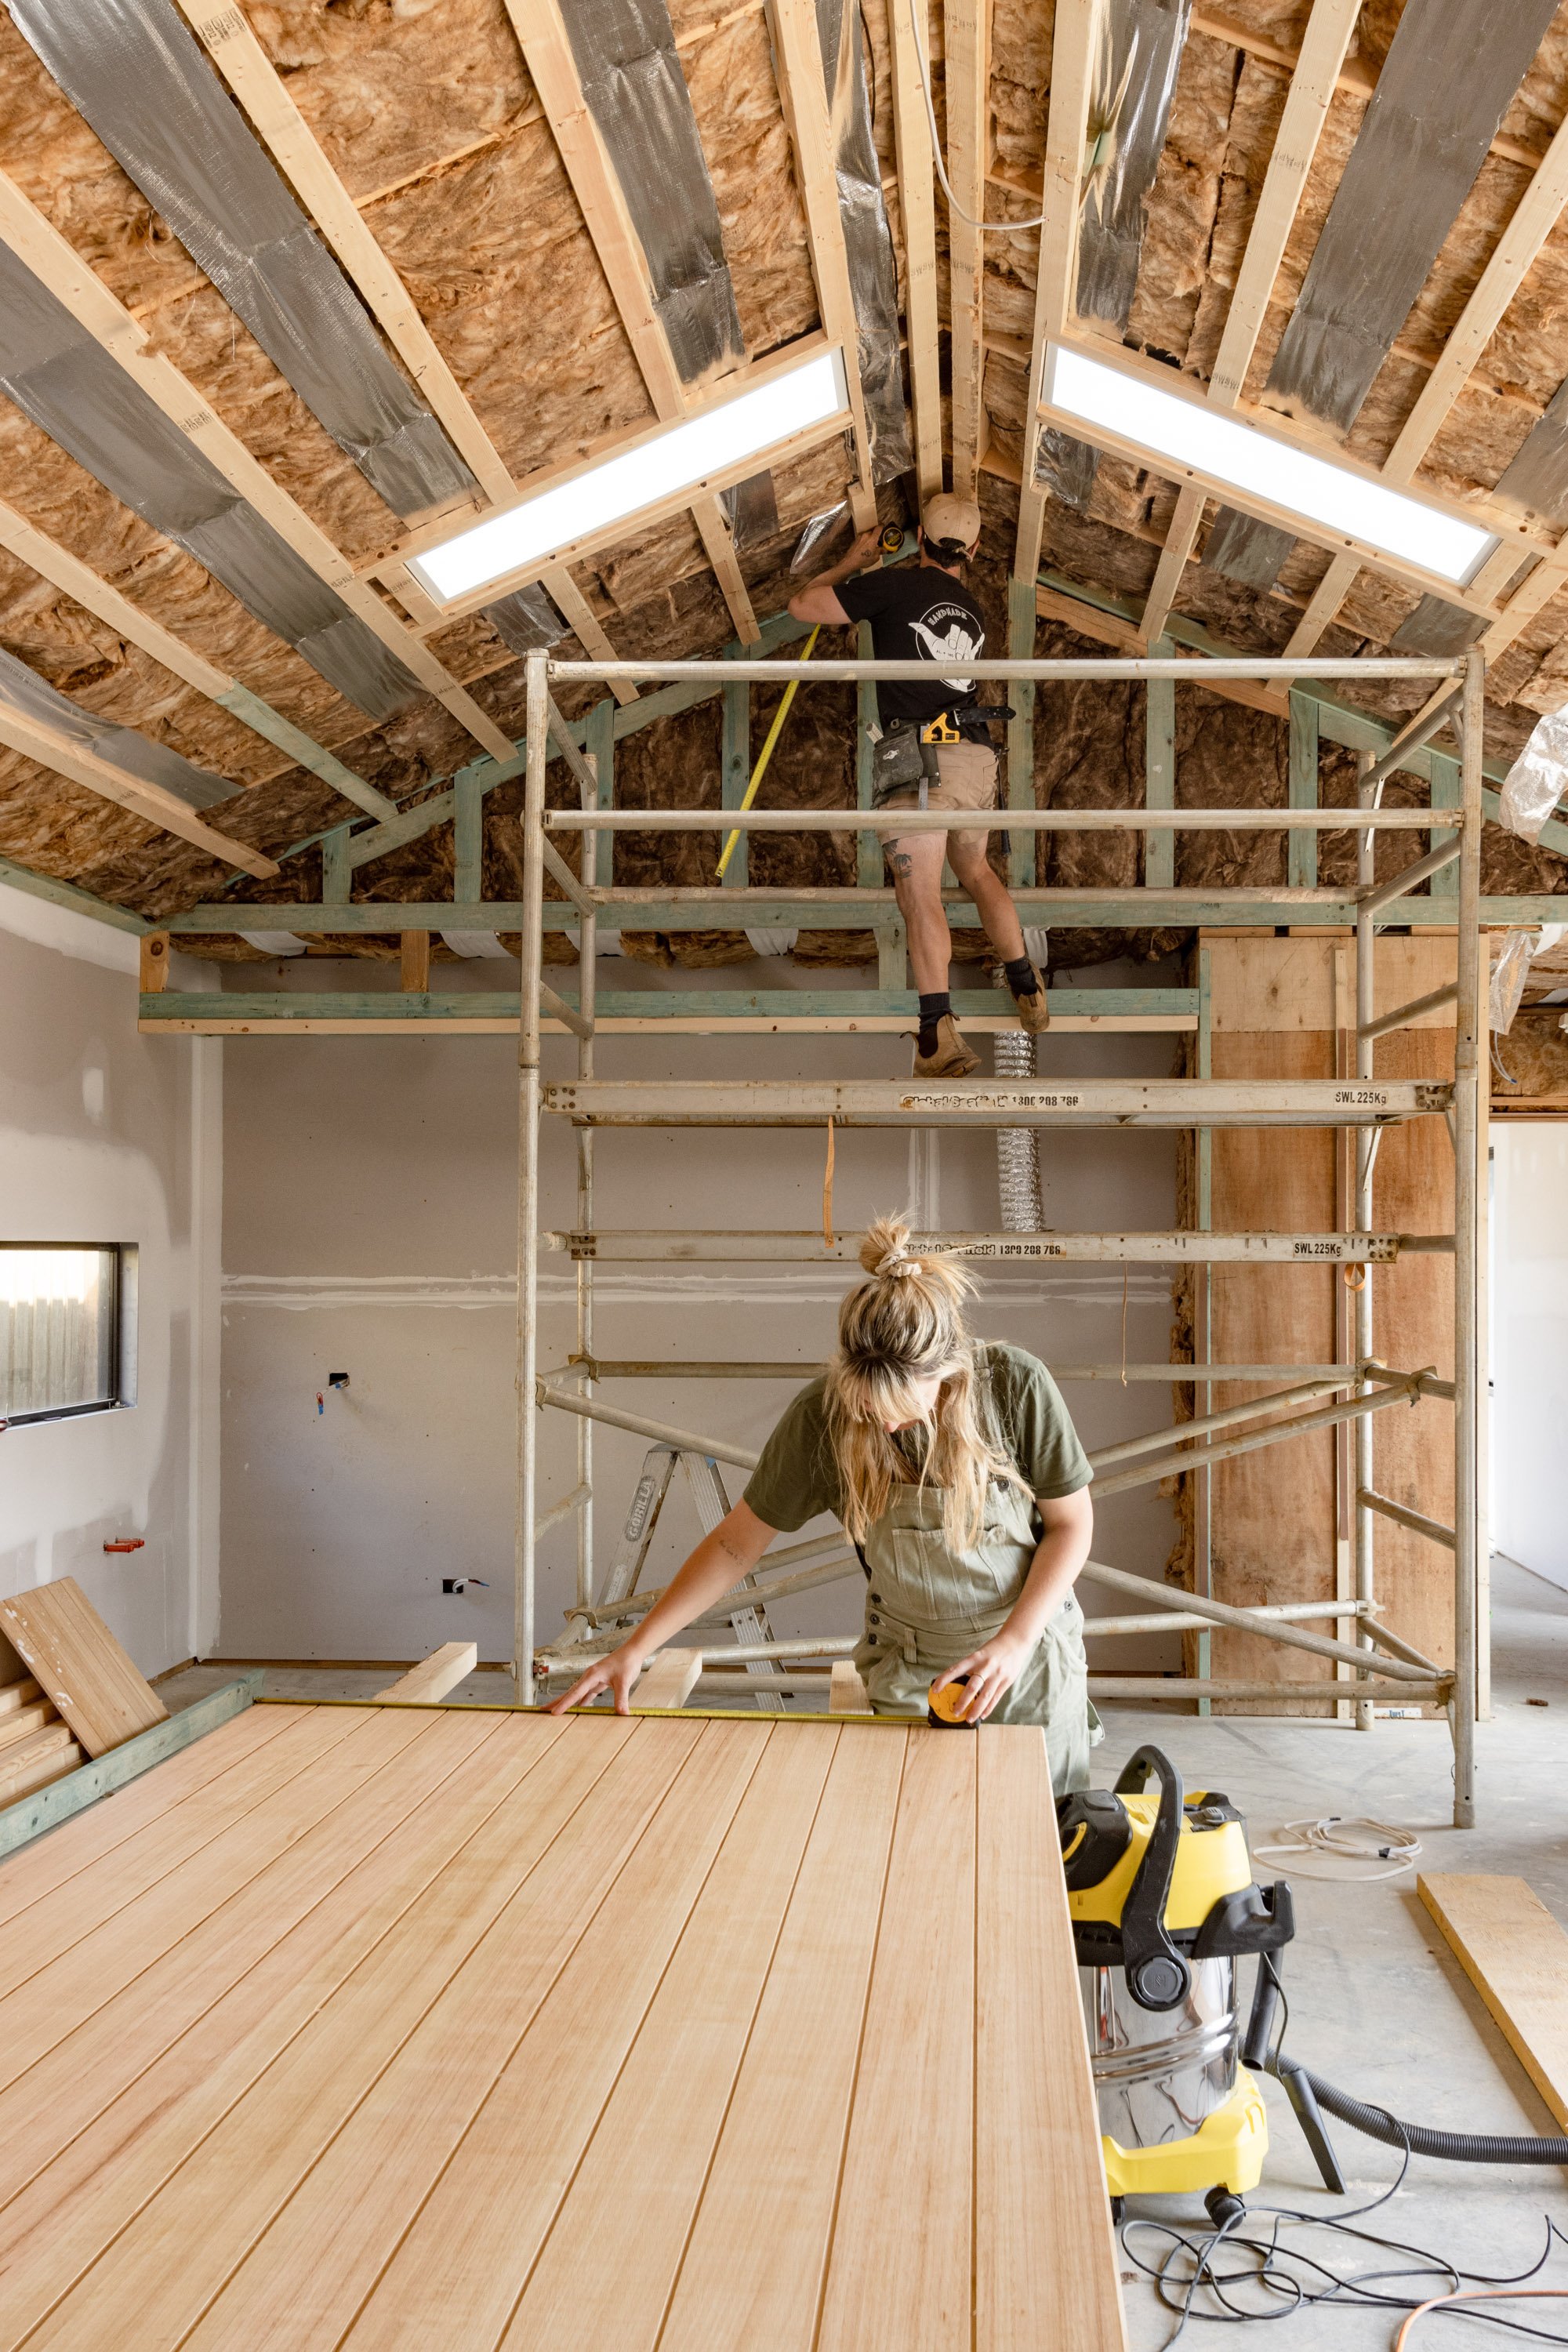
Al lined our entire ceiling in a day with the help of a mate, proving that TouchWood panelling is a quick, easy, and cost-effective alternative to timber paneling. They are a great option for DIY’ers / home builders/renovators and especially for those who want to make a great visual impact and cover a large surface area quickly.


Excited by the product we ended up using TouchWood in a few different ways throughout our house.
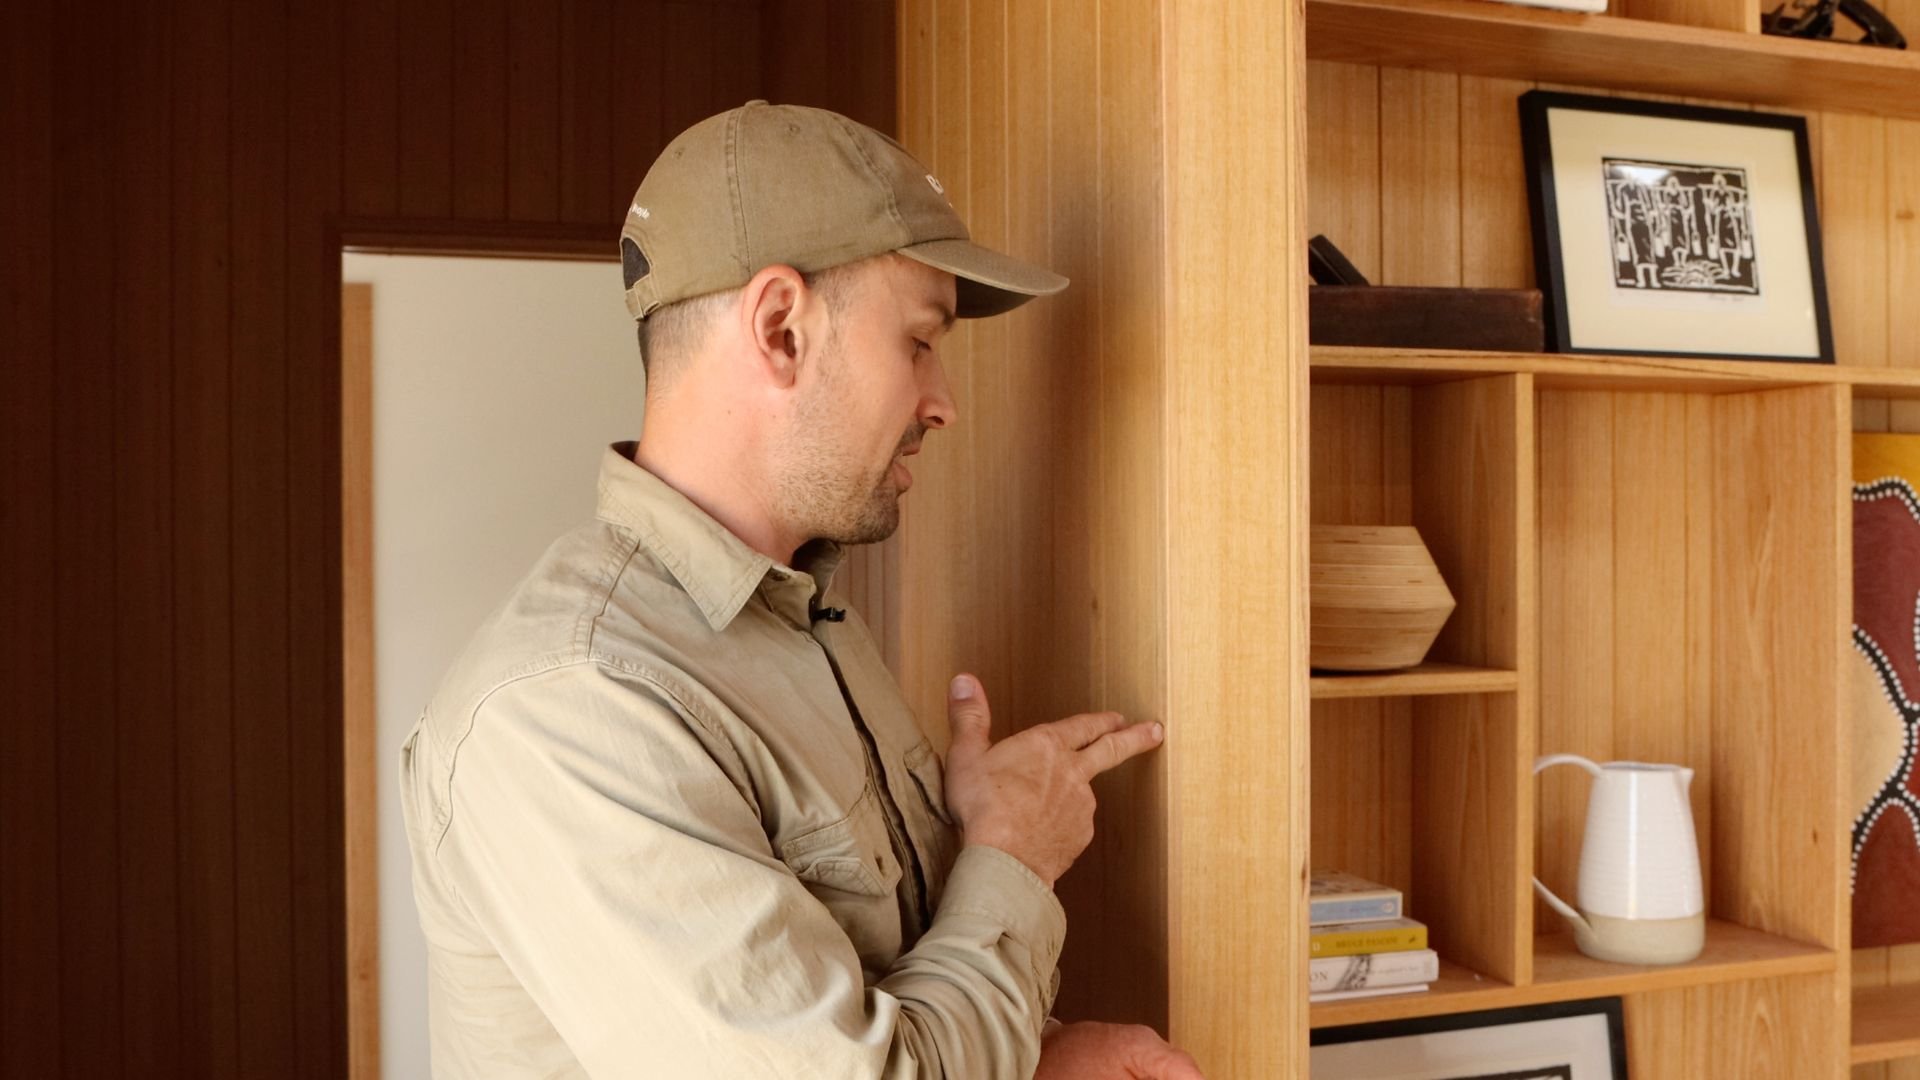
We lined the ceiling in our main living, dining, and kitchen area, we used it for walls, under our island bench, our bedhead, and also applied it to our bedroom joinery doors.


Having now installed close to 400sqm of TouchWood Al feels confident in sharing his installation techniques with you.
Step 1 : Pre-Seal Timber Panels
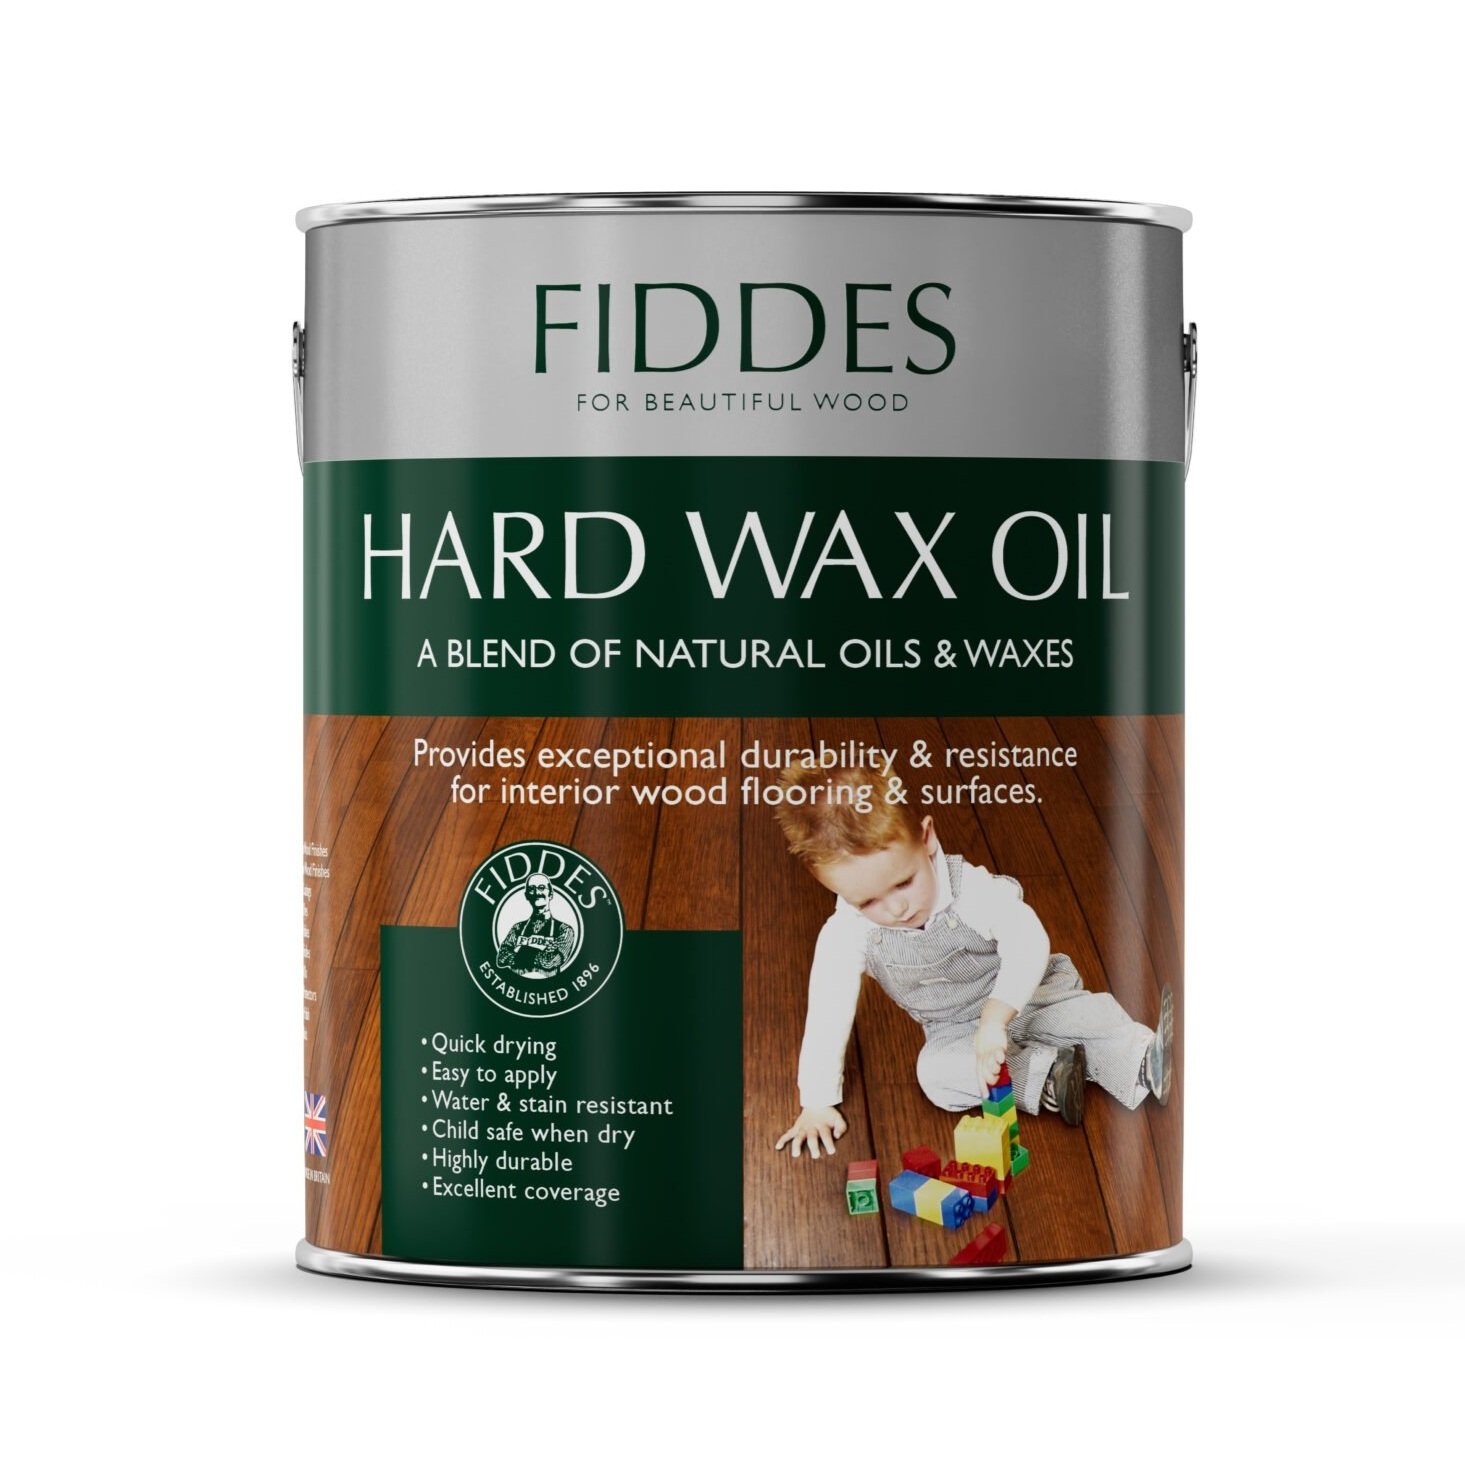
The first thing he did was seal all of the panels using Fiddes Hardwax Oil in their Satin finish with a foam roller, making sure to squeeze most of the liquid out of the roller before applying it to the panels. We chose not to seal the V grooves as we preferred the lines to be lighter.

Step 2 : Measure, Cut, Sand & Seal
Once dry Al measured and cut the panels using a track saw which ensured that his cuts were straight and millimeter-perfect. He sanded the panels using 240-grit sandpaper and applied a second coat of Fiddes Hardwax oil. The reason we did this was so that the panels were silky smooth to touch, we also found it easier to pre-seal the panels but you could also apply the second coat once installed.


Step 3 : Fit & Glue
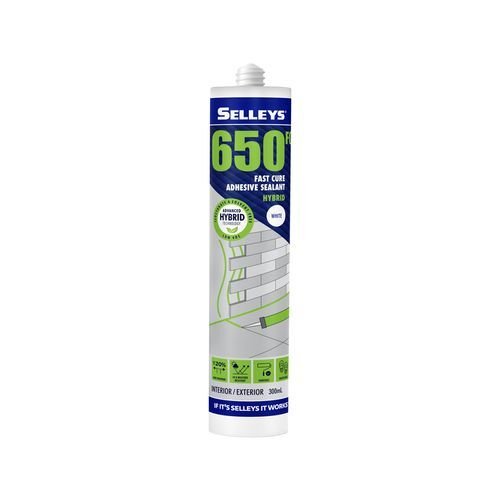
Al fitted the tongue into the groove of the panel and then applied Selleys 650FC adhesive sealant to the wall, Installing the panels one by one using the tongue and grooves to set them into place and then nailed them through the face of the board with small C1 brad nails and a nail gun.


Step 4: Putty & Finish
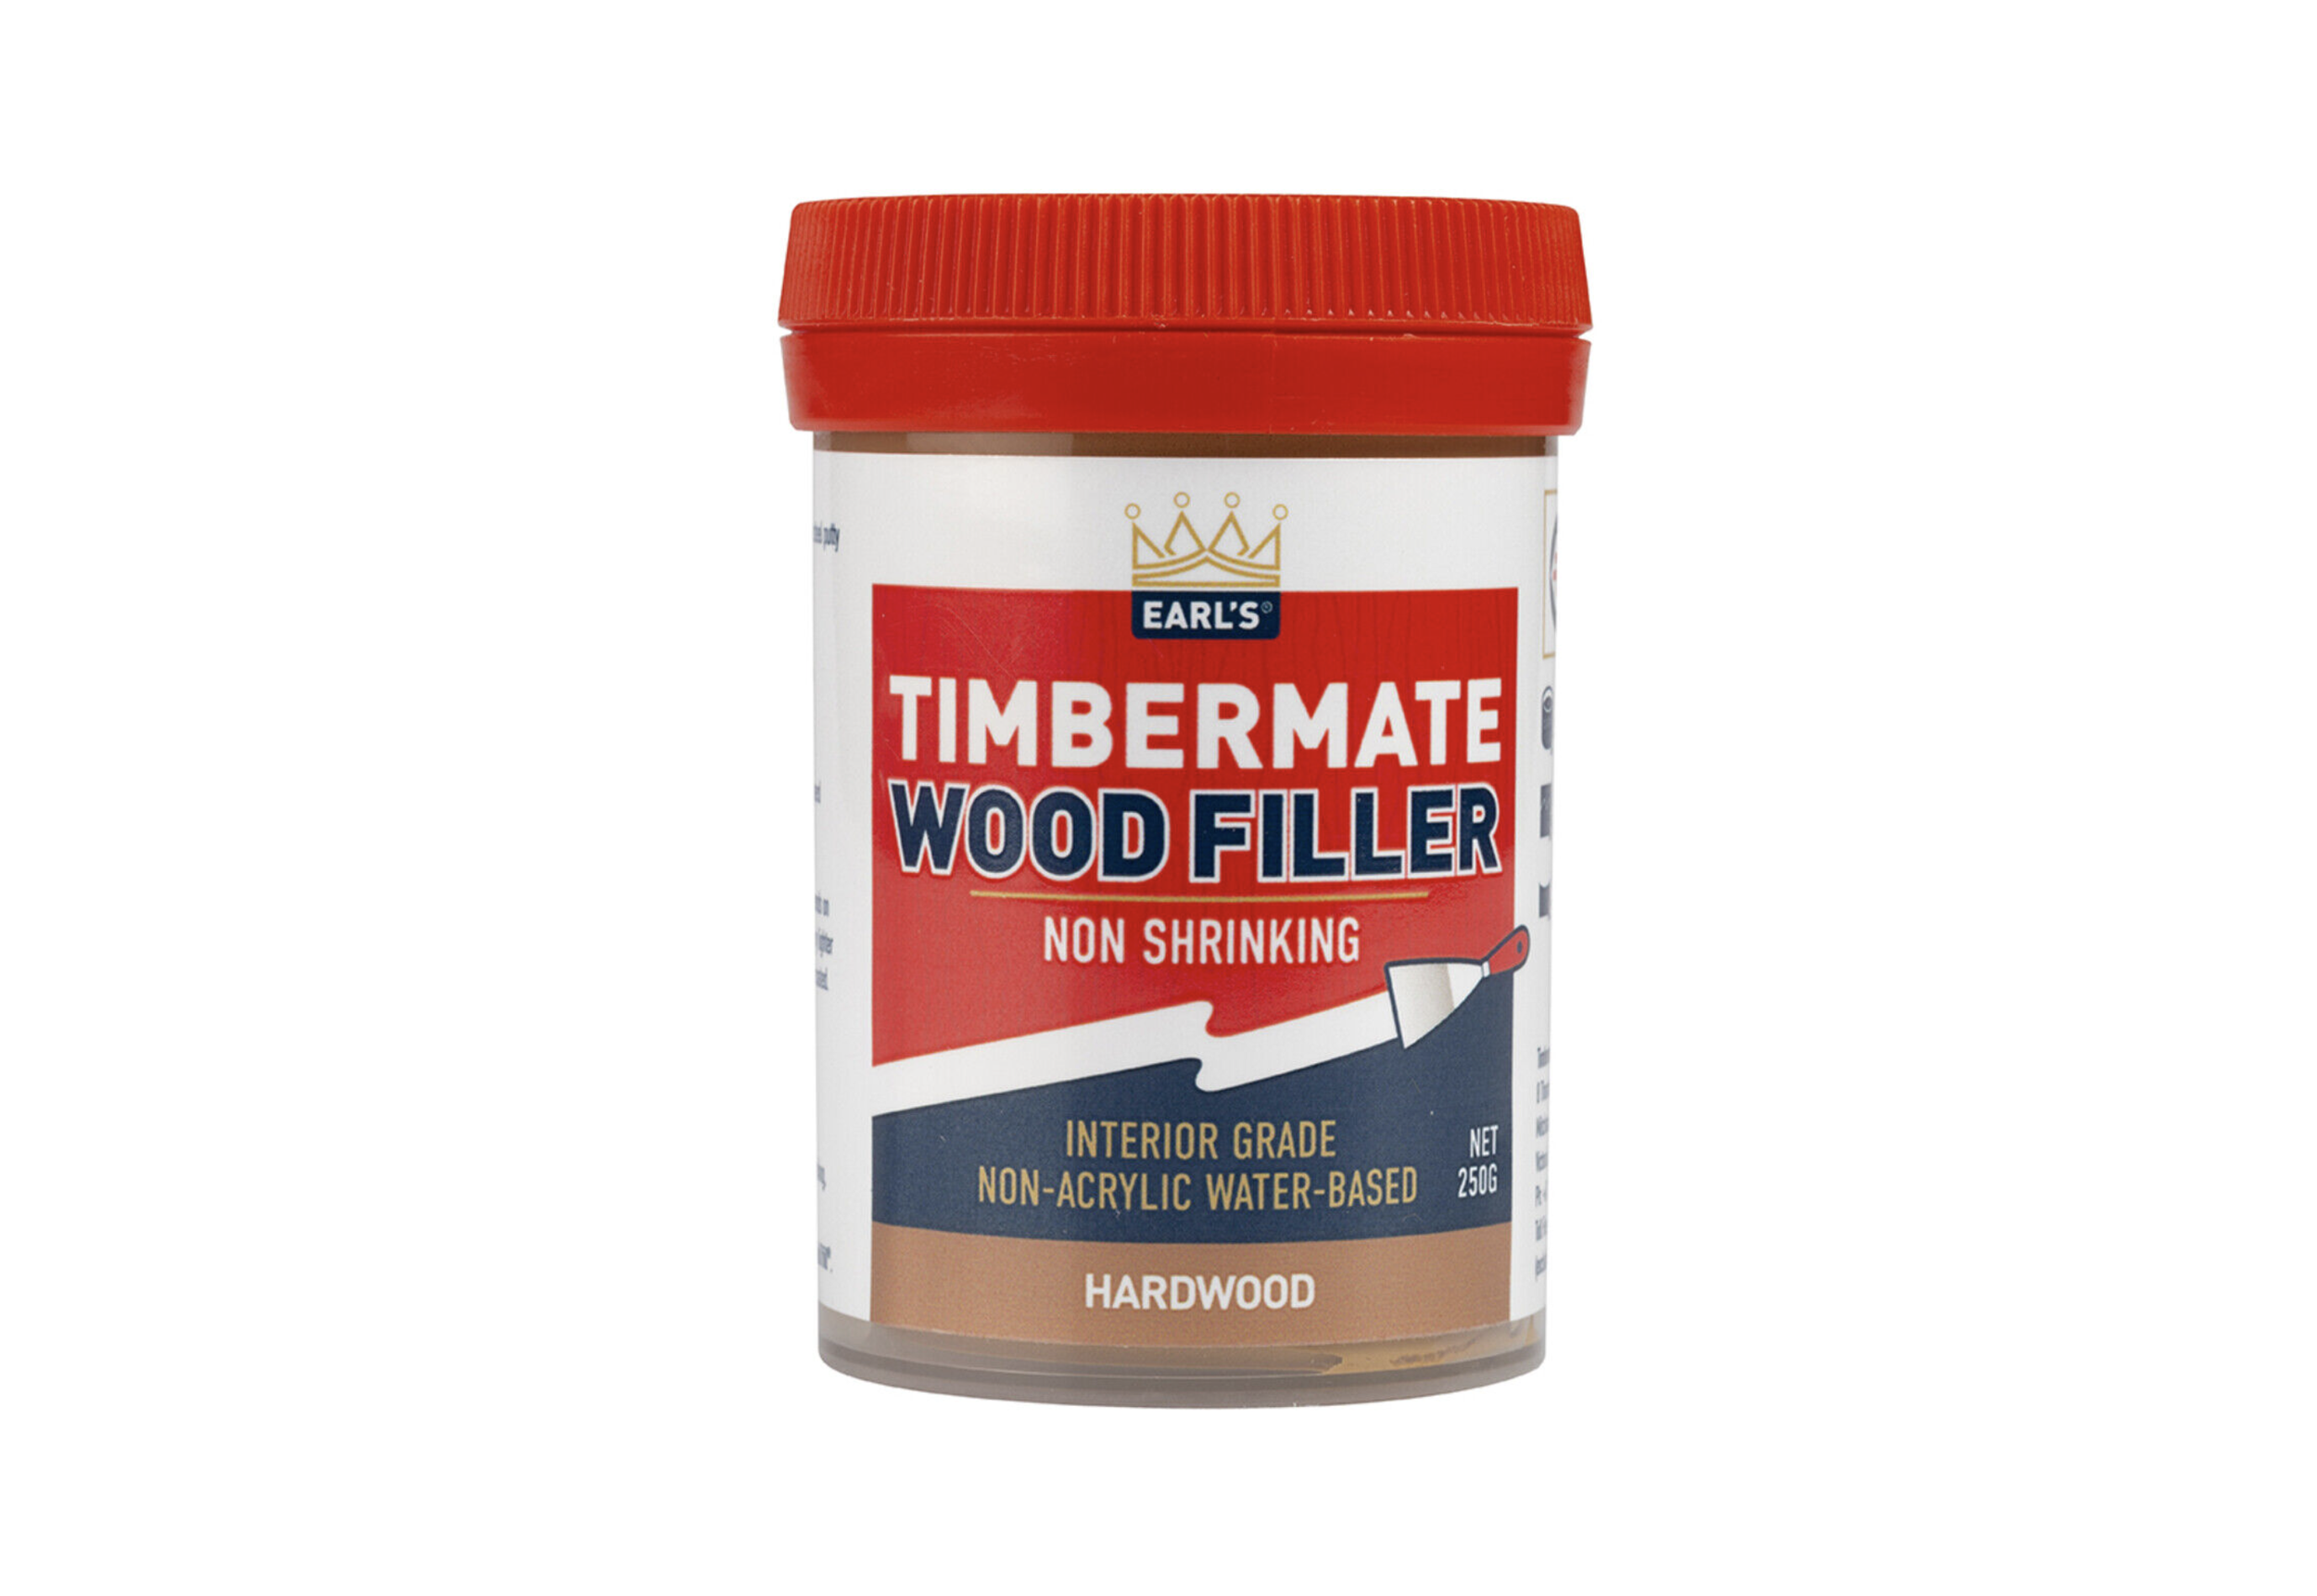
We used Timbermate timber putty in “hardwood” colour to fill the nail holes and wiped away any excess putty with a baby wipe. Touch up any scratches or dry patches with the Satin Hardwax Oil.

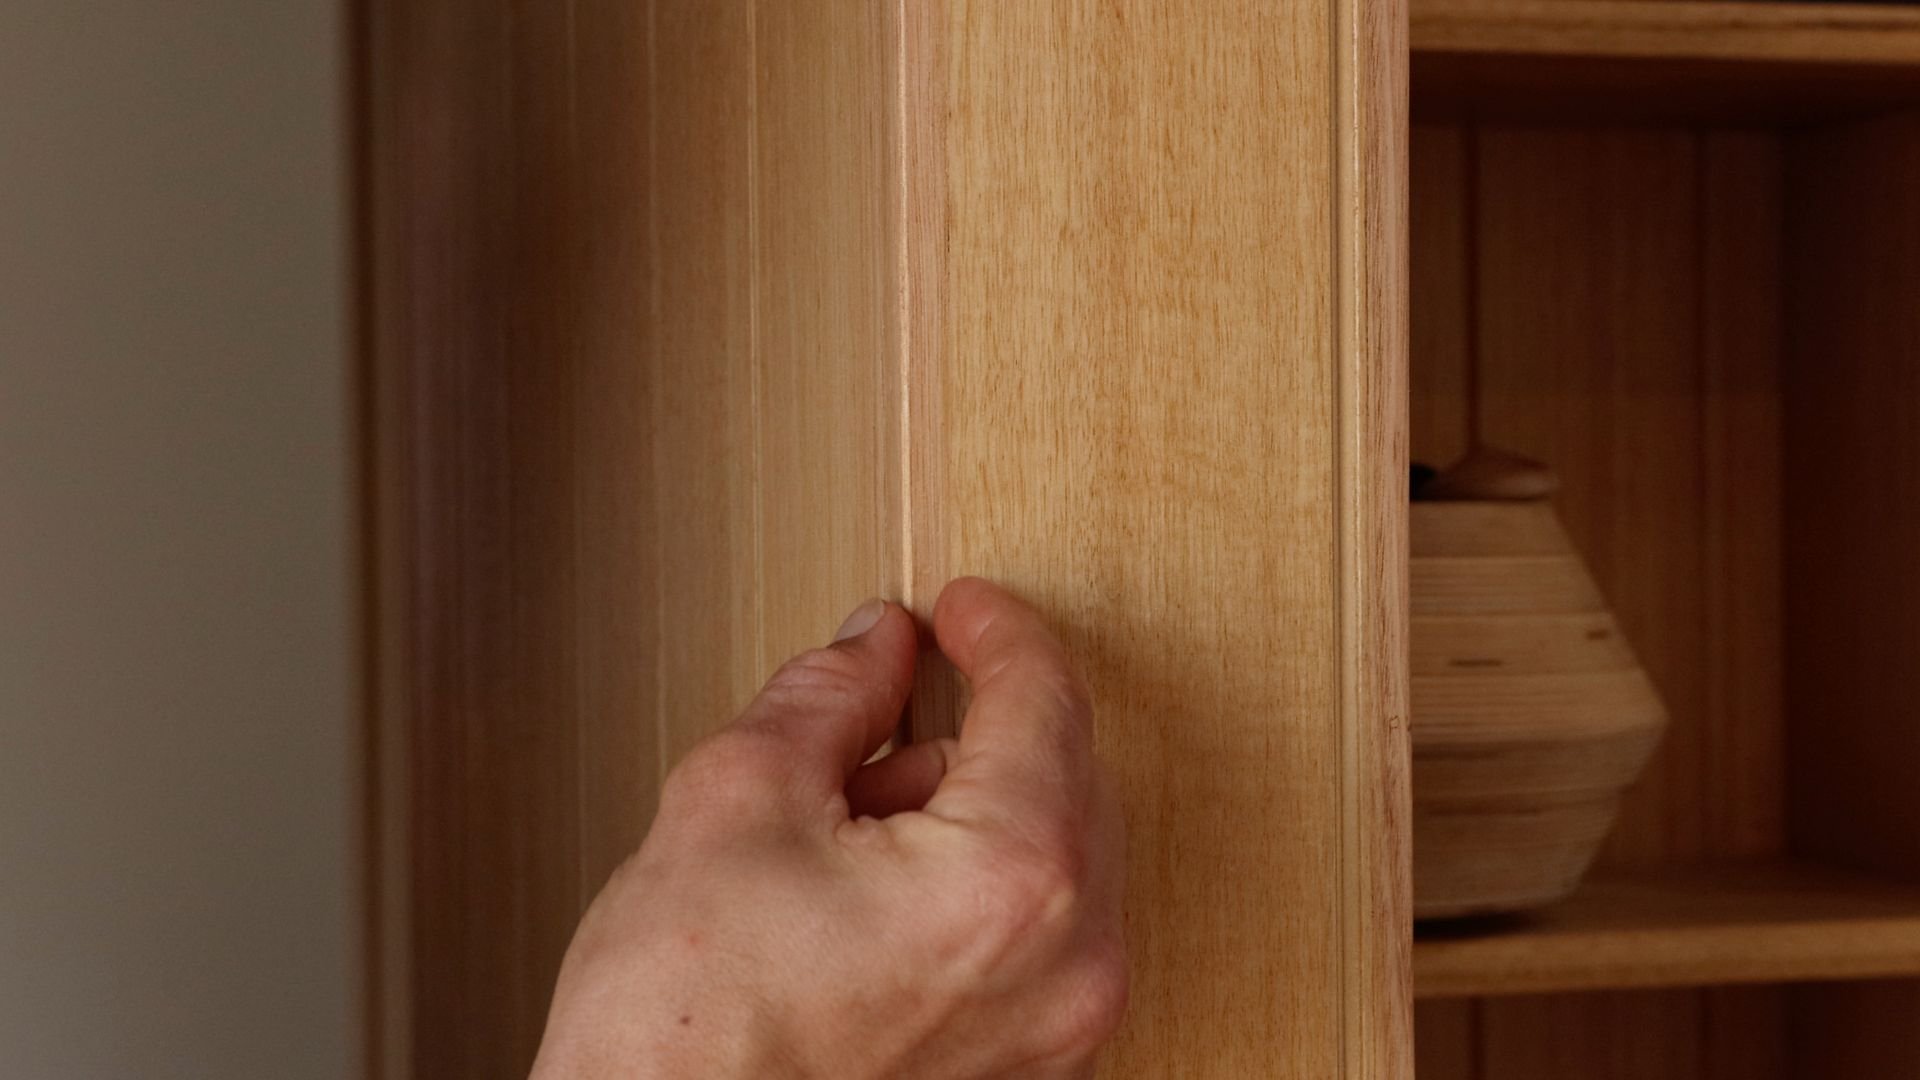
To finish off corners:
To finish off the corners Al used 10mm x 20mm beads of solid Tasmanian Oak hardwood, nailed into place with small C1 brad nails and a nail gun then filled any gaps using wood filler, sand & seal with Fiddes Hardwax Oil in Satin finish.
Featured Products
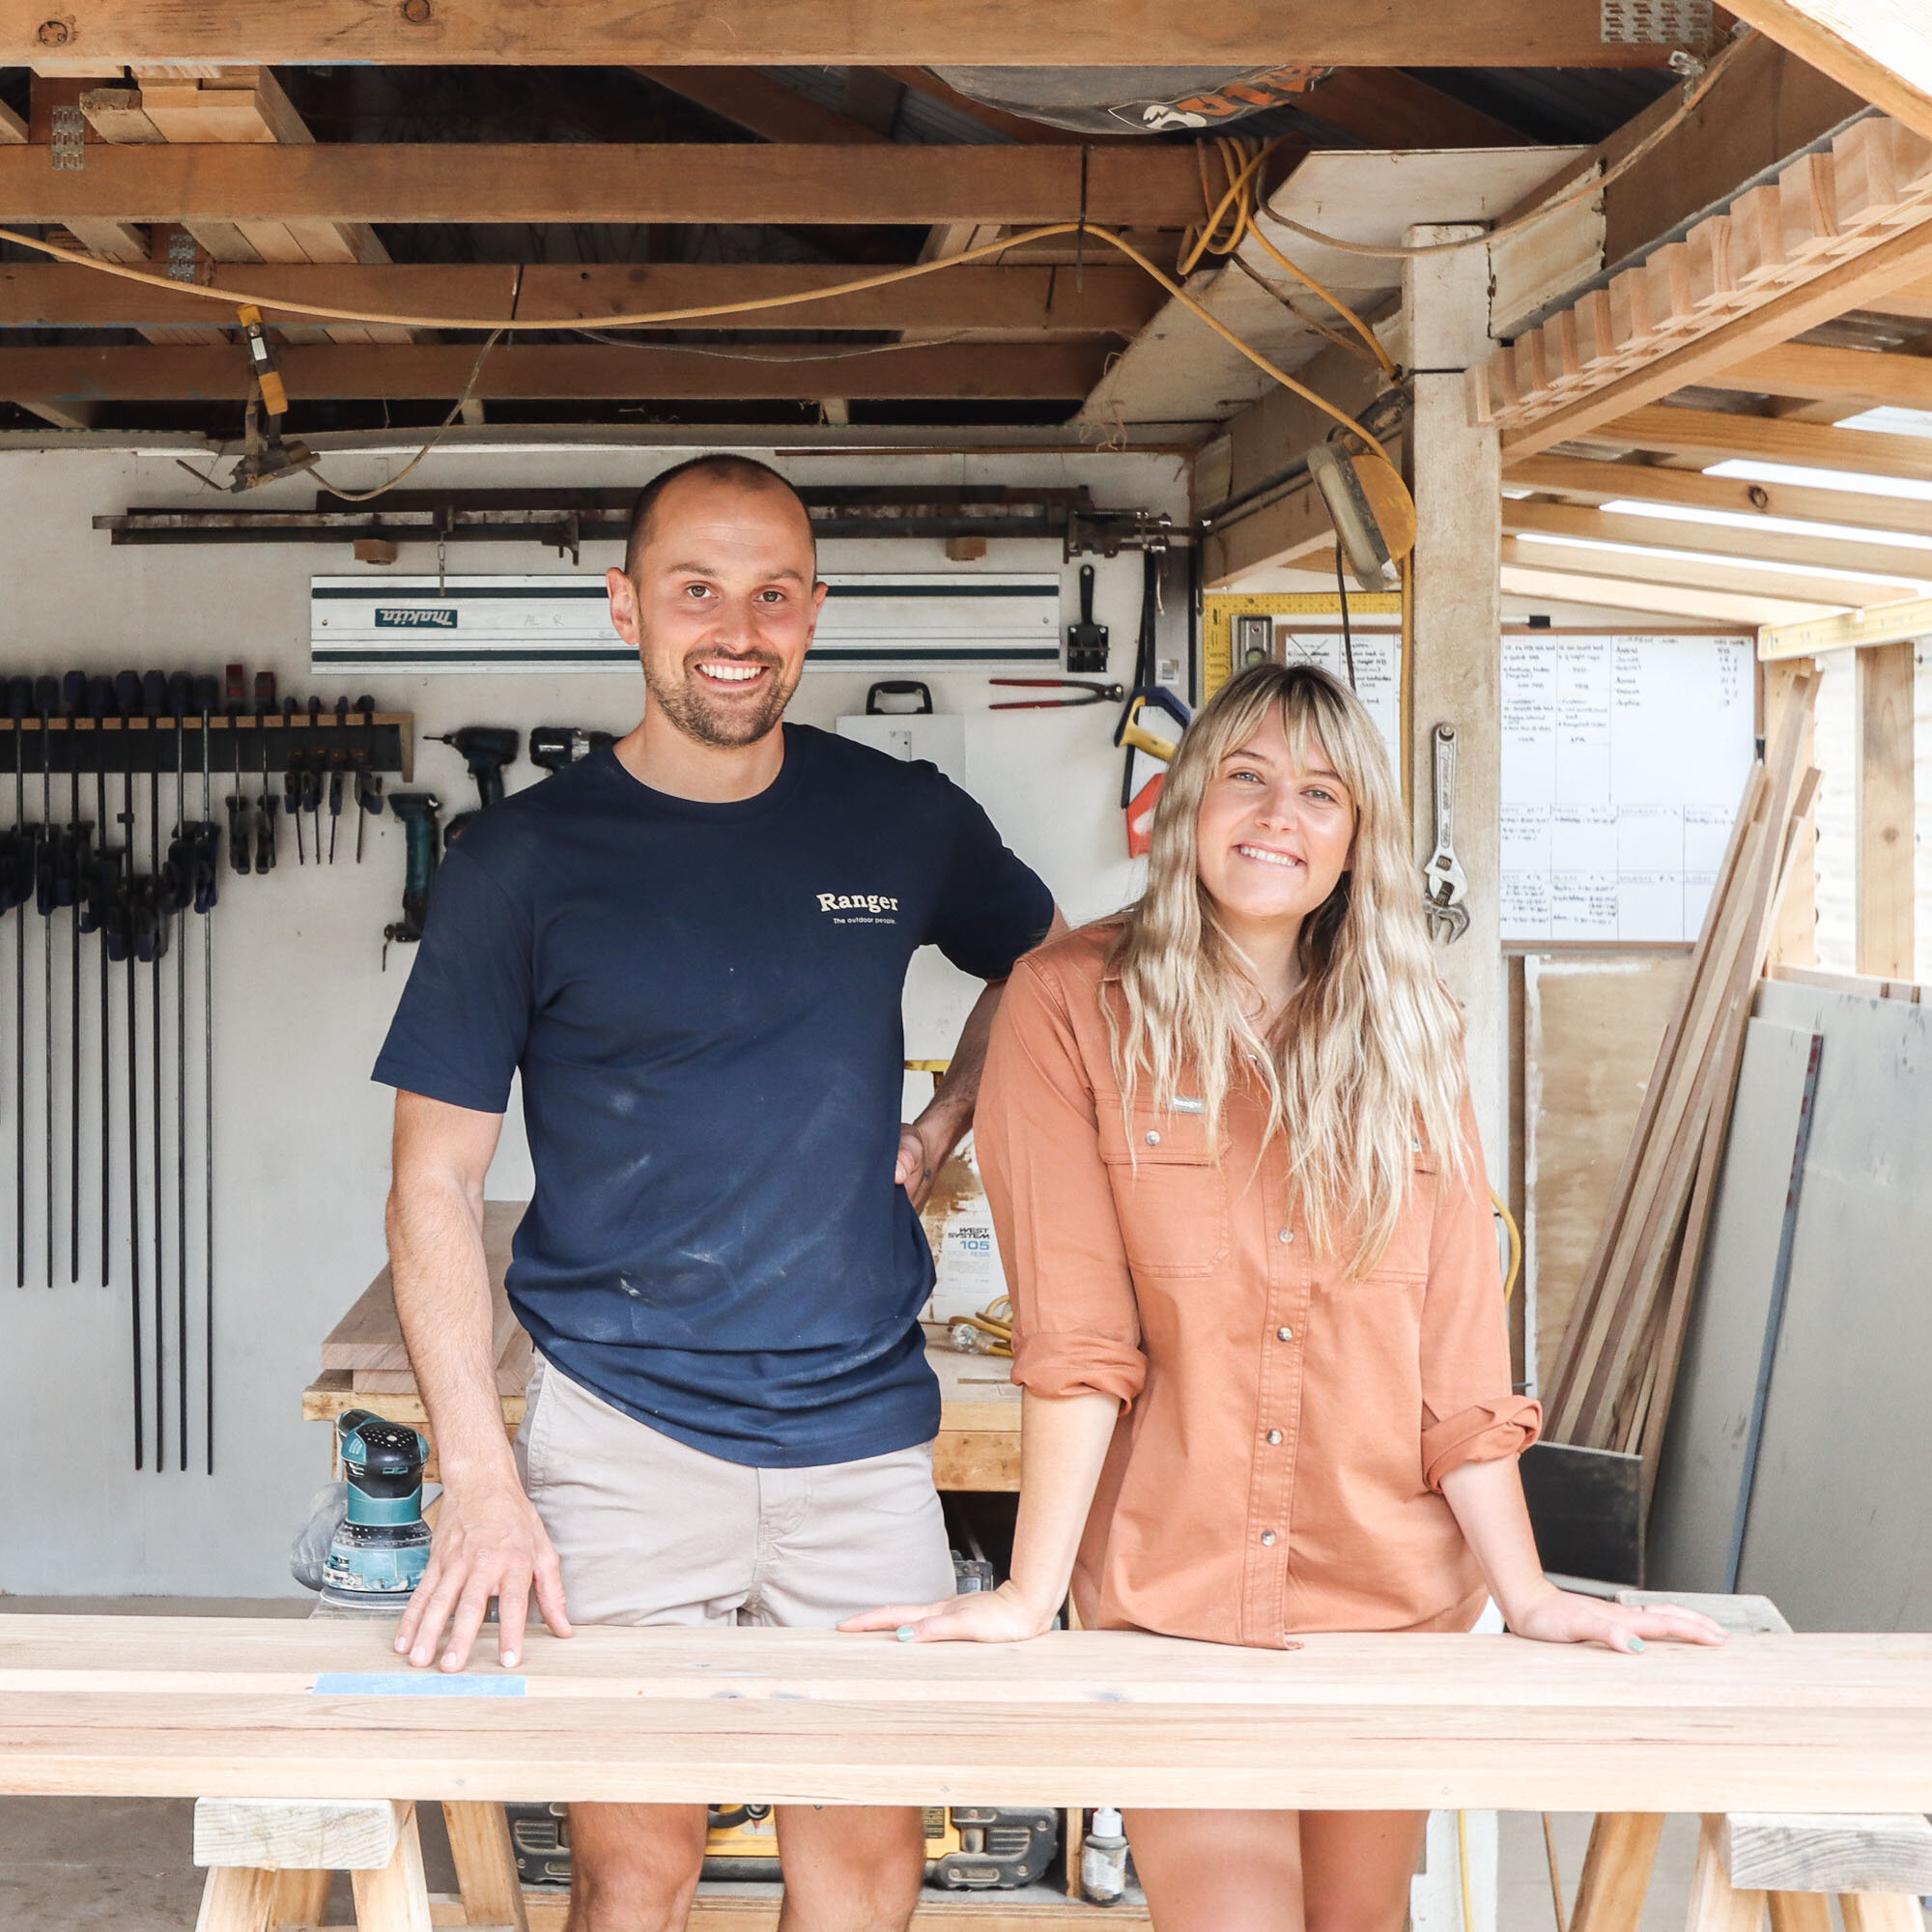
G’day, we’re Al + Imo
We’re a husband and wife duo, building our dream life one DIY project at a time.
We firmly believe what you learn should be shared which is why we created our Journal. A place where you can learn new skills and be inspired by other creatives.

Subscribe to our YouTube channel
The Good Day House is a modern, all-electric, 7.5-star, energy-efficient family home situated in the beautiful seaside town of Torquay, about 5 minutes from Iconic Bells Beach.
For more house build, design and DIY content make sure to hit subscribe to our YouTube channel.