How to sand, seal and restore your timber dining table
Step by step instructions to easily bring your furniture back to life!
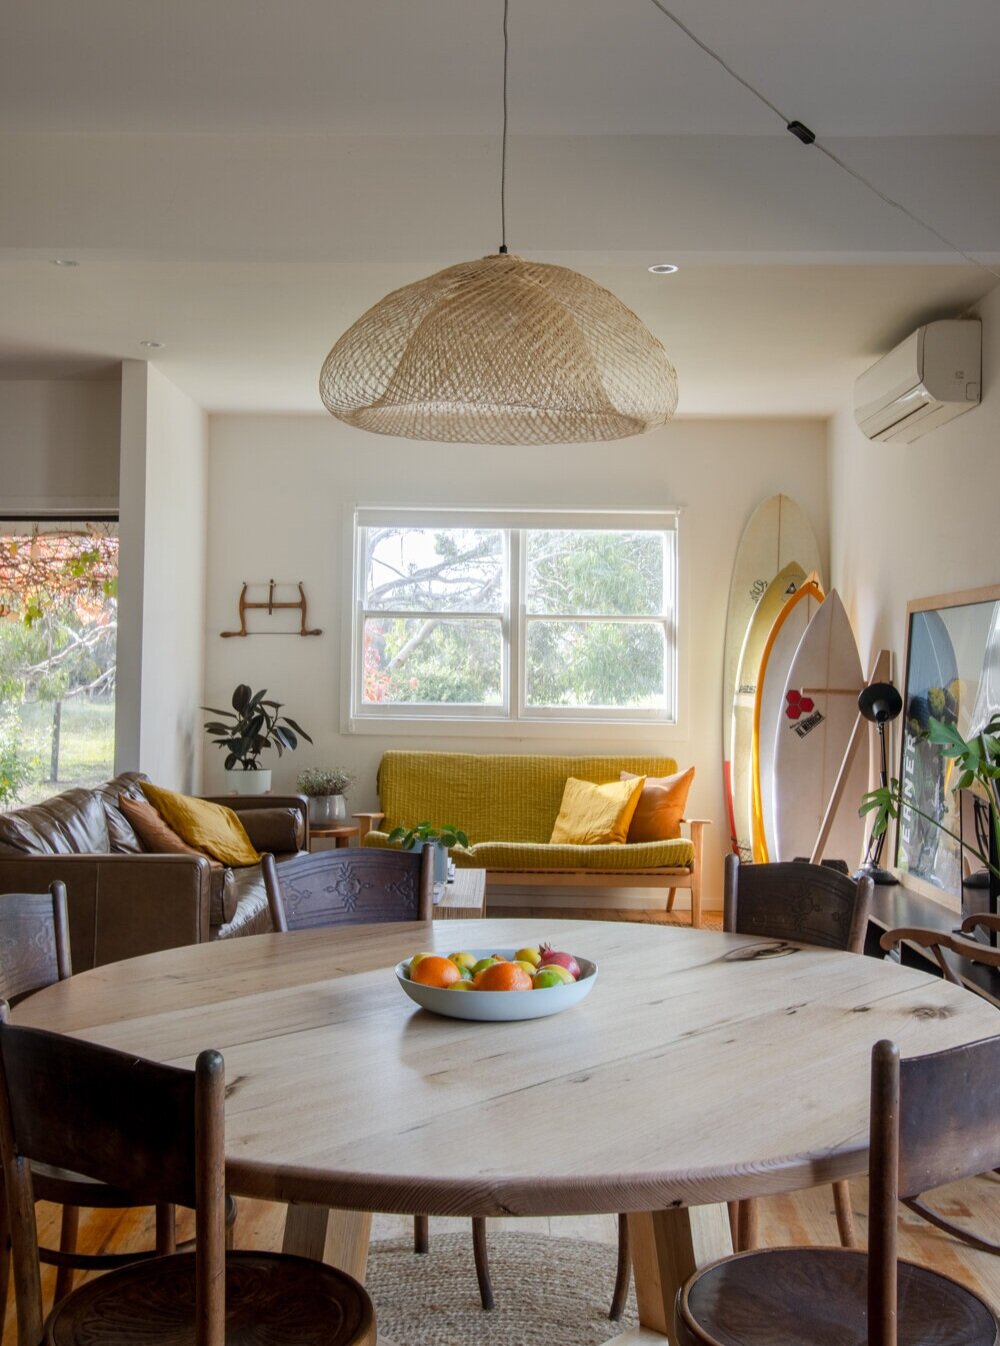
A couple of hours work and we now have a dining table that looks brand new again!
To us, scratch marks and water stains are the signs of a well-loved dining table. Just the way it should be. But there always comes a time when you know your table is due for a little TLC. The beauty of having solid timber furniture is that you can breathe fresh life back into it with ease.
Over the weekend we sanded back and re-sealed our dining room table. A couple of hours work and we now have a dining table that looks brand new again.
AL + IMO

step 1.
CLEAN
The first thing you’ll want to do is clean your table. Make sure you have a clean and smooth surface to start with.
step 2.
remove varnish / seal
Use a low grit sandpaper with your orbital sander to remove the varnish, I usually use 80 grit but if you have a really thick varnish start with 40 grit and work your way up. You’ll most likely go through a couple of sanding disks, so just make sure you keep checking and switch them out if they are worn.
Step 3.
Sand the raw timber smooth
Remove the excess dust by wiping down your surface. Once you have removed all of the varnish and you’re back to the original timber it’s time to sand it smooth. Use long strokes and sand with the grain using a finer 120 grit sandpaper on your orbital sander. Run your hands across your workpiece looking for rough patches, you want this to be silky smooth!
Step 4.
Apply your First Coat
Thoroughly clean your surface and make sure you seal your piece in a dust-free space. We used Fiddes Hardwax Oil for our table and applied our seal with a microfibre roller using long firm strokes with the grain, checking in the light to make sure the coat was thin and even. Read the instructions of the product you’re using and leave it to dry for the required amount of time.
Step 5.
Lightly sand
Use a 240 grit paper on your orbital sander and lightly sand your piece, this will make it extra smooth. Wipe away any dust.
Step 6.
Final Coat
Apply another coat of seal, like we did in step 4. As this is the final coat you want to make sure your strokes are smooth, light and even. Leave it to dry for the amount of time required.
Step 7.
Celebrate
You bloody did it and I bet you feel really good! Send us a pic, we’d love to see!
Note:
Make sure you sand and reseal both the top and bottom of your table - if you don’t it can cause one side to absorb moisture and the timber can cup and bow.


MORE HOME STYLING Tips


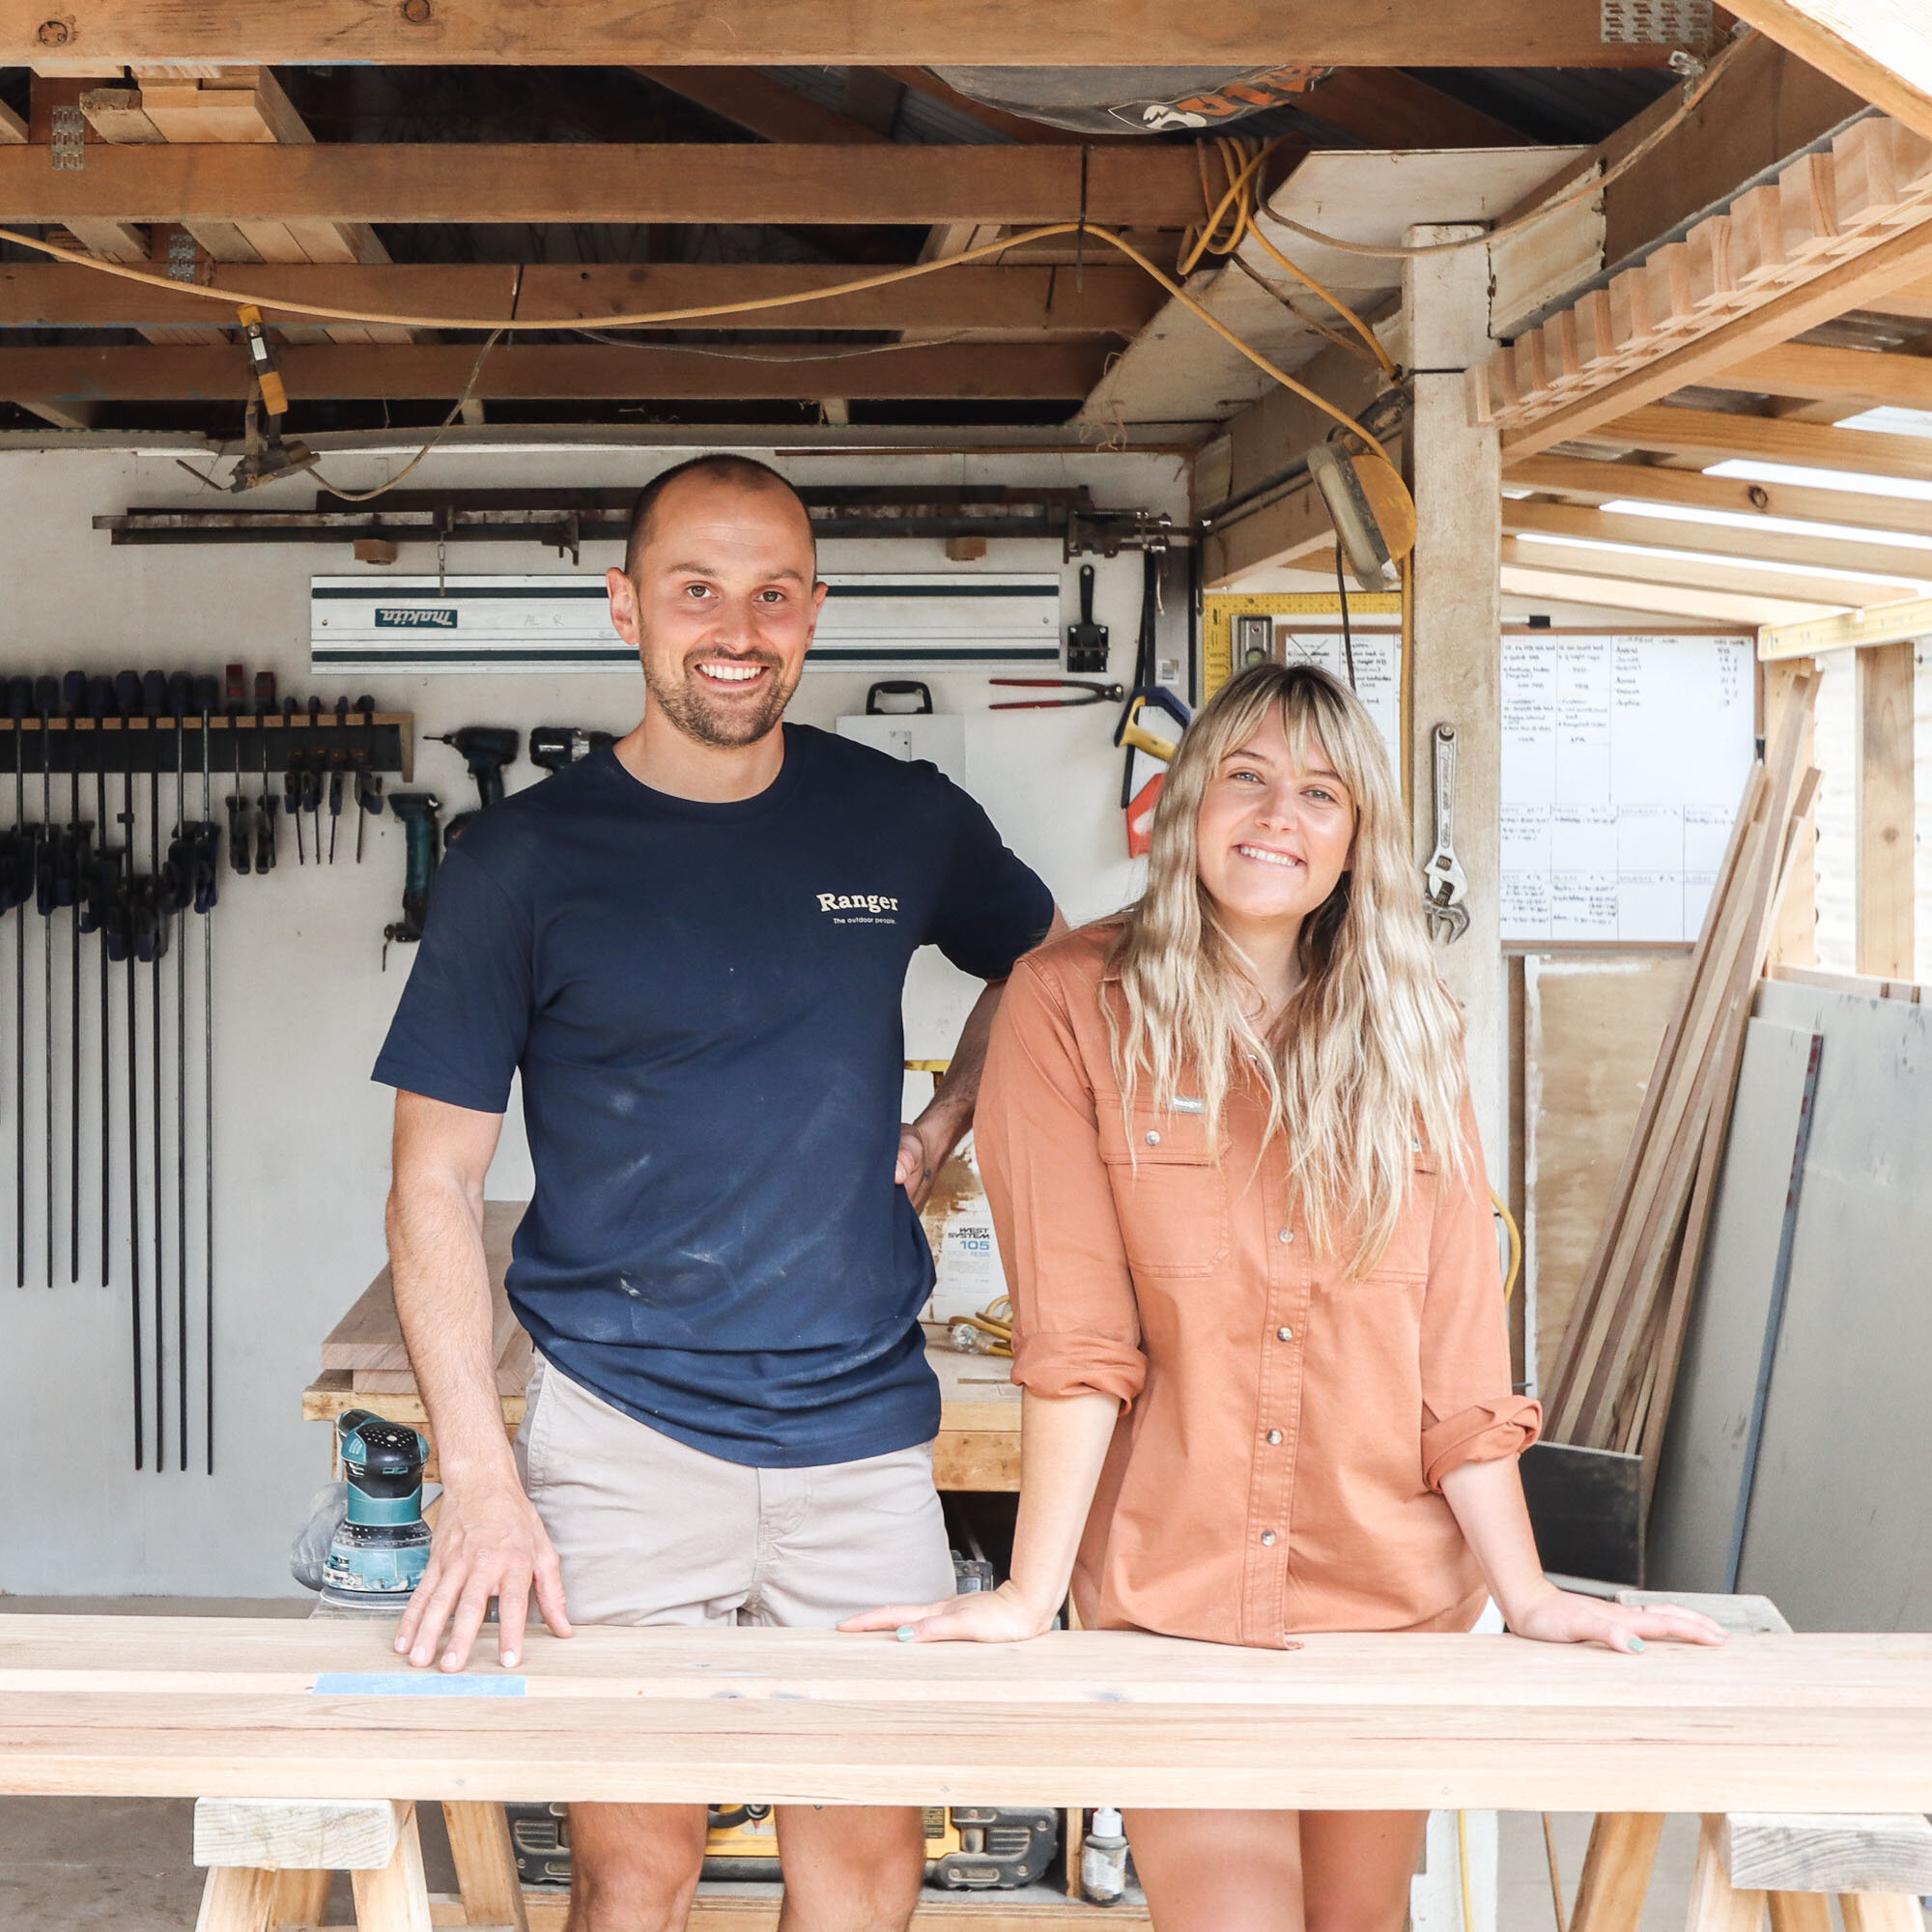
HEY! WE’RE AL + IMO
We’re a husband and wife duo, building our dream life one DIY project at a time. We are proudly self-taught, furniture-makers, business owners, designers and stylists.
DIY RUNS IN OUR DNA
We firmly believe what you learn should be shared which is why we created our Journal. A place where you can learn new skills and be inspired by other creatives.


Al + Imo Handmade “Good Design . Good People” Tea Towel. Featuring print by local artist Sophie Brain.
Top Categories

Business
Tips and tricks to following your dream of running your own business.

community
Read inspiring interviews with local artists, makers and society shakers.

LIFESTYLE
Our travel guides, mini getaways and our favourite treat - good food!

WOODWORKING
Learn step-by-step woodworking skills straight from Al’s workshop.

Home Ideas
Imo takes you behind the scenes and shares tips on styling your home.

eco living
Tread a little lighter on the Earth. Tips for living a more sustainable lifestyle.

RECIPES
You asked, we provided! Recipes from our Friday morning breakfast show.

DIY
Tools and information to build your own furniture and inspire a low-impact lifestyle.
ON THE JOURNAL


